Home > Home Improvement Blogs > Painting Blogs > DIY Paint Field Guide: Tips for Home Improvement
As a homeowner, I’ve discovered that painting is one of the simplest and most cost-effective ways to give your space a fresh new look. With a little guidance, you can achieve professional-looking results without breaking the bank.
In this comprehensive guide, I’ll share my expertise on home painting tips and tricks to transform your space. Whether you’re a seasoned DIY enthusiast or a beginner, this guide will walk you through the process, making it easy to get started.
Key Takeaways
- Learn the basics of painting for a professional finish.
- Discover the best painting techniques for your walls.
- Understand how to choose the right paint for your project.
- Get tips on preparing your surface for painting.
- Find out how to avoid common painting mistakes.

The Transformative Power of Paint
When it comes to home renovation, few elements offer as much transformative power as a new coat of paint. Paint has the ability to completely revamp a room, covering up imperfections, brightening up dark spaces, and even making a room feel larger. This versatility makes painting one of the most popular home improvement projects.
Why Paint is the Most Cost-Effective Home Improvement
Painting is considered one of the most cost-effective home improvements you can undertake. Compared to other renovation projects, painting requires minimal investment for a significant impact. Here are some reasons why:
- Affordable materials: Paint and painting supplies are relatively inexpensive.
- DIY-friendly: Painting is a project that many homeowners can tackle themselves, saving on labor costs.
- High impact: A fresh coat of paint can dramatically change the look and feel of a room.
By choosing the right paint and applying it correctly, homeowners can achieve professional-looking results without the professional price tag.
Setting Realistic Expectations for Your Project
To ensure a successful painting project, it’s crucial to set realistic expectations. This includes understanding the time required, the potential challenges, and the final outcome. Here are some home painting tips to help you set realistic expectations:
- Plan ahead: Allow sufficient time for preparation and painting.
- Prepare surfaces: Cleaning and repairing surfaces before painting is crucial for a smooth finish.
- Choose the right paint: Select paint that is appropriate for the surface and the desired finish.
By following these tips and having a clear understanding of what to expect, you can achieve a beautiful, professional-looking finish that enhances your home’s value and appeal.
Understanding Different Paint Types and Finishes
The world of paint can be overwhelming, but breaking down the differences between types and finishes can help you make an informed decision. When it comes to painting, the type of paint and finish you choose can significantly impact the outcome of your project.
Water-Based vs. Oil-Based Paints
Paints are primarily categorized into water-based and oil-based types. Water-based paints are known for their ease of cleanup and quick drying times, making them ideal for most interior projects. On the other hand, oil-based paints offer a durable finish but take longer to dry and require solvents for cleanup.

Paint Finishes Explained
Paint finishes vary in sheen and durability, affecting both the appearance and longevity of your paint job. Here are some common finishes:
- Flat and Matte Finishes: These have a low sheen and are often used on ceilings and walls to hide imperfections.
- Eggshell and Satin Finishes: Offering a slight sheen, these finishes are more durable than flat finishes and are suitable for high-traffic areas.
- Semi-Gloss and Gloss Finishes: Highly reflective and durable, these are typically used on trim and doors.
- Specialty Finishes: Includes metallic, textured, and other unique finishes that add a specific effect to your walls.
Interior vs. Exterior Paints: Key Differences
Interior paints are formulated to withstand indoor conditions, focusing on low VOC (Volatile Organic Compound) emissions and ease of cleaning. Exterior paints, however, are designed to resist weathering, UV rays, and moisture, making them more durable against the elements.
Understanding these differences is crucial for selecting the right paint for your specific needs, ensuring a successful and long-lasting paint job.
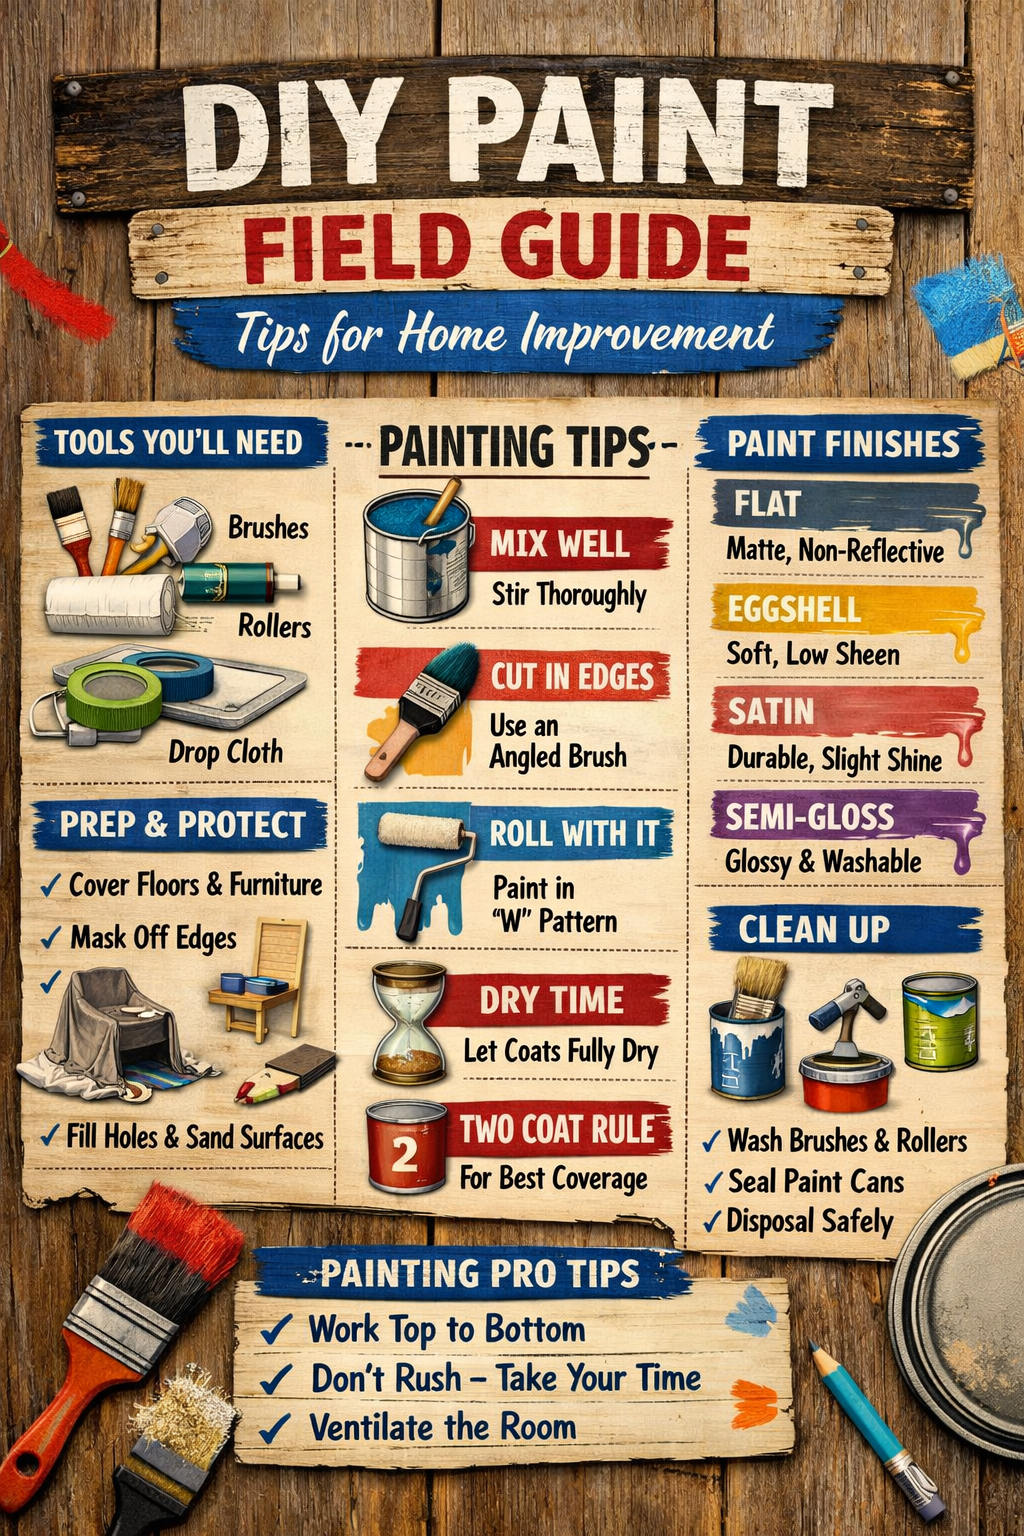
Essential Tools and Materials for DIY Painting
To ensure a successful DIY painting project, it’s crucial to have the essential tools and materials at your disposal. Having the right equipment not only makes the process smoother but also helps in achieving professional-looking results.
Must-Have Painting Tools for Beginners
As a beginner, it’s essential to start with the basics. The right tools will make your DIY painting project more manageable and help you achieve the desired finish.
Brushes and Rollers: Choosing the Right Ones
Investing in good-quality brushes and rollers is vital. Natural bristle brushes are ideal for oil-based paints, while synthetic brushes work well with water-based paints. Rollers with extension poles can help you cover large areas quickly.
Trays, Buckets, and Stirrers
Having the right trays, buckets, and stirrers on hand is necessary for preparing and applying paint. Use sturdy buckets for mixing and trays for holding paint for rollers.
Protective Equipment
Don’t forget protective equipment like gloves, masks, and drop cloths to protect yourself and your workspace from paint splatters and spills.
Advanced Tools Worth the Investment
As you gain more experience, you may want to consider investing in advanced tools like paint sprayers, which can provide a smooth, even finish on large surfaces.
Creating Your Painter’s Toolkit on a Budget
Building a painter’s toolkit doesn’t have to break the bank. Look for discounts and sales on painting supplies, and consider buying multi-purpose tools.
| Tool | Description | Budget-Friendly Option |
|---|---|---|
| Paintbrushes | Variety of sizes for different tasks | $10-$20 |
| Rollers and Extension Poles | For large, smooth areas | $15-$30 |
| Paint Tray | For holding paint for rollers | $5-$10 |

By focusing on the essentials and gradually adding more advanced tools, you can create a comprehensive painter’s toolkit that fits your budget and meets your DIY painting needs.
Preparation: The Key to Professional-Looking Results
Before you pick up a brush, understanding the importance of preparation is crucial for a flawless finish. Proper preparation is what sets a professional paint job apart from a DIY disaster. In this section, we’ll explore the essential steps to prepare your surface for painting.
Surface Cleaning and Repair Techniques
A clean surface is vital for paint adhesion. Dirt, grime, and grease can interfere with paint’s ability to bond properly with the surface. Let’s dive into the techniques for cleaning and repairing your walls.
Washing Walls and Removing Grime
Start by washing your walls with a mild detergent to remove dirt and grime. This simple step can significantly improve paint adhesion.
Patching Holes and Cracks
Next, inspect your walls for holes and cracks. Use a spackling compound to fill these imperfections, and then sand them smooth.
Sanding for Smooth Surfaces
Sanding is a critical step that ensures a smooth finish. Use a fine-grit sandpaper to sand your walls, feathering out any repairs you’ve made.

Proper Taping and Protection Strategies
Taping and protecting surrounding areas is crucial to achieving clean, sharp lines. Use painter’s tape to mask off trim, windows, and doors. Apply a coat of primer or paint to the tape’s edge to prevent paint from seeping under the tape.
Priming: When It’s Necessary and Why
Priming is not always necessary, but it’s highly recommended in certain situations. Use a primer when painting over dark colors, bold patterns, or stained surfaces. Priming helps to create a uniform base coat, ensuring that your final coat of paint looks its best.
By following these preparation steps, you’ll be well on your way to achieving professional-looking results in your DIY painting project. Remember, the key to a successful paint job is in the preparation.
DIY Home Improvement Field Guide to Paint: Application Techniques
Now that your surface is prepared, it’s time to dive into the actual painting process. Effective painting techniques are crucial for achieving a professional-looking finish. In this section, we’ll explore the best methods for applying paint to various surfaces.
Walls and Ceilings: Achieving Even Coverage
Achieving even coverage on walls and ceilings is a fundamental aspect of painting. To accomplish this, it’s essential to use the right tools and techniques. One effective method is the “W” technique for roller application.
The “W” Technique for Roller Application
The “W” technique involves applying paint in a “W” pattern with your roller. This helps to distribute the paint evenly and prevents streaks. By working in sections, you can maintain a wet edge and avoid roller marks.
Cutting In Around Edges and Trim
Cutting in around edges and trim requires precision and patience. Use a high-quality brush to create a sharp, clean line between different surfaces. This technique is essential for a professional-looking finish.
Avoiding Streaks and Roller Marks
To avoid streaks and roller marks, work in small sections and maintain a wet edge. Use a roller with an extension pole to reach high ceilings, and apply paint in a consistent, overlapping pattern.
Trim, Doors, and Windows: Precision Painting
Precision painting is critical when working with trim, doors, and windows. Use a high-quality brush to create a smooth, even finish. Take your time and work in small sections to achieve professional-looking results.
Tackling Challenging Surfaces
Some surfaces, such as brick, metal, and wood, require special consideration when painting. Understanding the unique characteristics of each surface is essential for achieving a successful outcome.
Brick and Stone Surfaces
When painting brick or stone surfaces, use a specialized primer to ensure adhesion. Apply paint with a brush or roller, working in small sections to maintain even coverage.
Metal Surfaces
For metal surfaces, use a rust-inhibiting primer to prevent corrosion. Apply paint with a brush or sprayer, following the manufacturer’s instructions for the recommended application technique.
Wood and Paneling
When painting wood or paneling, use a high-quality primer to ensure a smooth finish. Apply paint with a brush or roller, working in small sections to achieve even coverage.
Color Selection Strategies for Your Home
Color selection is a crucial aspect of home improvement, influencing both the aesthetic appeal and the ambiance of your living spaces. The right colors can enhance the beauty of your home, while the wrong ones can make it feel dull or uninviting.
Understanding Color Psychology in Home Spaces
Colors have a profound impact on our emotions and perceptions. In home spaces, color psychology plays a significant role in creating the desired atmosphere. For instance, blue tones are often associated with calmness and serenity, making them ideal for bedrooms. On the other hand, warm colors like orange and red can stimulate energy and conversation, suiting them for living areas.
Testing Colors: Methods That Work
Testing colors before committing to a specific shade is crucial. There are several methods to do this effectively:
- Using sample boards
- Applying wall patches
- Observing colors under different lighting conditions
Sample Boards vs. Wall Patches
Sample boards offer a portable and easy way to test colors, while wall patches provide a more accurate representation of how the color will look on a larger scale. Both methods have their merits, and using them in conjunction can yield the best results.
Viewing Colors in Different Lighting
Lighting can dramatically change how a color appears. It’s essential to view your color samples at different times of the day and under various lighting conditions to ensure the chosen color looks good throughout.
Creating Cohesive Color Schemes Throughout Your Home
A cohesive color scheme can unify your home’s interior, creating a sense of flow and harmony. One effective strategy is to choose a core color and then select complementary colors that work well with it. Here’s a simple table to illustrate a basic color scheme:
| Core Color | Complementary Colors | Accent Colors |
|---|---|---|
| Soft Gray | White, Beige | Navy Blue, Yellow |
| Warm Beige | Soft White, Light Brown | Deep Green, Burnt Orange |
By understanding color psychology, testing colors thoroughly, and creating a cohesive color scheme, you can achieve a beautiful and harmonious home environment.

Troubleshooting Common Paint Problems
Even with meticulous planning, paint problems can still arise, but knowing how to troubleshoot them can save the day. Whether you’re a seasoned DIY enthusiast or a beginner, understanding how to address common paint issues is crucial for achieving a professional-looking finish.
Prevention: Avoiding Common Mistakes
Prevention is always better than cure when it comes to paint problems. By being aware of potential issues, you can take steps to avoid them altogether.
Temperature and Humidity Considerations
Painting in extreme temperatures or humidity levels can lead to poor adhesion and drying issues. Always check the weather forecast and use a thermometer to ensure optimal conditions.
Proper Paint Mixing Techniques
Inadequate mixing can result in uneven color and consistency. Make sure to stir the paint thoroughly and follow the manufacturer’s instructions.
Application Thickness Issues
Applying paint too thickly can cause drips and uneven coverage. Use thin, even coats to achieve a smooth finish.
Fixing Paint Problems After They Occur
Despite your best efforts, paint problems can still occur. Here are some solutions to common issues:
Drips, Runs, and Sags
For minor drips, use a fine-grit sandpaper to smooth out the area. For more severe cases, you may need to strip the paint and start over.
Uneven Coverage and Flashing
Uneven coverage can be caused by inadequate surface preparation or poor paint application. Use a high-quality primer to ensure a uniform base.
Peeling and Bubbling
Peeling and bubbling are often caused by moisture issues or poor adhesion. Identify and address the underlying cause before repainting.
Tackling Bleed-Through and Stains
Bleed-through can occur when stains or old paint bleed through the new coat. Use a stain-blocking primer to prevent this issue.
By understanding how to troubleshoot common paint problems, you can ensure a successful DIY painting project. Remember to be patient, take your time, and don’t be afraid to seek help when needed.
Cleanup, Safety, and Environmental Considerations
As we wrap up our DIY painting journey, it’s crucial to address the often-overlooked aspects of cleanup, safety, and environmental responsibility. Properly handling these aspects not only ensures a safe working environment but also contributes to a more sustainable future.
Proper Brush and Roller Cleaning Techniques
Cleaning your brushes and rollers correctly is essential for their longevity and for preventing paint from drying on them. For water-based paints, soap and warm water are usually sufficient. Use a gentle cleaning motion to avoid damaging the bristles. For oil-based paints, you’ll need a solvent like mineral spirits. Always clean your tools in a well-ventilated area, and consider using a brush comb to remove paint from the ferrule (the metal band that holds the bristles in place).
Safe Disposal of Paint and Materials
Dispose of leftover paint and materials responsibly. Check with your local waste management agency for guidelines on disposing of hazardous waste. Many communities have designated collection days for such materials. Never pour paint down the drain or dispose of it in regular trash. For leftover paint, consider donating it to a local charity or community organization.
| Material | Disposal Method | Recycling Option |
|---|---|---|
| Latex Paint | Check local guidelines | Some communities accept latex paint for recycling |
| Oil-Based Paint | Hazardous waste collection | Rarely recyclable; check local regulations |
| Paint Cans | Recyclable metal or plastic | Empty and clean cans can be recycled |
Eco-Friendly Paint Options and Practices
Choosing eco-friendly paint options is a significant step towards reducing your environmental footprint. Look for paints labeled as low-VOC (Volatile Organic Compound) or zero-VOC. These paints emit fewer harmful chemicals, improving indoor air quality. Additionally, consider using natural paints made from natural ingredients like clay, lime, or milk casein.
By adopting these practices, you not only complete your painting project safely but also contribute to a healthier environment.
Conclusion: Embracing Your DIY Painting Journey
As you complete your painting project, you should feel a sense of pride and accomplishment. You’ve taken the first step in transforming your space, and now you’re ready to take on more home improvement projects.
Your DIY painting journey is just beginning, and the skills you’ve learned will serve you well as you tackle future projects. Whether you’re looking to refresh a single room or undertake a whole-house renovation, the confidence you’ve gained will be invaluable.
As you move forward with your home improvement endeavors, remember to stay focused on the details that matter most. From selecting the right paint type to mastering application techniques, every decision you make will impact the final result.
By continuing to explore your DIY painting journey, you’ll not only enhance your living space but also develop a new skillset that will serve you well in the long run. So, take the next step, and start planning your next home improvement project today.