

DIY Home Improvement Tips for Homeowners Who Want to Do the Job Right
Welcome to Conley’s Home Improvement, where everyday homeowners can learn how to plan, build, repair, paint, improve, and maintain their homes with confidence.
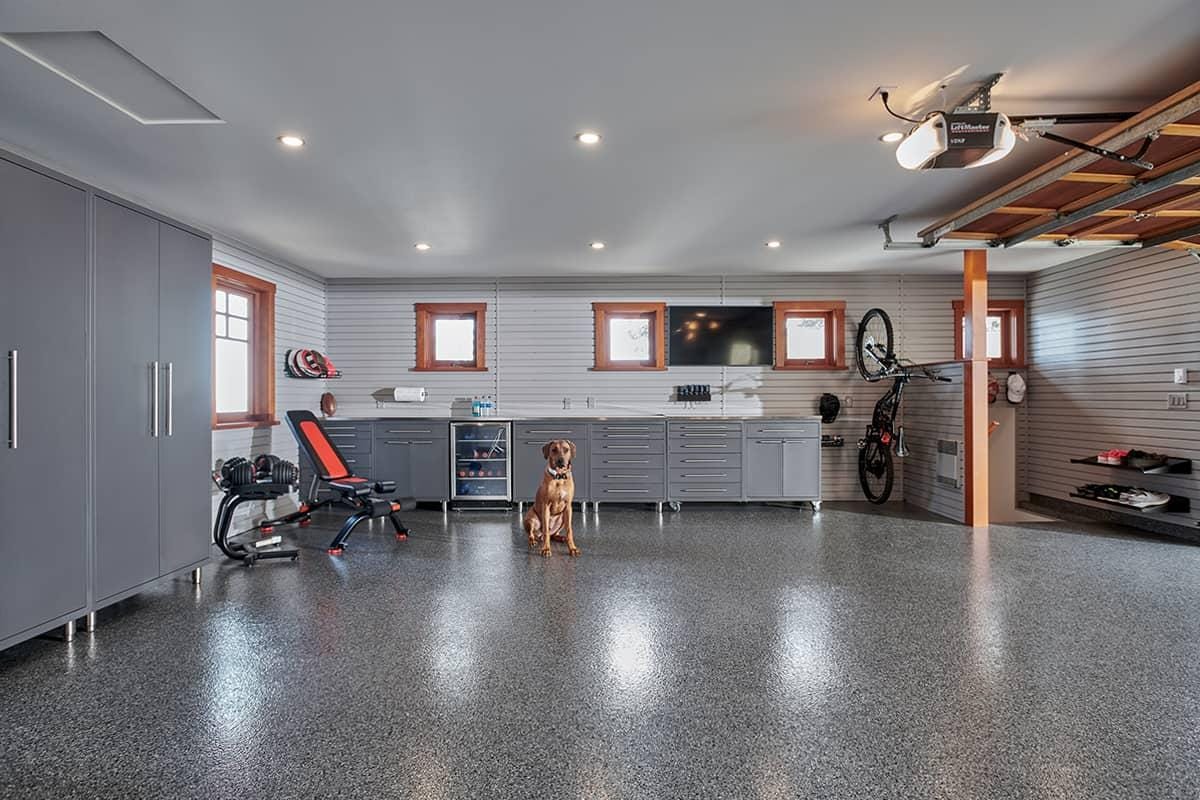
Whether you are painting a garage, finishing a basement, building a deck, updating a room, or learning how to use tools safely, this site is here to help you take on DIY home improvement projects the right way.
My goal is simple:
Help you save money, build skills, avoid common mistakes, and take pride in the work you do around your home.
Why DIY Home Improvement Matters
DIY home improvement is about more than fixing things.
It is about creating a safer, more comfortable, and more attractive home for your family. It is about learning new skills, using the right tools, solving problems, and enjoying the satisfaction that comes from completing a project with your own hands.
Homeowners take on DIY projects for many reasons:
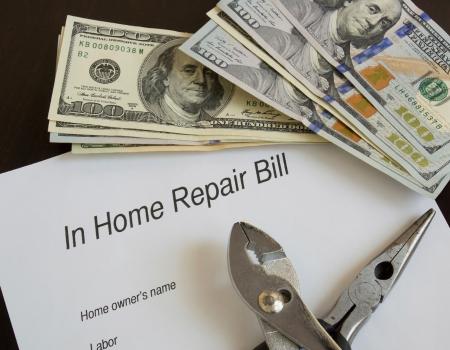
- To save money
- To improve their living space
- To increase home value
- To make their home safer and more comfortable
- To learn useful hands-on skills
- To experience the pride of doing the work themselves
At Conley’s Home Improvement, I believe successful DIY comes down to four things:
Planning carefully
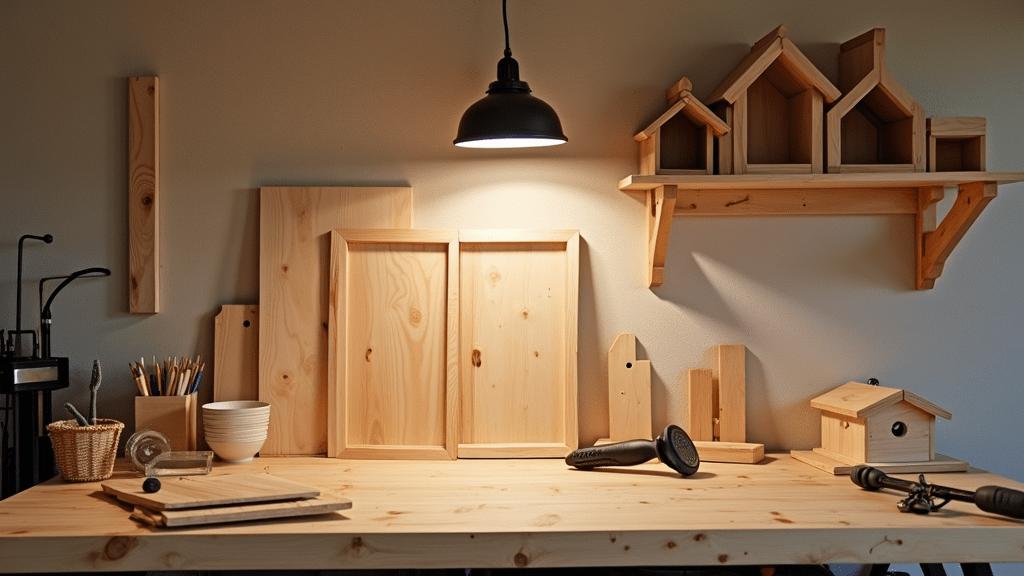
Using the right tools and materials
Working safely
Taking your time so the job gets done right
DIY Projects, Tips, and Step-by-Step Guidance
This website covers practical home improvement topics including:
- Painting
- Garage makeovers
- Tools and materials
- Walls and ceilings
- Floors
- Doors and windows
- Cabinets and countertops
- Storage solutions
- Plumbing basics
- Electrical safety
- Insulation and weatherproofing
- Exterior maintenance
- Basement finishing
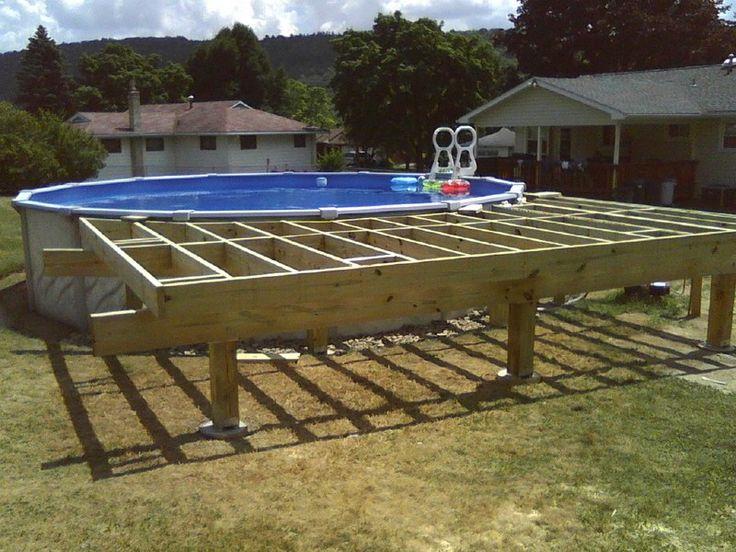
- Decks, patios, and outdoor projects
Each project is designed to help you understand what to do before you begin, what tools you may need, what mistakes to avoid, and how to work step by step toward a finished result.
Learn From Real DIY Experience…Meet the Author
Hello, I’m Ken Conley, the creator of Conley’s Home Improvement. I love working on Home Improvement projects and want to share with you information and advice about my DIY experiences….Read more about the author
I am a DIY home improvement “jack of all trades, master of many” kind of guy. I have spent decades working on projects around my own home, learning through hands-on experience, planning, mistakes, problem-solving, and persistence.
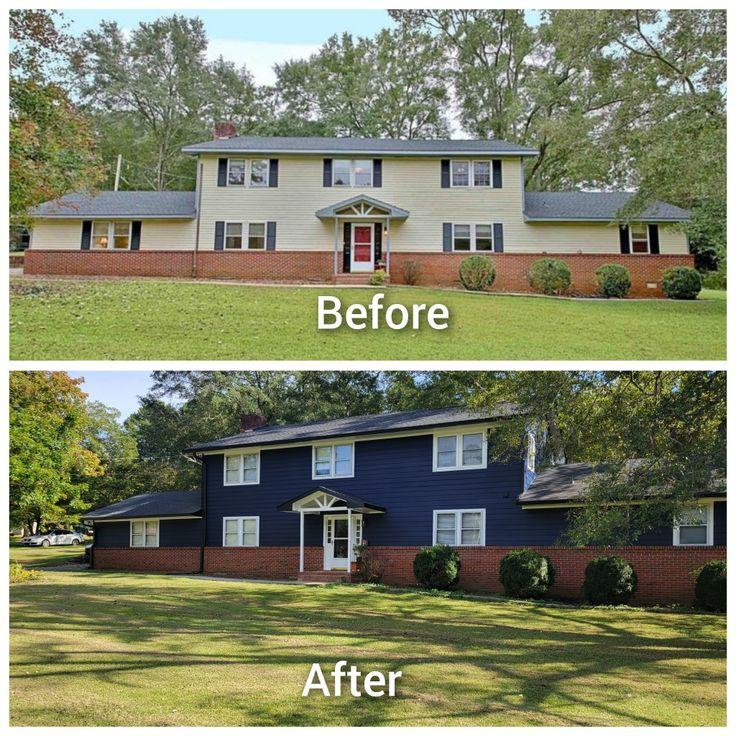
From painting garages and finishing basements to building decks, patios, bridges, and backyard spaces, I know what it feels like to start with an idea and turn it into something useful, beautiful, and lasting.
This site is where I share what I have learned so you can approach your own projects with more confidence.
Work Smart. Work Safe. Follow the Rules.
DIY can be rewarding, but every project comes with responsibility.
Before starting any home improvement project, make sure you understand the safety risks, local building codes, permit requirements, and your own skill level. Some jobs may require professional help, especially when electrical, plumbing, structural, or code-related work is involved.
On this site, you will find reminders and guidance such as:
🔔 Safety Alerts — avoid dangerous mistakes
🛠️ Tool Tips — use tools the right way
💰 Buyer’s Guides — choose better materials
✅ Work Smart Tips — save time and reduce frustration
😬 Common Mistakes — learn what to avoid
🖌️ Design Tips — improve the finished look
Good DIY is not about rushing.
It is about preparation, patience, safety, and doing the job with pride.
Start Building Your DIY Confidence
Whether you are a beginner or a homeowner with years of experience, Conley’s Home Improvement is here to help you keep learning, keep improving, and keep building.
- Take your time.
- Plan the work.
- Use the right tools.
- Respect safety.
- And enjoy the process.
Because every project you complete adds more than value to your home — it builds confidence, skill, and a legacy of craftsmanship.
Ready to Get Started?
Explore the latest DIY tips, project guides, tool recommendations, and home improvement ideas below.
Start your next project with confidence — and do the job right.


Leave a Reply