
Home > Painting> Priming and painting trim
The skill level; time to complete; materials; and tools required to remove wallpaper is as follows:
Skill level: 1
🔘⚪️ ⚪️⚪️ ⚪️
Time to complete:
Experienced: Variable
Handy: Variable
Novice: Variable
Materials:*
- Exterior trim paint
- appropriate primer for the surface
Tools:*
- 4″ brush
- 2″ tapered sash brush
- corner roller
- wire brush (optional)
Click on the above links to purchase paint materials and tools online from the Amazon store.
*Disclaimer: This pages contains Amazon affiliate links and other affiliate links. That means that if you click a link and decide to make a purchase I will receive a commission at no extra cost to you.
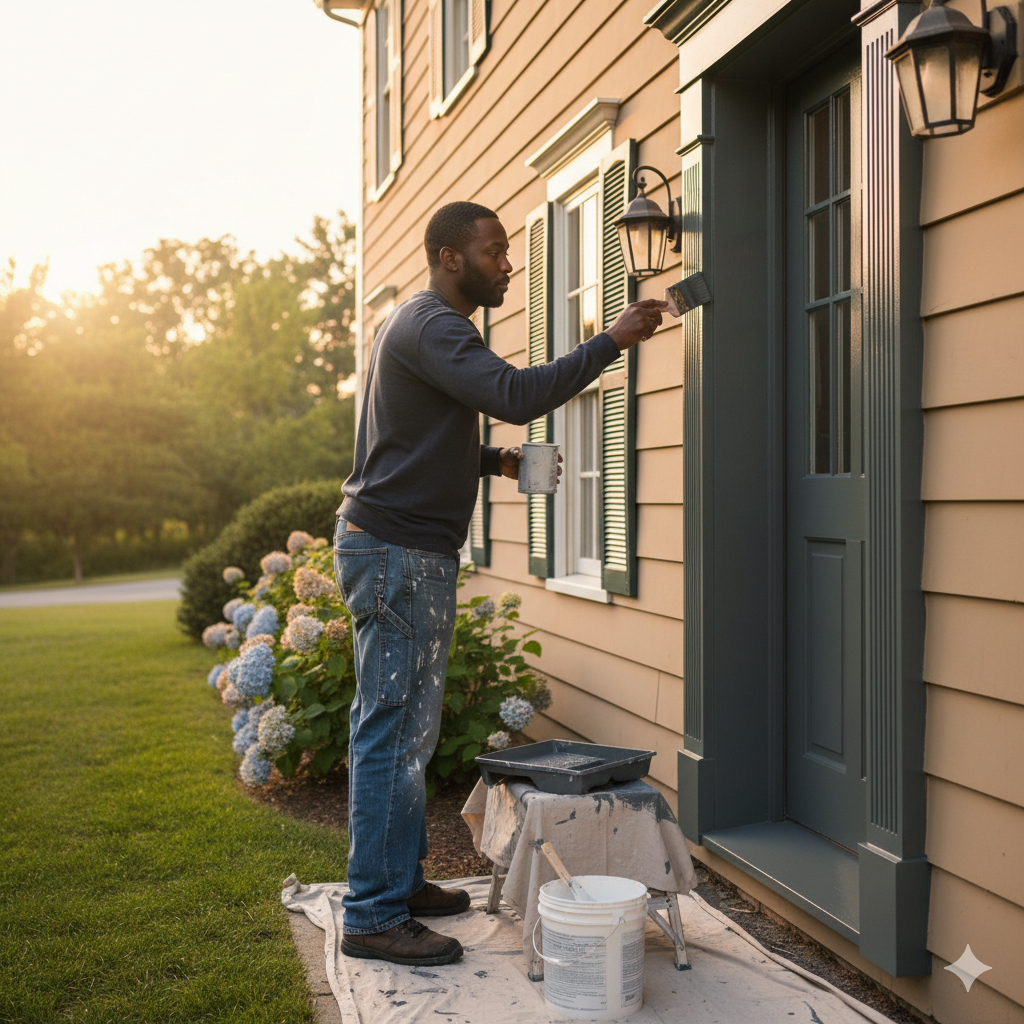
How to prime and paint exterior house trim
House trim-roof trim, porches, rilings, doors, and windows- must withstand temperature extremes and all types of moisture. For it to survive and still look attractive, the key is in preparation.
When you’ve already repaired, scraped, and cleaned, and the trim is ready to paint, give it a final once-over by wiping off dust immediately before applying primer.
When the primer is thoroughly dry, paint the trim— as soon as possible, and no later than three days after priming.
The longer you wait to paint, the greater the chance for dirt and airborne chemical deposits to affect the surface.
Trim paint is formulated to withstand exposure and is exceptionally durable. It is available in most popular finishes and can be custom blended to match your colors.
Select the right primer. Most all-purpose primers can be used on any surface. For best results on metal gutters or railings, use a metal primer with a rust inhibitor. Masonry primers are specially formulated to adhere to chalky surfaces. 🔻

Remove loose paint from metal railing and trim with a wire brush. If you remove rust from iron or steel, you’ll need to prime the surface right away to prevent further rusting. Finish with an enamel paint to ensure a long-lasting, protective coating.🔻

Prime and paint wooden steps and porch floors after everything else has been painted. This prevents having to touch up drips on the horizontal surfaces. Use only a specially formulated enamel floor paint (one suited to a high volume of traffic, and add an emulsifying bonder to the first coat to help the paint stick to chalky, powdery surfaces. You won’t need the bonder in subsequent coats.🔻

After painting the walls and trim, you may wish to prime and paint the foundation walls. Use the some color as the siding or choose an accent color. Paint areas around the windows and doors first with a sash brush, then paint broader areas with a 4-inch brush, working paint into the mortar lines. 🔻

Steps on how to paint soffits and fascia
Step 1. Paint soffits and fascia first; this keeps paint drips from ruining prior work on the siding. Paint the overhang (sofit) first and then work your way onto the edges facing the soffit. If the soffit is supported by brackets (corbels), paint them once you’ve painted all the panels (see inset)🔻

Step 2. After the soffit and trim have been painted, paint any moldings below the soffit. 🔻

Step 3. Paint the surface above the soffit, called the fascia, next. If there is a cornice molding, paint both it and the fascia as you move along the wall

Steps on how to paint jambs, casings, and trim
Step 1. Mask the siding where it runs into the casing; mask the floors underneath the doors. Wedge the doors and windows open so they’ll stay put while you paint them; see painting instructions on ___for doors and __for windows 🔻

Step 2. After the door or window is dry, paint the jamb. Start at the top on the inside, using a beveled sash brush. After the top, move to the inside edge (hinge side on doors and casement windows), saving the outside edge for last 🔻

Strep 3. Paint the casings while the jambs are still wet. Feather the paint into the mitered joints; then angle your brush to match the miter line, and paint right up to it. Paint thresholds after the jambs and casings have dried

Leave a Reply