
Among various home-improvement tasks, painting offers the greatest return on investment. Paint can infuse a room with vibrant color or create a subtle tone at a minimal cost.
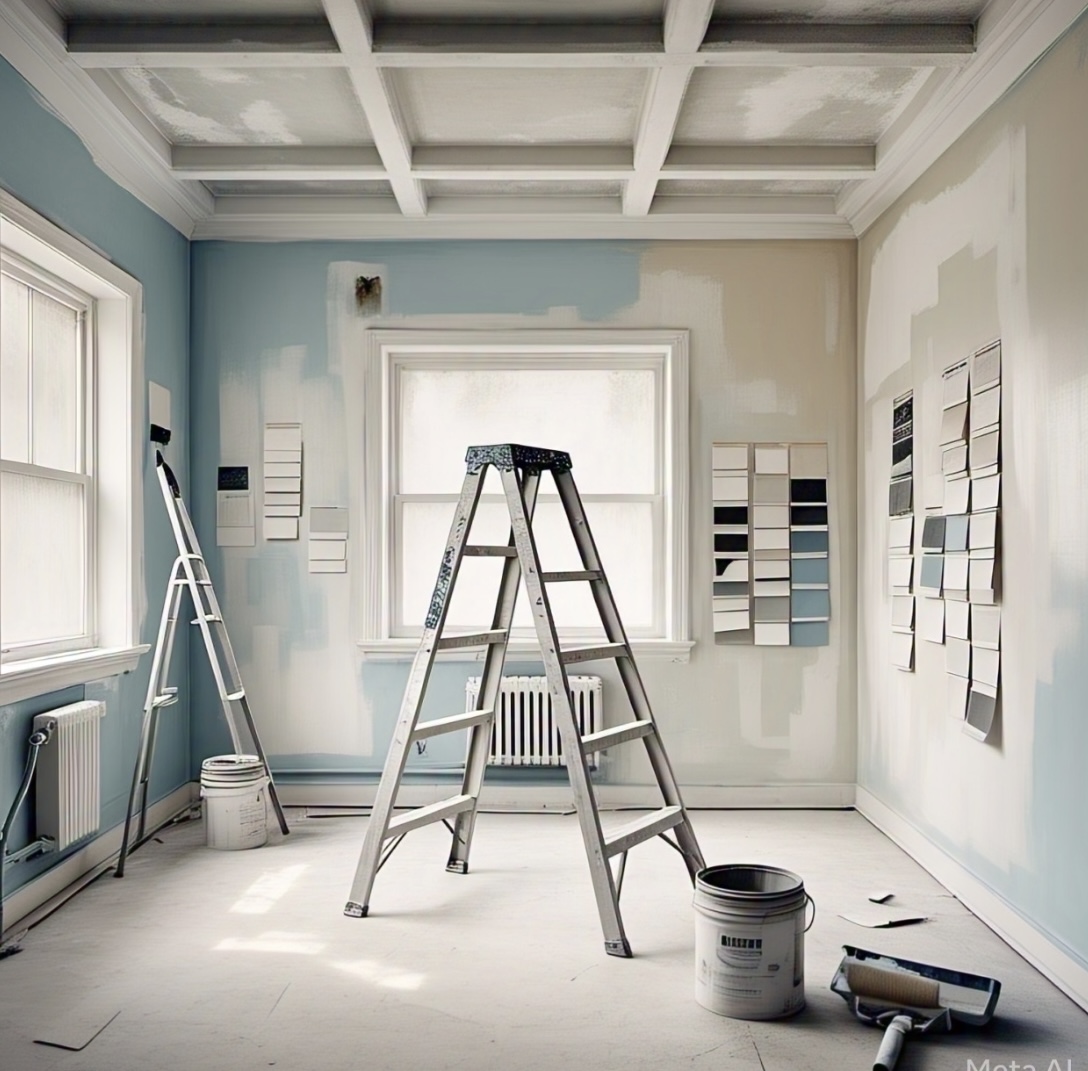
Paint samples are notorious for their tendency to appear differently once applied to walls, largely because of the room’s lighting. To avoid costly mistakes, invest in a quart of paint and perform a trial test before buying more. Apply the paint to white poster board and assess its color under your specific lighting conditions.
Painting Topics:
- Types of Paint
- Color wheel principles
- Choosing a color scheme
- Painting equipment and tool kit
- Painting brushes and rollers
- Power paint rollers
- Spraying paint
- Protection
- Priming is essential
- Preparing to paint
- Cleaning and deglossing
- Treating stains, mold, and mildew
- Painting over wallpaper
- Removing wallpaper
- Priming and painting walls
5 things to consider when taking on Home Improvement Painting projects
- The preparation phase takes longer than the painting itself. To ensure superior outcomes, adequate surface preparation is essential. Budget comparable time for cleaning and repairs as for painting.
- Paint conceals discolorations, but not surface flaws. It conceals the imperfections, such as bumps, nicks, dents, and cracks, that are inherent to the wall, door, or trim, but it will not eliminate the flaws. That is your responsibility.
- Purchase the best paint, rollers, and brushes that are within your budget. Cheap paint, made with more filler than pigment, turns powdery after a couple of years. Cheap rollers and brushes mar the surface by leaving fuzz and bristles behind.
- Protect all surfaces that are not designated for painting, including floors, trim, woodwork, and furnishings.(See Protecting Surfaces on … )
- Wipe down the surface. Clean the walls or trim with trisodium phosphate (TSP) or a phosphate-free alternative, then rinse with a sponge and clean water until the water is clear. Allow the surface to dry, then identify and repair any imperfections. Consult with the paint department staff for guidance on the most suitable products for addressing specific issues, which may include the following:
- Caulking compound. Fill exterior cracks with caulk. Inside, caulk between walls and molding, and run caulk down the corners. To achieve a smooth transition between surfaces, smooth the bead of caulk with a wet finger, particularly if they are cracked.
- Surfacing compound is designed for wall repair applications; choose a compound compatible with your wall type, generally drywall or plaster. Utilize a lightweight spackling compound for small holes or gouges, as it provides increased body and minimizes shrinkage.
- Window glazing compound. Glazier’s compound is a specialized putty designed to secure glass windowpanes in place from the exterior. It adheres instantly and dries rapidly, allowing for immediate painting. Additionally, it is ideal for filling exterior nail holes.
- Use Paint Primer on surfaces thoroughly before painting. Primer creates a molecular bond between the paint and the surface being painted. The application of a primer sealer to a stained wall or ceiling serves to prevent any underlying stains from bleeding through at a later stage.
- Sanding should be done between coats. This step is brief; merely wipe the wall with 120-grit paper, then use a towel or an old paintbrush to brush off the dust. A sanded wall, when finished, feels velvet-smooth to the touch. An unsanded wall feels slightly bumpy.
- Develop your decorative skills on a sheet of base-coated poster board until you achieve the desired look. Variations in technique and glaze application yield diverse effects, even with the same color palette.