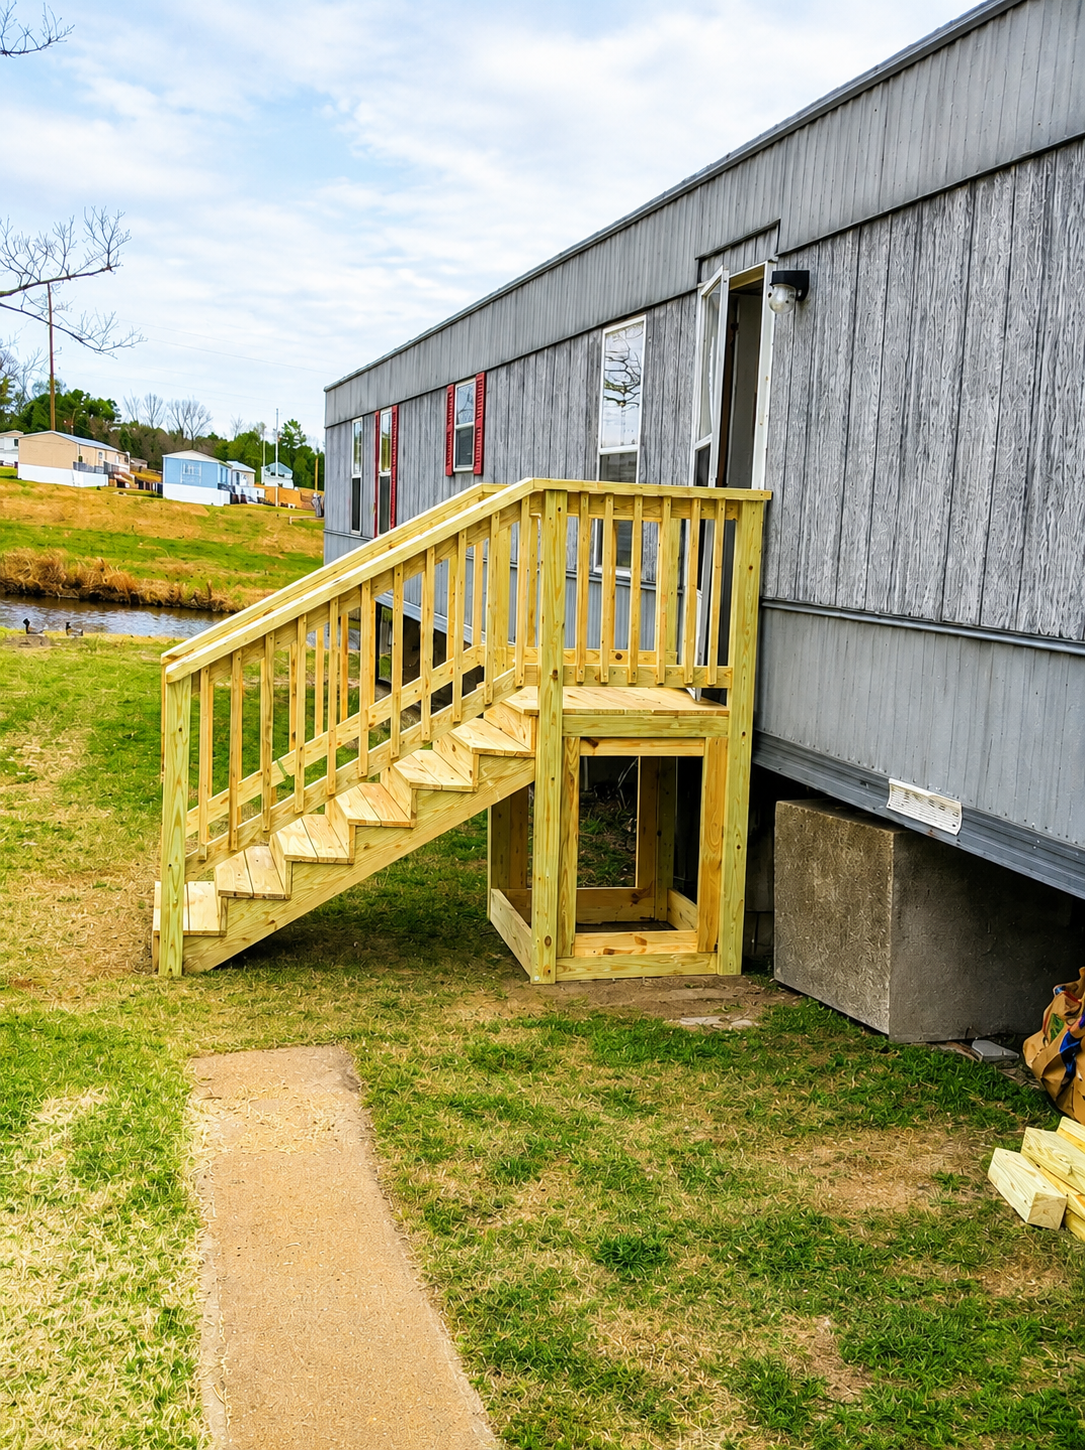
If there’s one thing I’ve learned over 40+ years of DIY—from a 1970s shop class to building decks, finishing basements, and painting my own garage with my sons—it’s this:
👉 Most painting mistakes aren’t about skill—they’re about preparation and patience.
At Conley’s Home Improvement, I’ve seen (and made) just about every mistake in the book. The good news? Every one of them is avoidable.
Let’s walk through the most common beginner painting mistakes—and how you can get professional-looking results the first time.
1. Skipping Surface Prep


This is the #1 mistake beginners make.
Painting over dirt, grease, or damaged surfaces is like building a deck on loose soil—it won’t last.
What happens:
- Paint won’t stick properly
- You get peeling, bubbling, or uneven coverage
What to do instead:
- Clean walls with mild soap and water
- Patch holes and cracks
- Lightly sand rough areas
👉 Measure twice, cut once… and prep twice before you paint.
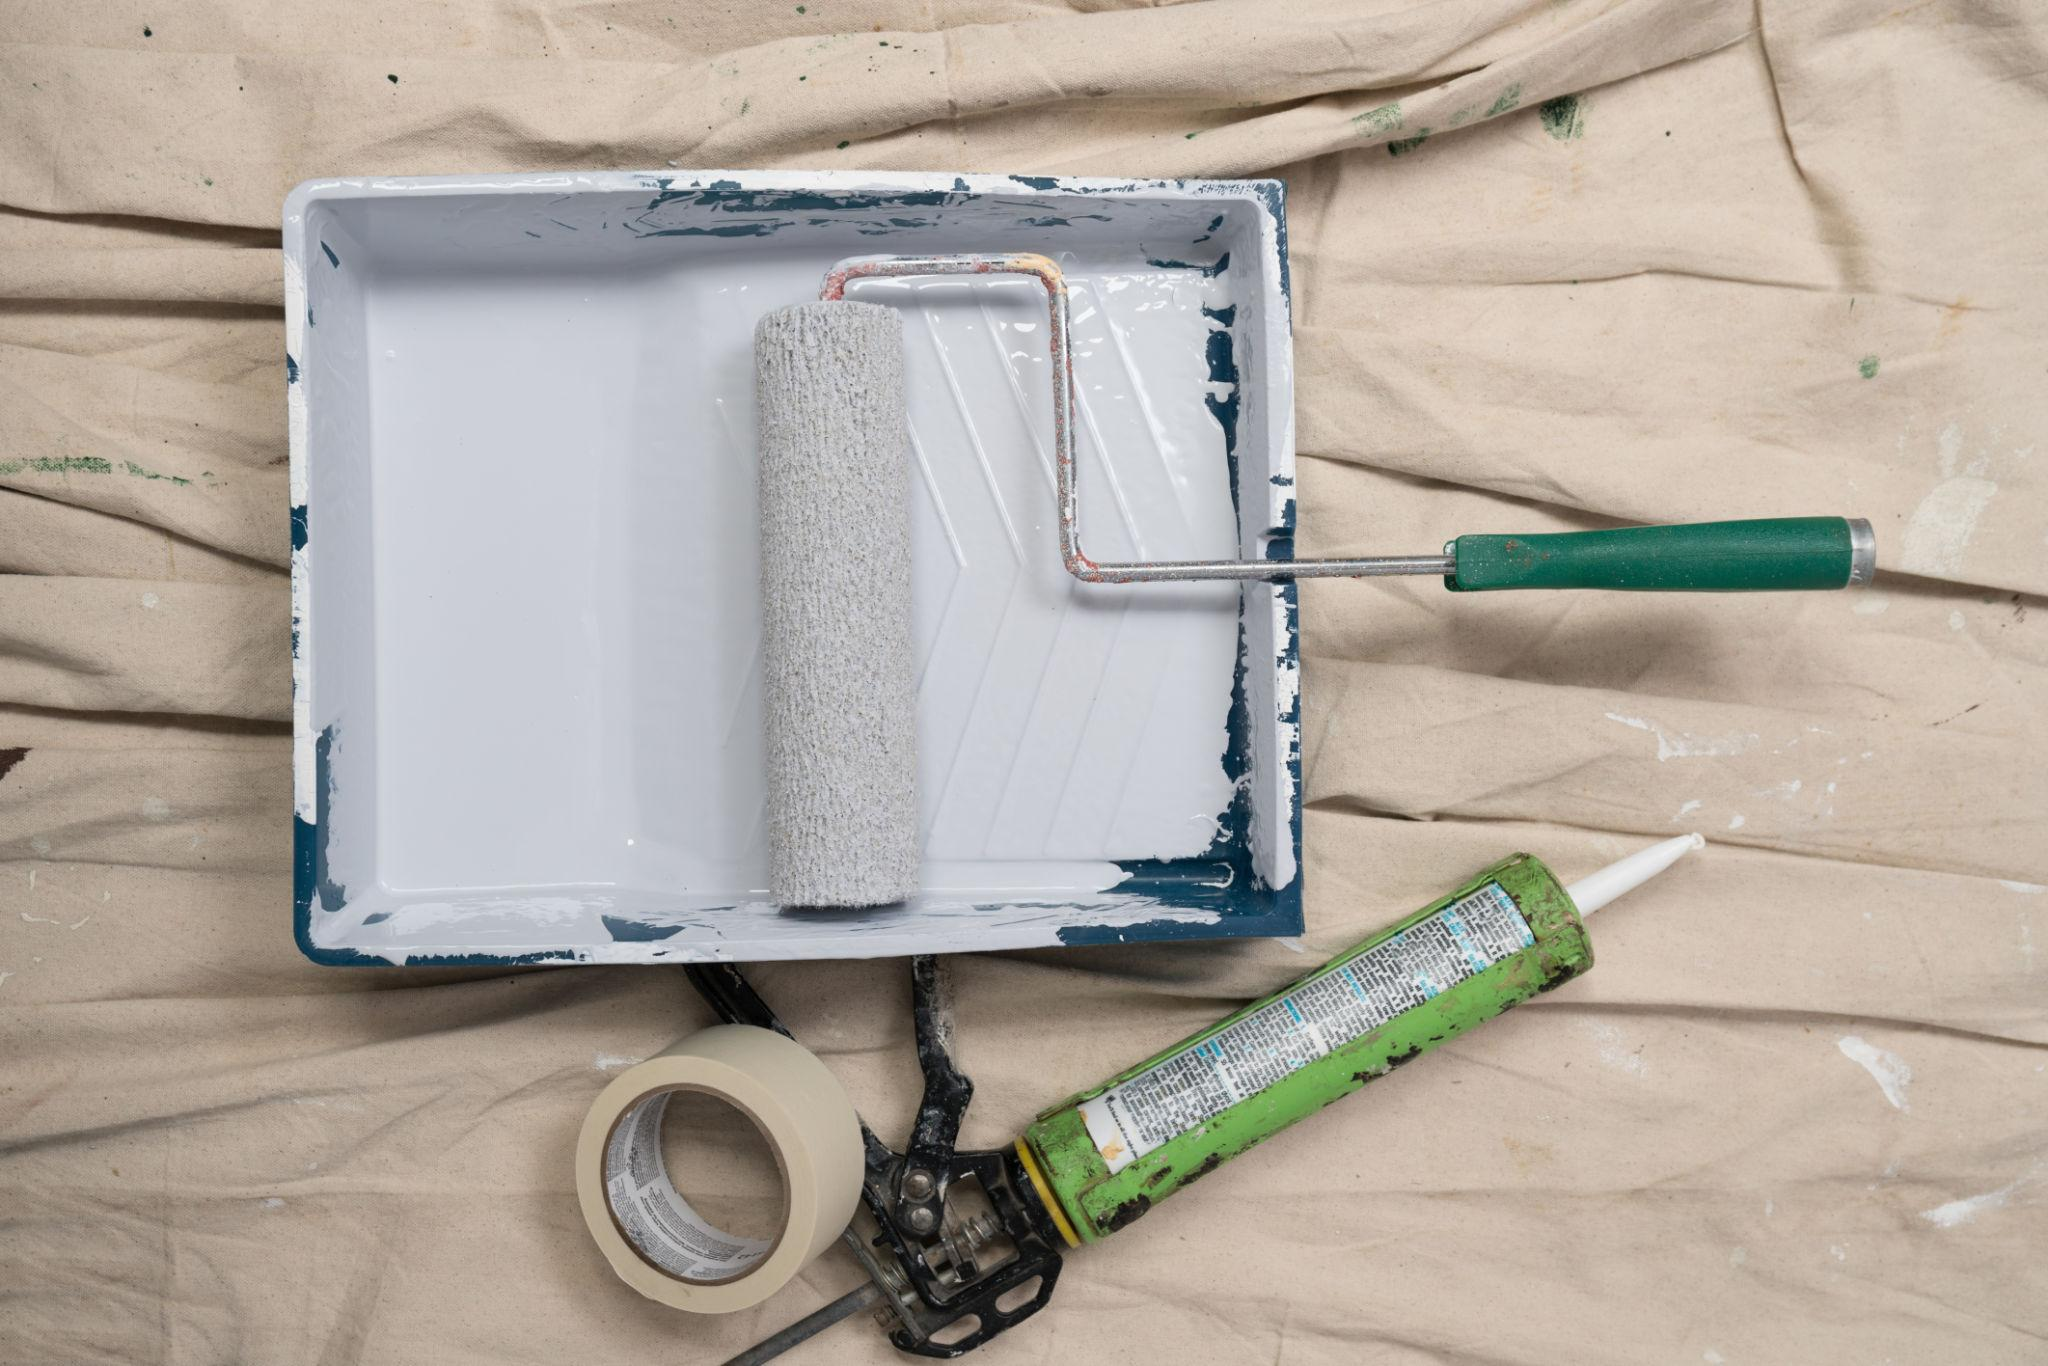
2. Using the Wrong Tools


Back in my early days, I thought any brush would do. I learned quickly—that’s not the case.
What happens:
- Streaks and lint in your paint
- Uneven finishes
- More time fixing mistakes
What to do instead:
- Use quality brushes for edges
- Rollers for large surfaces
- Extension poles to save your back (trust me on this one)
👉 The right tools don’t just make it easier—they make it look professional.
3. Skipping Primer


I’ve seen people try to paint over dark walls or stained surfaces without primer… and regret it immediately.
What happens:
- Blotchy color
- Extra coats (more time and money)
- Poor durability
What to do instead:
- Always prime:
- New drywall
- Dark colors
- Stained or repaired areas
👉 Primer is your foundation—don’t skip it.
4. Applying Paint Too Thick (or Too Fast)


This one comes from impatience—and I get it. You want to finish.
What happens:
- Drips and runs
- Uneven texture
- Longer drying times
What to do instead:
- Apply thin, even coats
- Let each coat dry fully before the next
👉 Good painting is a marathon, not a sprint.
5. Ignoring Painter’s Tape (or Using It Wrong)


Clean lines separate DIY from professional work.
What happens:
- Paint bleeds under edges
- Crooked lines
- Messy trim and ceilings
What to do instead:
- Apply tape firmly
- Remove it while paint is still slightly wet
- Don’t rush the edges
👉 This is one of those small details that makes a BIG difference.
6. Not Testing Paint Colors First


What looks great in the store can look completely different in your home.
What happens:
- Regret after full application
- Wasted time and money
What to do instead:
- Test samples on your wall
- Check in:
- Daylight
- Evening lighting
👉 Paint is all about light and environment.
7. Rushing the Job


This is the mistake that ties all the others together.
When I painted my garage back in 2005 with my sons, it wasn’t about speed—it was about doing it right. That project still stands as one of my favorite memories and one of the cleanest finishes we achieved.
What happens:
- Missed steps
- Sloppy finish
- Rework later
What to do instead:
- Plan your project
- Work in stages
- Take your time
👉 The more you build, the more you realize: slow is smooth, and smooth is fast.
Final Thoughts: Paint Like You Mean It
DIY painting isn’t just about putting color on a wall.
It’s about:
- Discipline
- Attention to detail
- Pride in your work
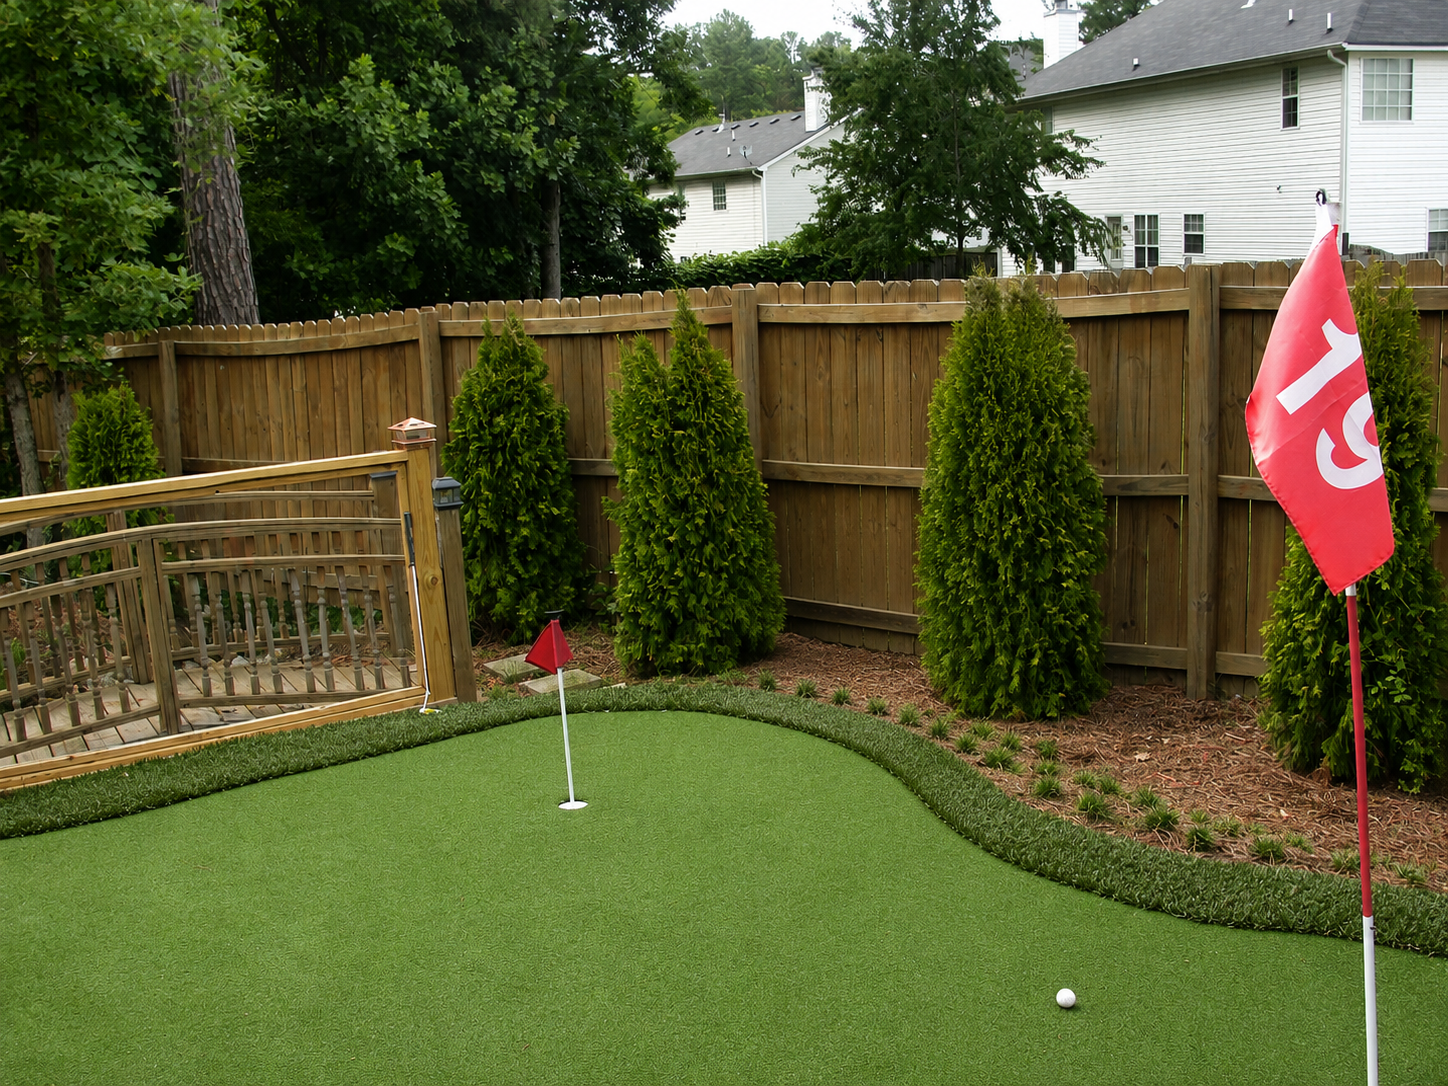
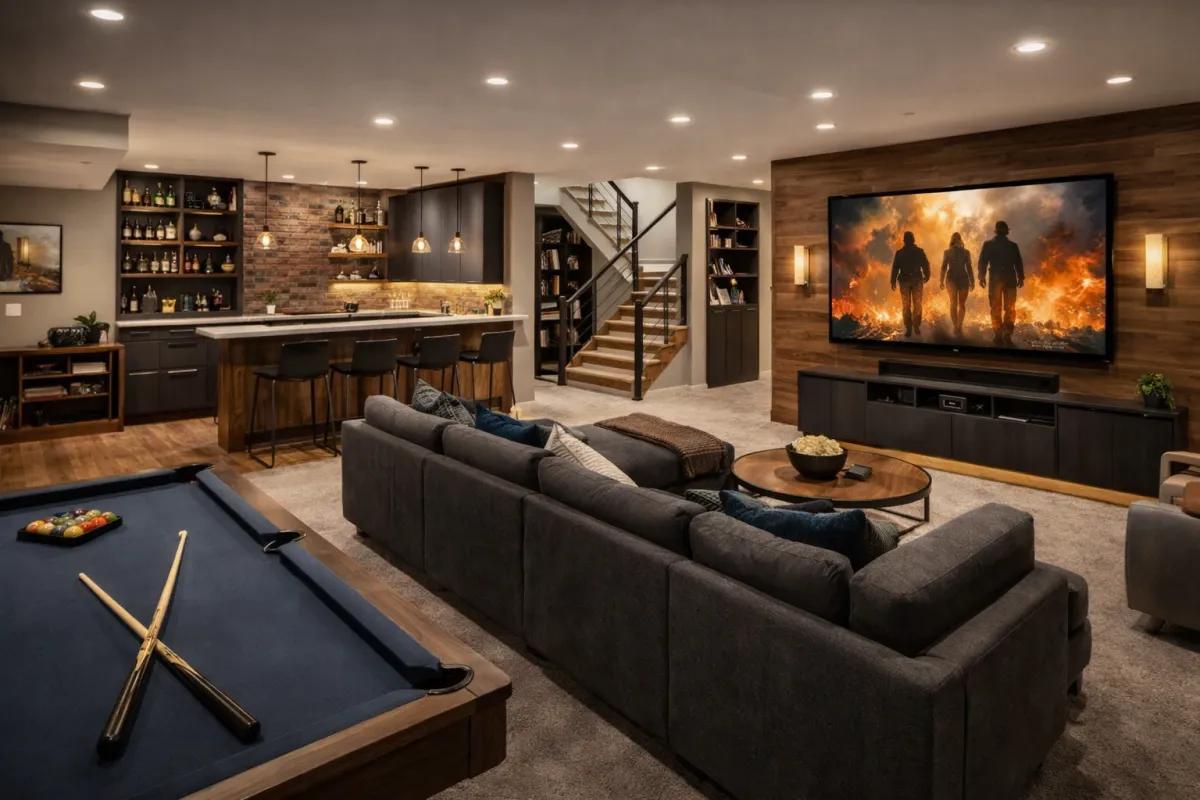
At Conley’s Home Improvement, every project—whether it’s a garage makeover, a basement finish, or a backyard build—comes down to doing the basics right.
👉 Avoid these beginner mistakes, and you won’t just paint—you’ll transform your space.
🔧 Quick Recap Checklist (Save This)
- ✔ Clean and prep surfaces
- ✔ Use the right tools
- ✔ Don’t skip primer
- ✔ Apply thin coats
- ✔ Use painter’s tape properly
- ✔ Test colors first
- ✔ Take your time