The process of painting walls and ceilings is the same, and priming both surfaces before painting is essential for a high-quality finish and cost-effective results. Neglecting to prime and seal can lead to an inferior paint job, causing stains or discoloration to appear through the final coat after drying, thereby squandering the $30 (or more) per gallon spent on premium paint.
Primer, which is less expensive than paint, exhibits distinct differences in other aspects as well (see ……). Its formulation enables strong adhesion to diverse surfaces and effectively seals them to prevent stains from bleeding through the finish coat. Paint demonstrates improved bonding to primed surfaces compared to plaster, wood, or previous coats of paint. The use of primer increases durability and may obviate the need for an additional (more expensive) top coat—especially when the primer is tinted to match the finish coat.
To ensure an efficient job, follow a logical sequence: First, apply stain and varnish to new trim to safeguard the bare wood from paint. Next, prime and paint the ceiling, followed by the walls, and finally, address trim that requires repainting. (Alternatively, some painters prefer to paint trim before walls.) Meticulous masking at each stage enables rapid progress, ultimately conserving time.
When purchasing multiple cans of identical paint, there’s a possibility of slight color variations. To ensure consistency, combine the paint from multiple cans into a large bucket if you require more than one can for the job. This process, known as “boxing” the paint, guarantees uniform color throughout.
Skill level: 3
🔘🔘🔘⚪️ ⚪️
Time to complete:
Experienced: 4 hrs.
Handy: 6 hrs.
Novice: 8 hrs
Materials:
- Spackling compound or wall-repair materials
- stain blocker and /or primer
- high-quality latex.
- paint, blue painter’s tape, 120-grit sandpaper
12inch baseboard-masking paper
Tools:
- Putty knife
- brushes
- rollers
- spray bottle (for priming brushes and roller covers)
- extension pole
- 5 gallon paint bucket with roller grid
- small paint bucket
- latex paint respirator (optional)
- safety glasses
- drop cloth
- ladder (if necessary)
- rags
14 Priming and painting walls steps:
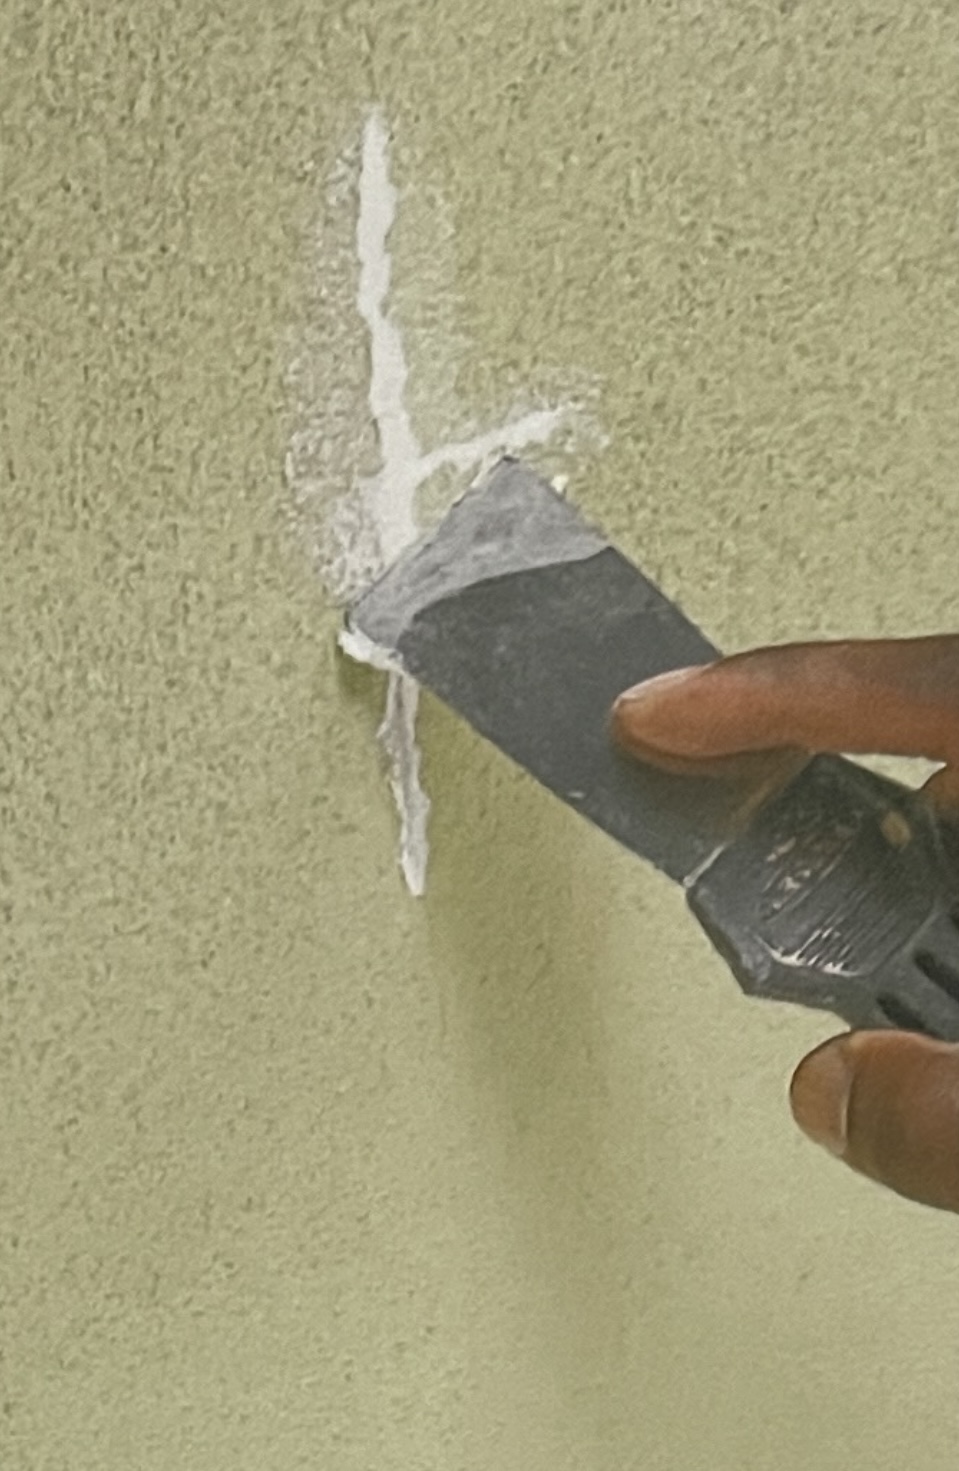
1. Repair surface defects. Inspect all surfaces, then carefully repair and sand all cracks, holes, or dents before paint application. For information on repairing walls, see ….
2. Tint the primer, but be aware that the manufacturer’s guidelines stipulate a limited percentage of the primer’s volume can be dedicated to tint, which may cause it to appear lighter than the finish coat. It is crucial to recognize that tinting is not mandatory for all primers, and the paint salesperson should follow the manufacturer’s guidelines.
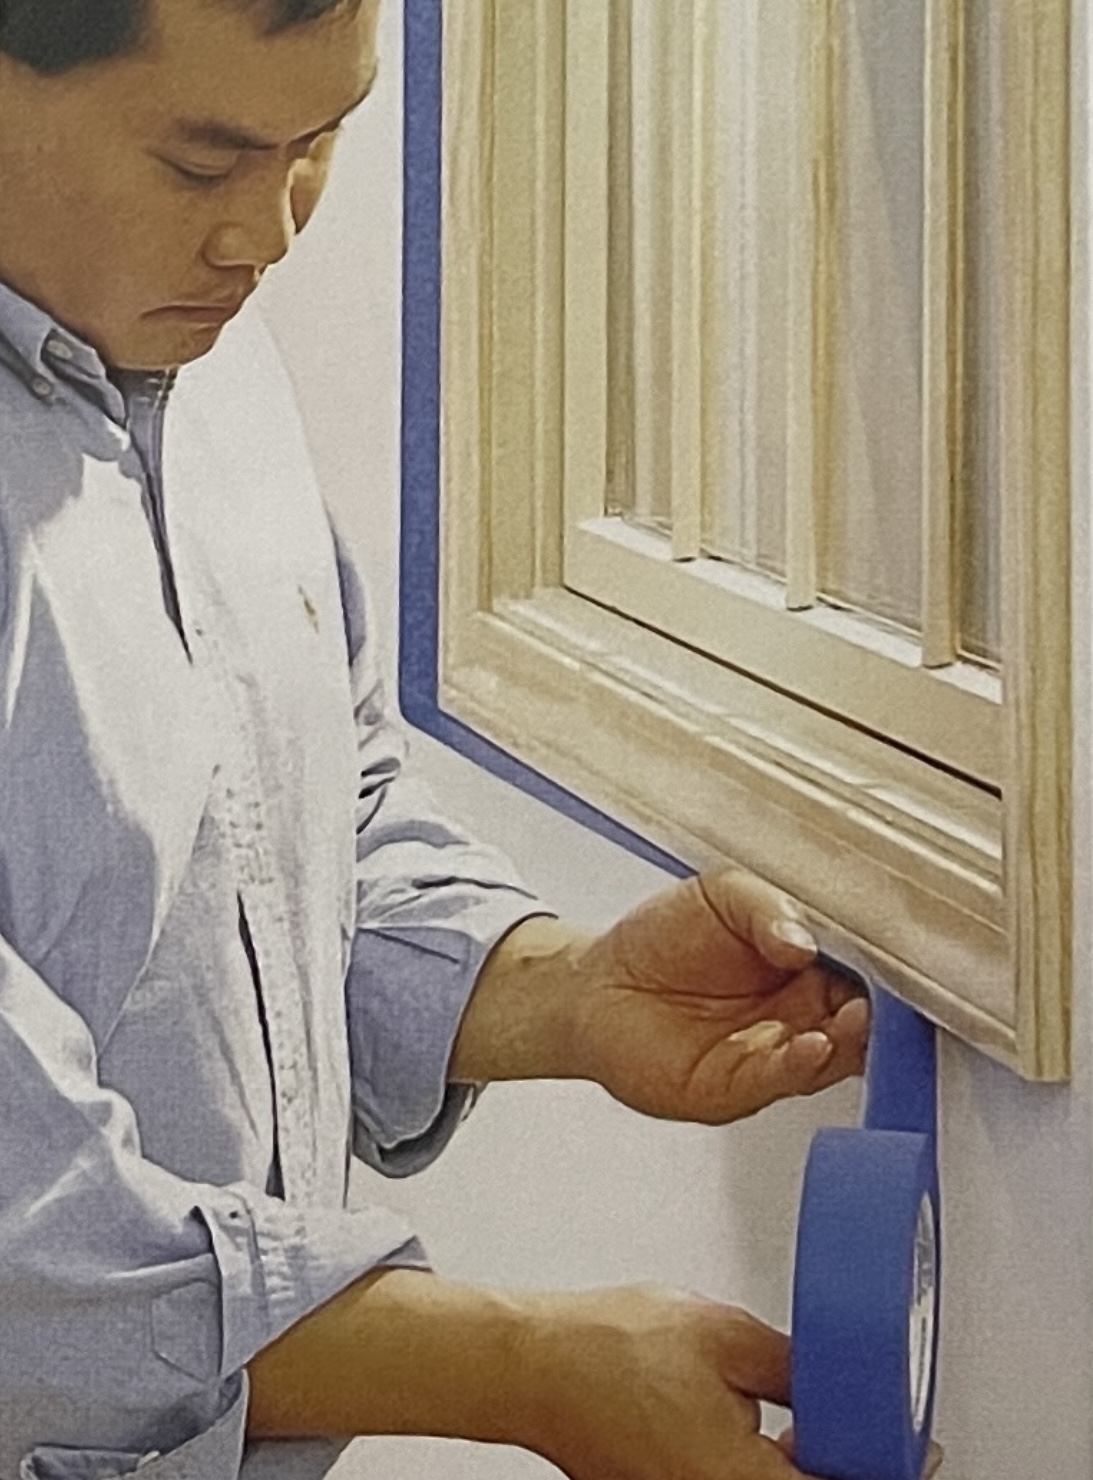
3. Mask the room. Establish the painting order, proceeding from top to bottom. Begin by priming and painting the ceiling, followed by trim, and conclude with the walls, removing any wall drips from trim. Mask areas painted last from those painted first.
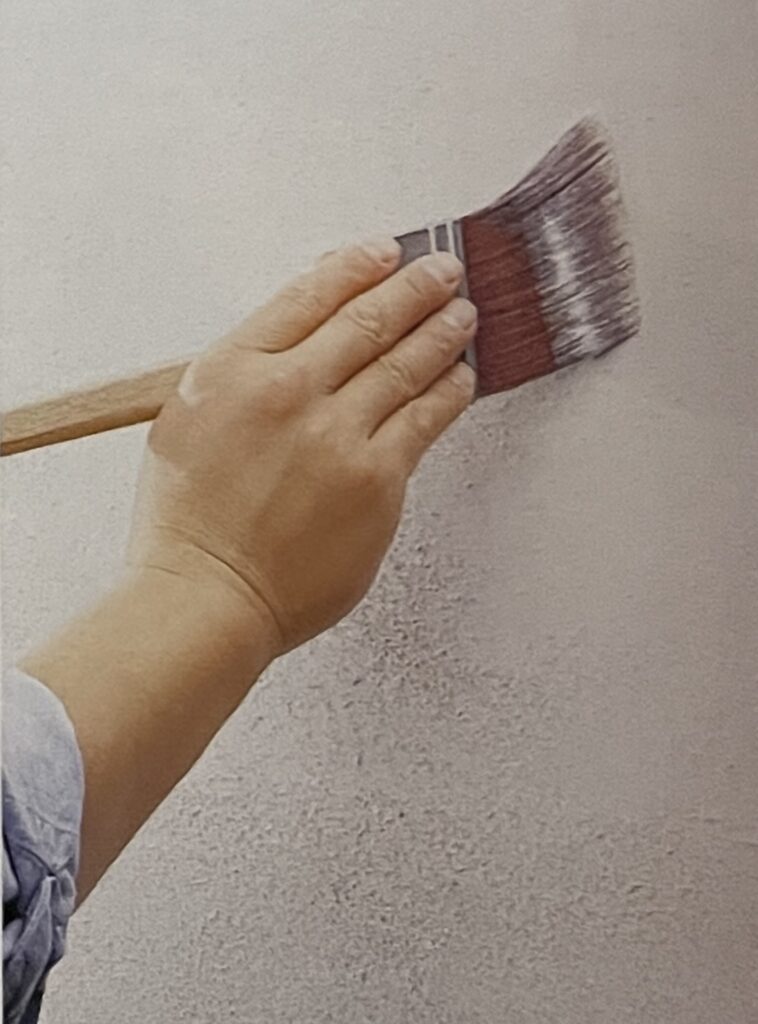
4. Spot prime. For latex applications, dip the brush in water to enhance primer absorption. For alkyd applications, dip the brush in mineral spirits. Brush out the liquid on a piece of cardboard to remove loose bristles. Prime all areas of walls and trim that require special attention, including drywall and plaster patches, bare wood exposed by scraping or sanding, and areas treated with stain blocker.
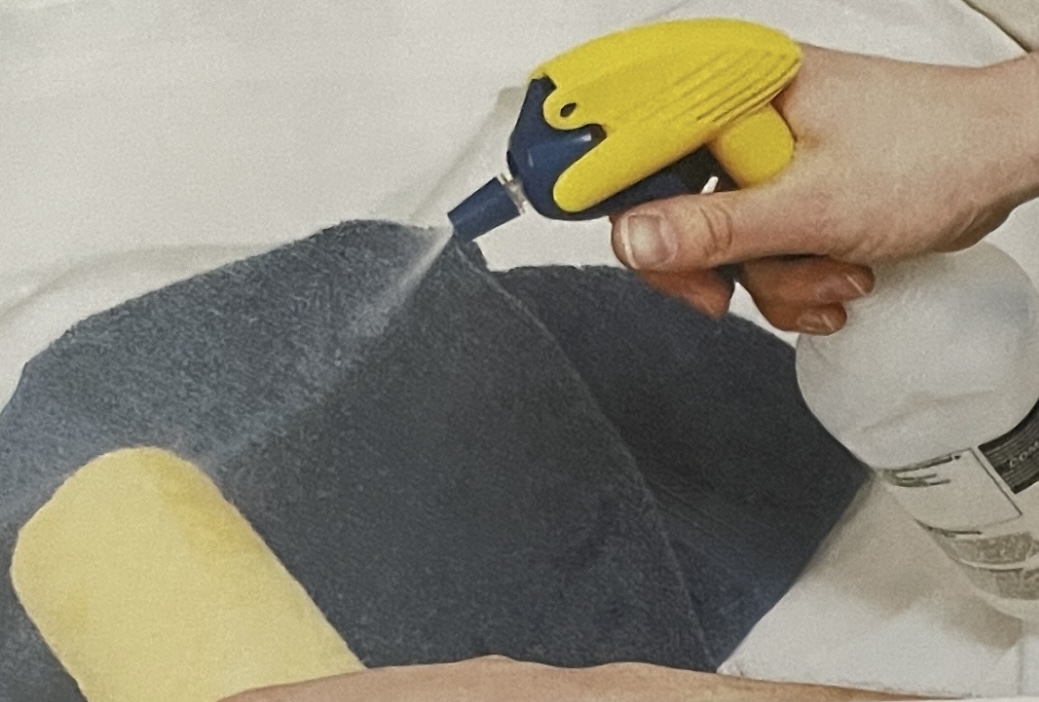
5. Prior to use, moisten the roller to ensure optimal performance. A dry roller will not absorb thick primer or paint effectively, so pre-moistening is necessary. When working with latex primer, apply a fine mist of water to the roller and gently squeeze out excess moisture. For alkyd primer, mineral spirits are the preferred choice. Saturate the roller cover with primer by running it over the paint grid or roller tray multiple times.
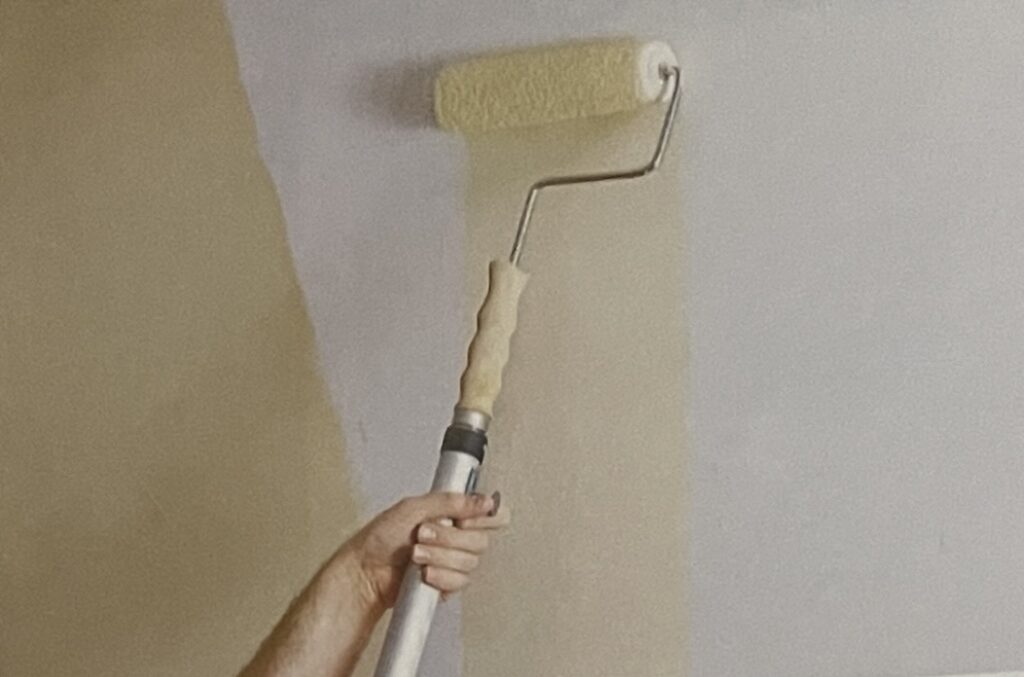
6. Carefully cut in the edges of the ceiling, applying primer to an area approximately 2 inches wide and 5 feet long at a time. Then, donning safety goggles and an old cap, proceed to roll primer onto the ceiling, ensuring the roller overlaps into the cut-in area. Employ diagonal strokes, working from the edge towards the middle of the room. Continue alternating between cutting in and rolling until the task is complete.
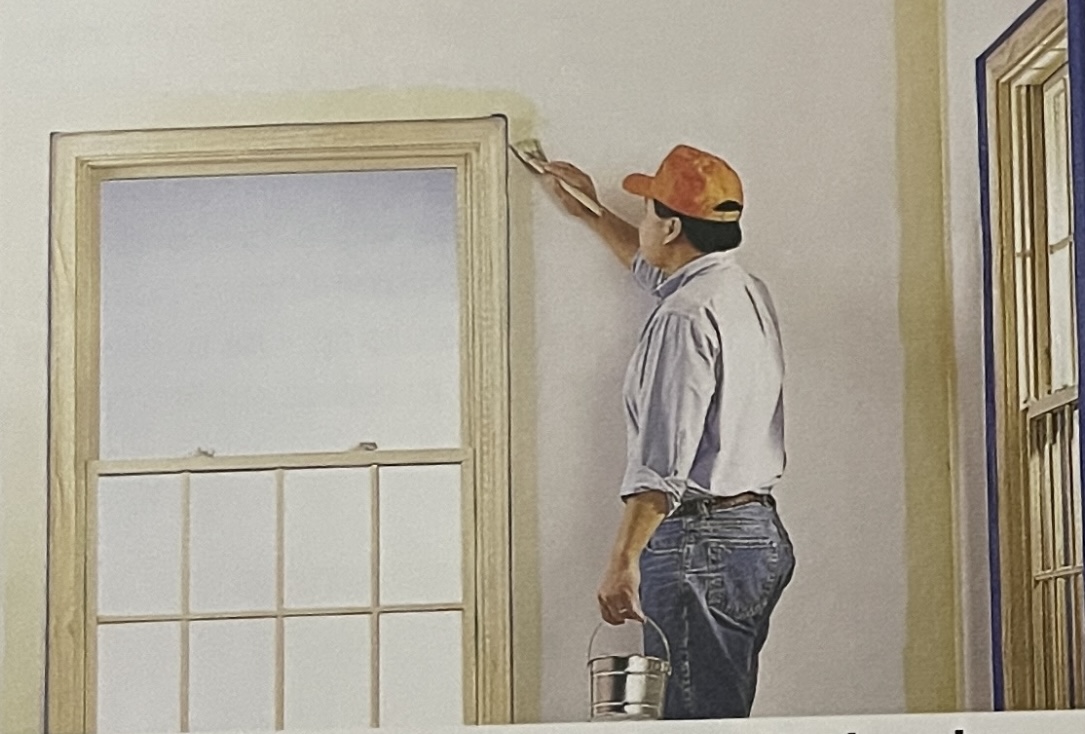
7. Mask off the trim if you haven’t already done so. Wait until the ceiling dries and mask it off with blue painter’s masking tape. Cut in around the windows, doors, and corners. (Starting in a corner, brush primer along about 5 feet of trim, 5 feet of ceiling, and from top to bottom of the corner.)
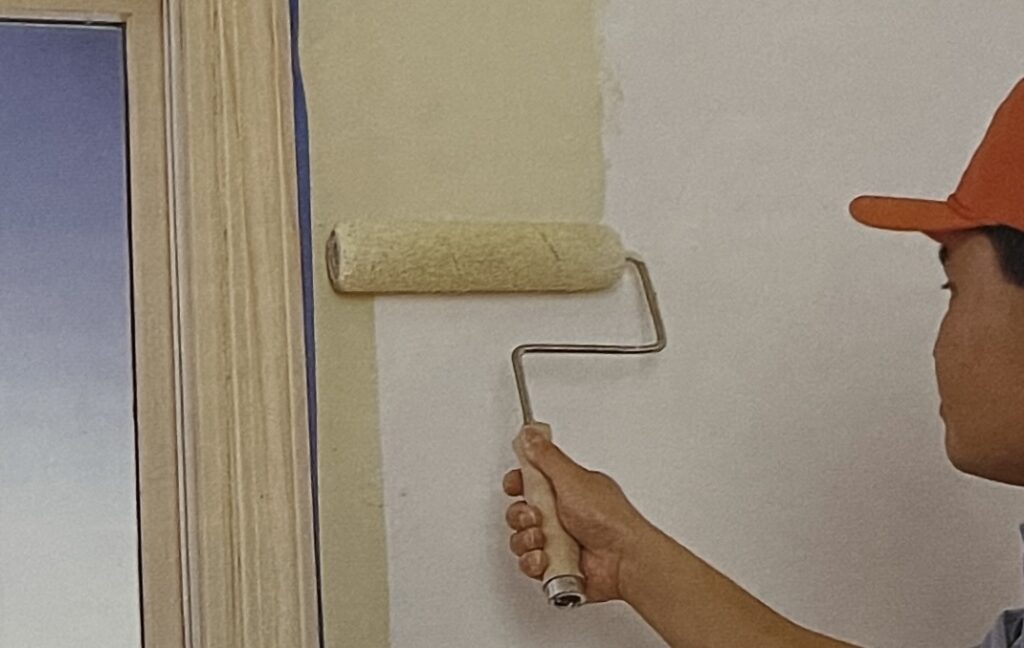
8. Roll the walls, getting as close as possible to the masked trim, ceiling, or adjacent wall. This minimizes the area with a brush-stroke texture. Some professional painters reverse the rolling and cutting-in steps, rolling as close as they can to the masked trim; then, to save paint, they cut in only what’s left.
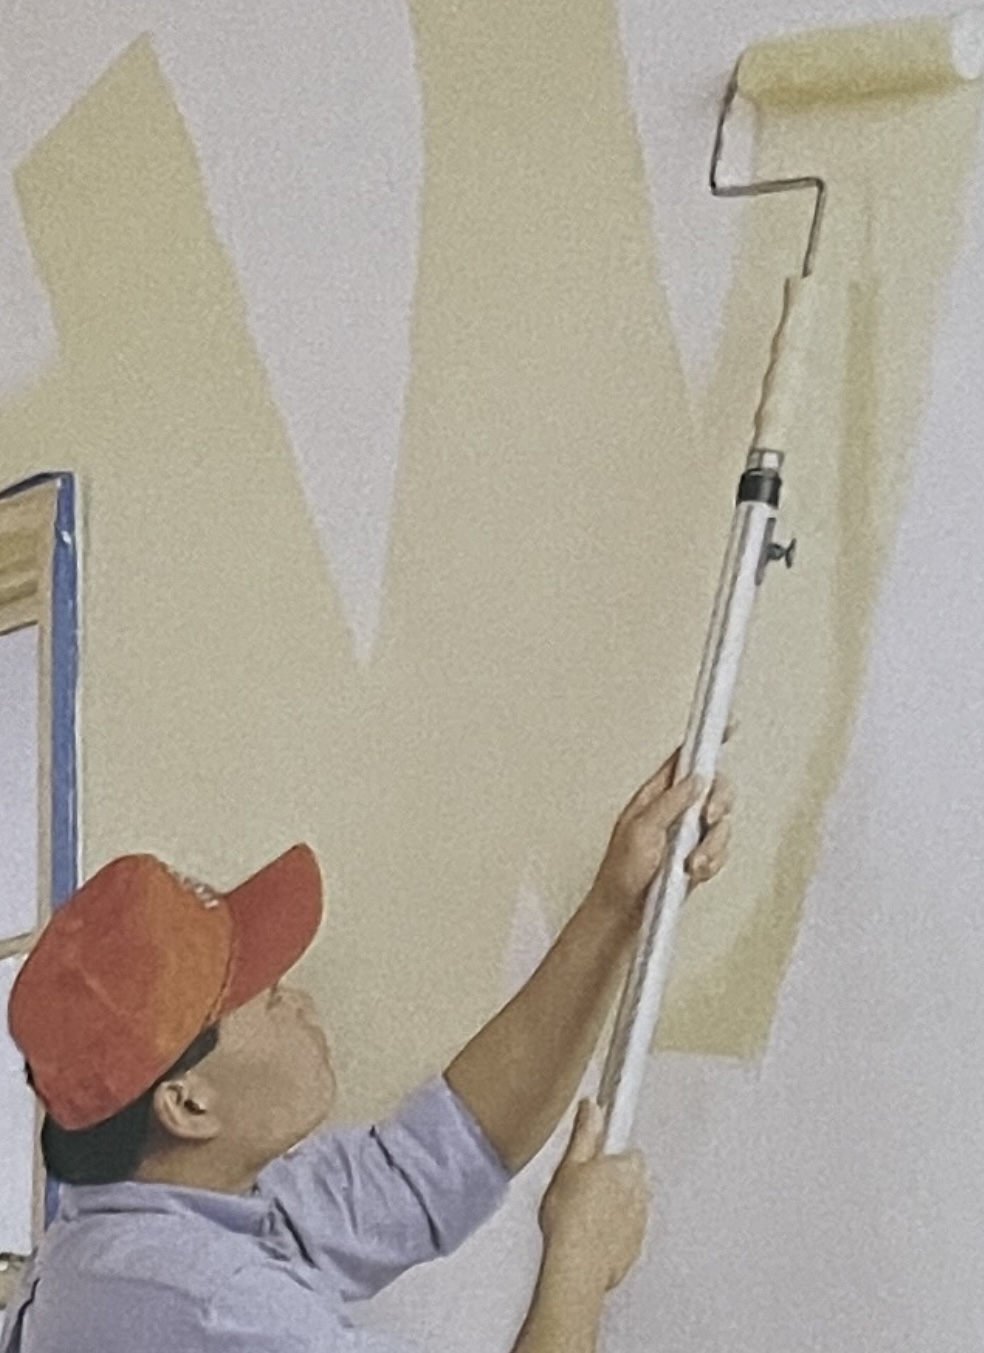
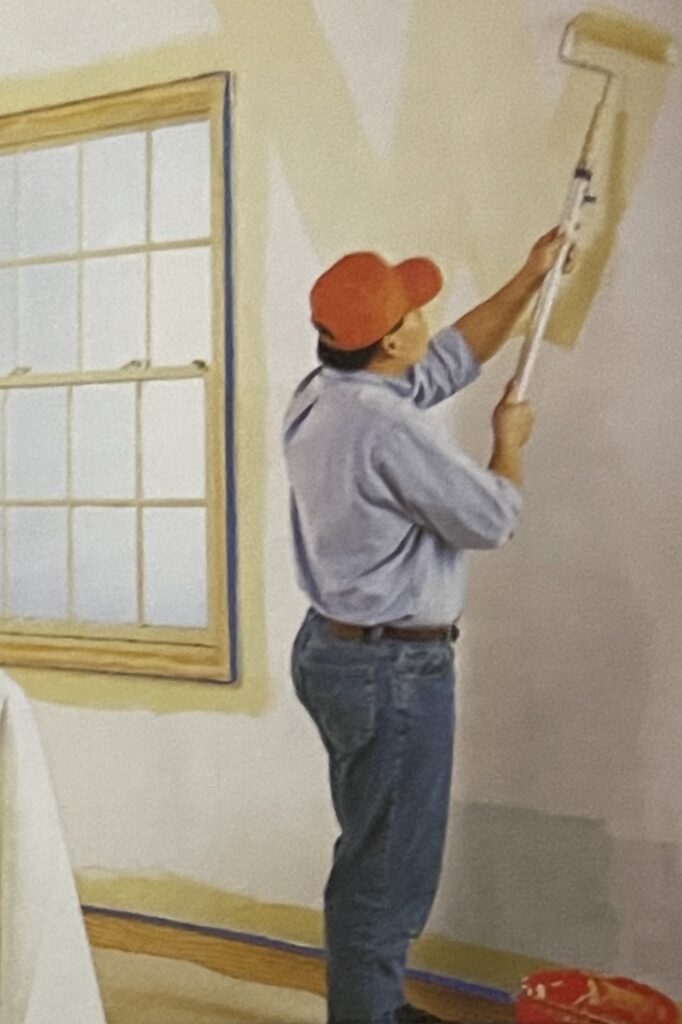
9. Begin rolling at the top of the wall along the cut-in strip, working toward the bottom in a series of W-shape strokes, as shown above, to avoid creating a visible pattern. Move along the wall in 3- to 5-foot sections, cutting in and rolling until the job is done. Work in sections you can cover with a single load of the roller, and always roll up on the first stroke. The key is to overlap areas of wet paint.
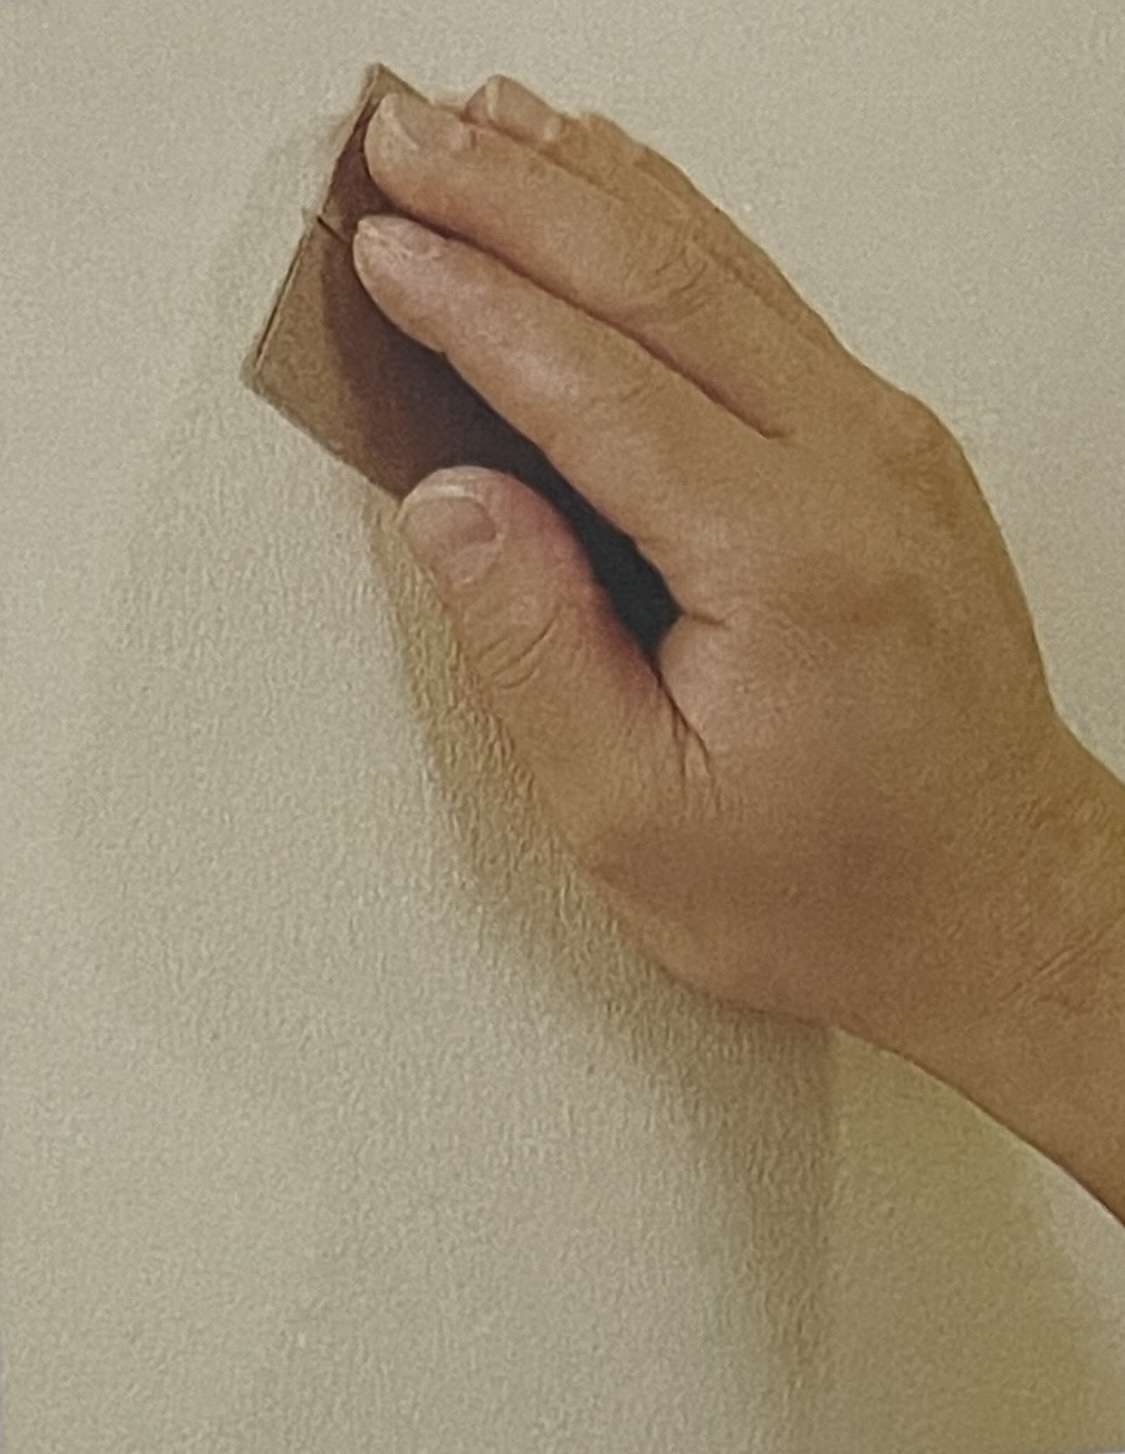
10. Sand the walls if needed. When the primer is thoroughly dry, lightly sand any blemishes. If using a full sheet of 120-grit sandpaper, tear it in four pieces, folding each one in thirds. Lightly rub the wall to remove bumps and other high spots. When the paper fills with paint dust, refold it to reveal a fresh face and continue. As an alternative, use drywall screen or a 4-to 6-inch putty knife to knock down the bumps. Wipe the smoothed wall with a damp rag to remove dust and debris.
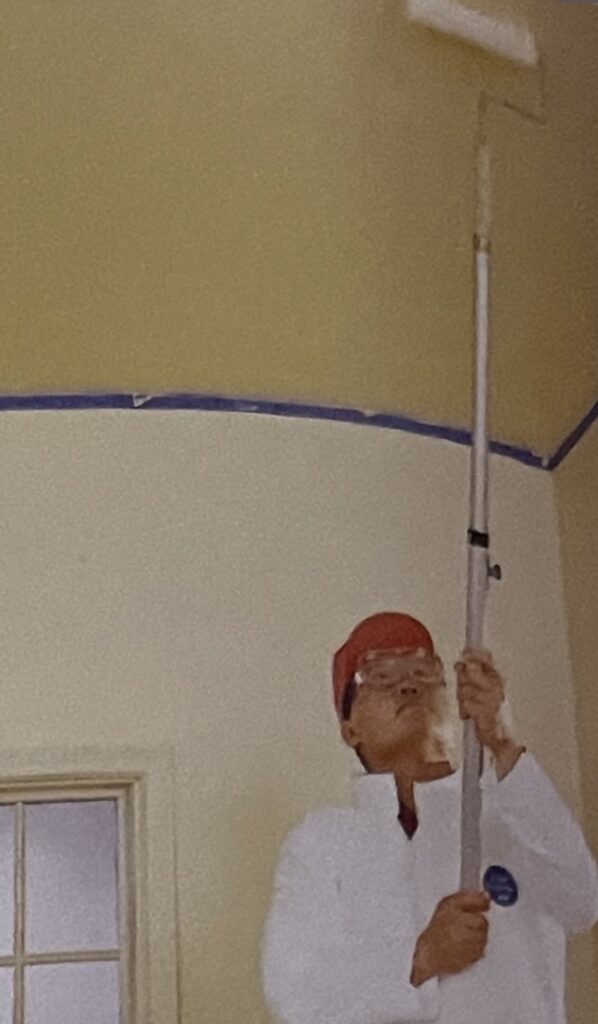
11. Masks the top of the walls, and roll the ceiling with paint. Cut in a section and roll as in step 6. Protect your eyes with safety goggles and wear an old cap. Extension poles allow you to reach more areas safely, without leaning from a ladder. A 5-gallon bucket with a roller grid requires filling less often than a paint tray and it is less likely to tip. Use a roller with a spatter guard to reduce spattering.
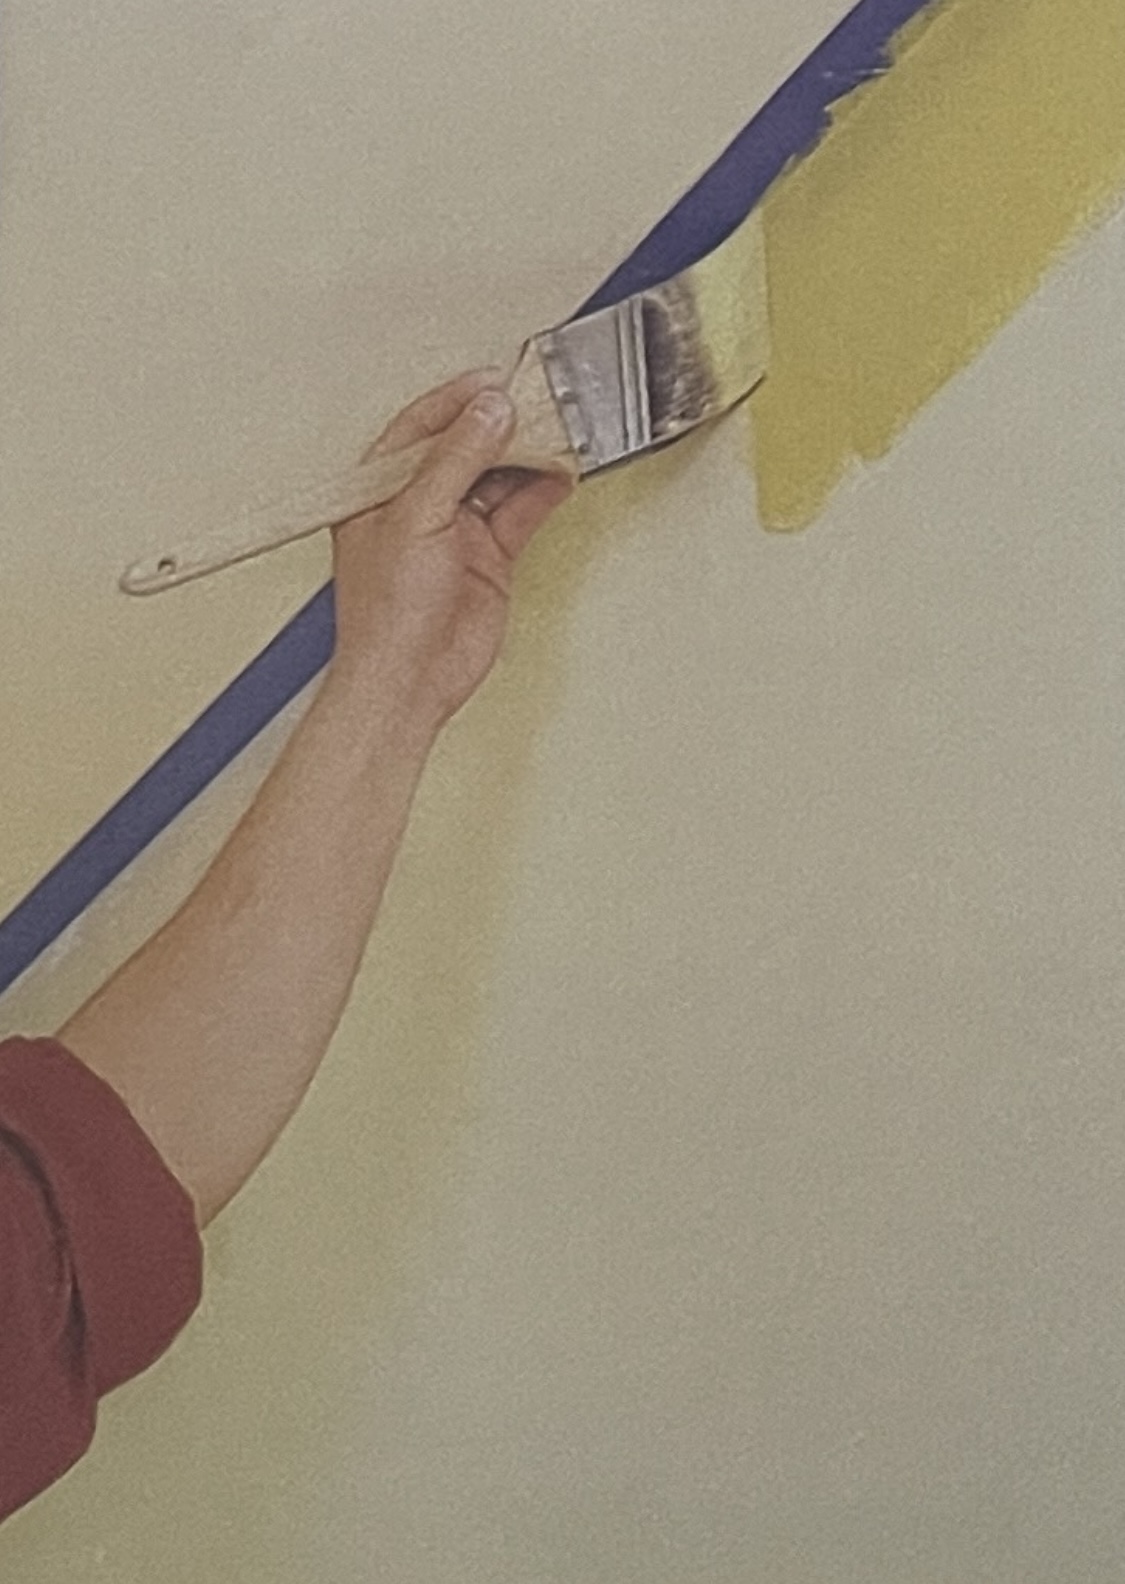
12. Cut in the walls. After you’ve painted the ceiling, remove the tape from the top of the walls and let the ceiling dry overnight. Then mask off the ceiling and trim to paint the walls. Starting in a corner, cut in a few feet along the ceiling, a few feet along the baseboard, and in the starting corner, as in Step 7.
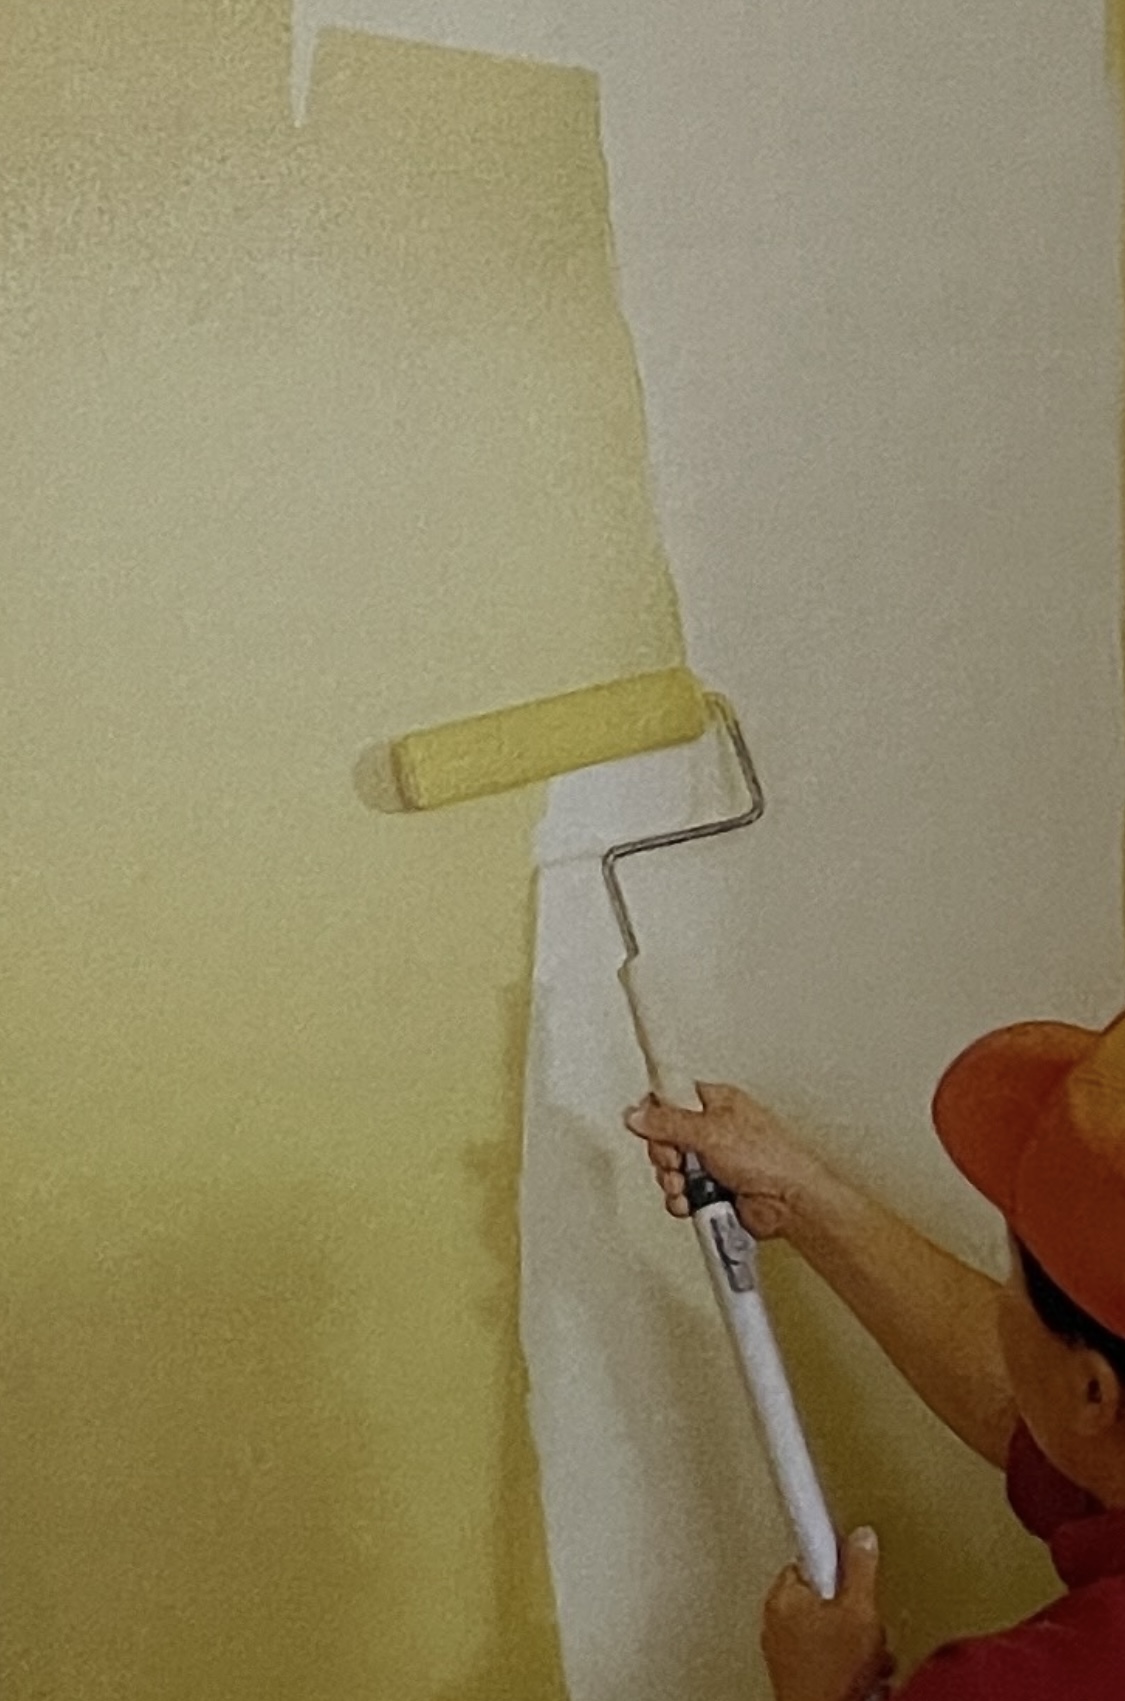
13. Roll paint on the wall working from top to bottom in a series of W-shape strokes. The cut in (brushed) areas have a different texture from the rolled areas. Paint into the freshly cutin areas with a roller to minimize the difference; if you have masked properly, the roller can get very close to cover almost all of it.
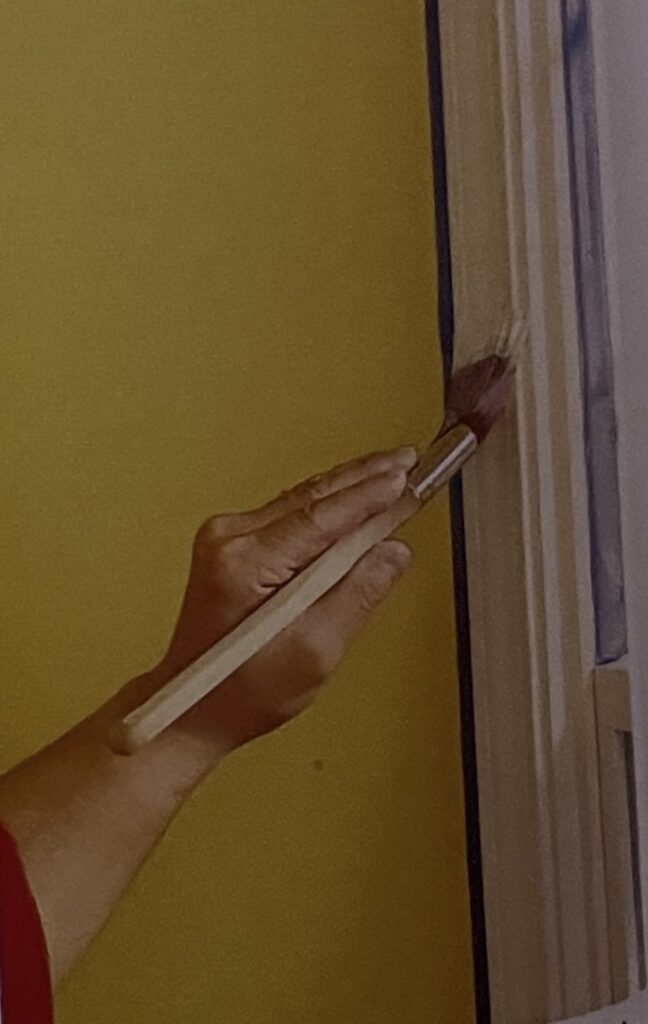
14. Prime and paint the trim. Remove the masking tape from the walls, wait for the paint to dry thoroughly, and mask off for the trim. Control drips to minimize mistakes, pour the trim paint into a small bucket and dip the brush about halfway ing the paint. Then tap the brush against the sides (instead of scraping it against the rim) to remove excess paint at the lip of the brush.
Latex and alkyd (oil) paints compared
| Paint type | General advantages | General limitations |
| Latex | • Cleans up with water • Excellent color and gloss retention • Good adhesion to many surfaces • Breathes (lets moisture vapor pass through) | • Most paint cannot be applied below 50% F • Freezing temperatures may ruin liquid paint |
| Alkyd | • Good hiding ability • High adhesion • Allows longer time to brush • Good leveling of brush marks • Flows easily; resistant to sticking (blocking) | • Flammability • Yellows, becomes brittle, cracks with age • Not for use on untreated galvanized metal or fresh masonry • High volatile organic compound (VOC) content, with the resulting odor |
CLOSER LOOK. TSP=SPOTLESS WALL. Trisodium phosphate (TSP) is a powerful cleaning agent favored by many painters due to its capacity to effectively penetrate and remove grease and dirt. Nevertheless, the phosphate in TSP can cause algae bloom in water bodies, resulting in restricted usage in some regions. Alternative cleaning products are available; inquire with your paint department for options. When using TSP or a similar product, ensure that all residue is thoroughly rinsed from walls with copious amounts of fresh water before it dries, as any remaining residue will impede paint bonding. Always read and follow instructions.
