
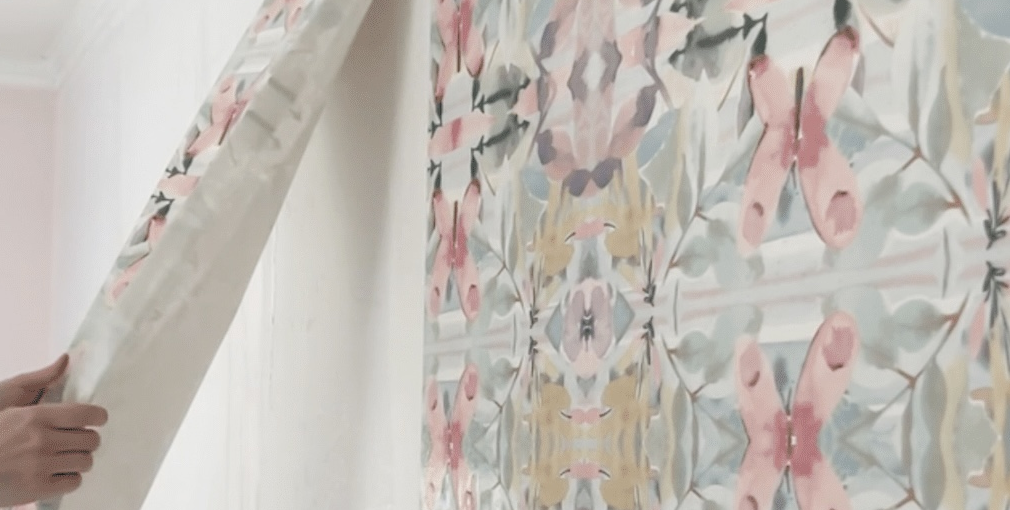
Home > Paint > Removing wallpaper (How to remove wallpaper)
The skill level; time to complete; materials; and tools required to remove wallpaper is as follows:
Materials:*
Click on the above links to purchase paint materials and tools online from the Amazon store.
*Disclaimer: This pages contains Amazon affiliate links and other affiliate links. That means that if you click a link and decide to make a purchase I will receive a commission at no extra cost to you.
How to remove wallpaper:
Removing wallpaper is an inexact science-get the right tools, humor about it. If you re lucky, someone will have prepared the wall properly and used a strippable paper. If they didn’t do this, then good luck.
Removing layers of old wallpaper can be frustrating, but there are ways to make it easier. First, determine if you even need to remove it: If the surface is in good condition, professionals sometimes paper or paint right over it (see …). If you have any doubts about whether it needs to come off, remove the paper. In any case repair and priming are essential. You should usually soak and remove nonvinyl papers-cleaning does more damage than good. Clean vinyl and vinyl-coated papers the same way you clean painted walls— gently.
Steps to remove wallpaper:
1. Turn off the power at the circuit breaker panel, then remove all switch and outlet covers on the walls you are stripping. Cover switches and the outlets with blue painter’s masking tape.

2. Cover, the floor with a moisture-proof drop cloth, then apply baseboard masking paper and blue painter’s masking tape to the baseboards. Let it overlap the drop cloth for complete coverage.

3. Perforate the wallpaper so that wal can penetrate beneath it. There are special tools, such as the one shown, that create shallow cuts to make the job go faster. Apply minimal pressure to perforate the wallpaper without damaging the underlying drywall.

4. Apply wallpaper remover generously with a spray bottle. Mix the remover with very hot water to speed up the removal. Or make your own solution by mixing one cup of white vinegar per gallon of water. This is an effective alternative to commercial wallpaper removers.)

5. Let the wallpaper soak for 10 to 20 minutes or follow the manufacturer’s instructions. Then peel off as much wallpaper as you can by hand. Before turning to the scraper, spray on a second application of remover, again letting it soak.

6. Peel off the remaining wallpaper with a 3-inch plastic scraper, wielding it lightly to keep from damaging the surface. Remove any lingering particles with a non-scratch plastic scrubber (the curly kind made for washing dishes.

7. After removing all of the wallpaper wash the wall several times, using fresh water and a sponge to remove the residue of the paste. The residue keeps paint from bonding and will eventually cause it to peel.

OOPS
THE VOICE OF EXPERIENCE
Someone should make a law against putting wallpaper over unprimed drywall. Why? Because it you later try to remove the paper, you’re apt to take off the drywall’s paper facing along with it, leaving ugly rips and gouges. (Of course, you won’t even know you have a problem until you decide to redecorate.) Then, you have two choices: You can cover the damaged wall with a wallpaper liner so you can paint, or you might try testing a small section first and decide to paint over the wallpaper rather than remove it.
WORK SMART
DO THE CEILING FIRST
If you want to wallpaper the room but you’e iso freshening up paint on the ceiling and trim, leave the pope for last. Why take a chance on ruining pretty new poper with pain’s inevitable drips and spalters? As a generd ve. its a good idea to start at the top of the room and work your way down.


Leave a Reply