
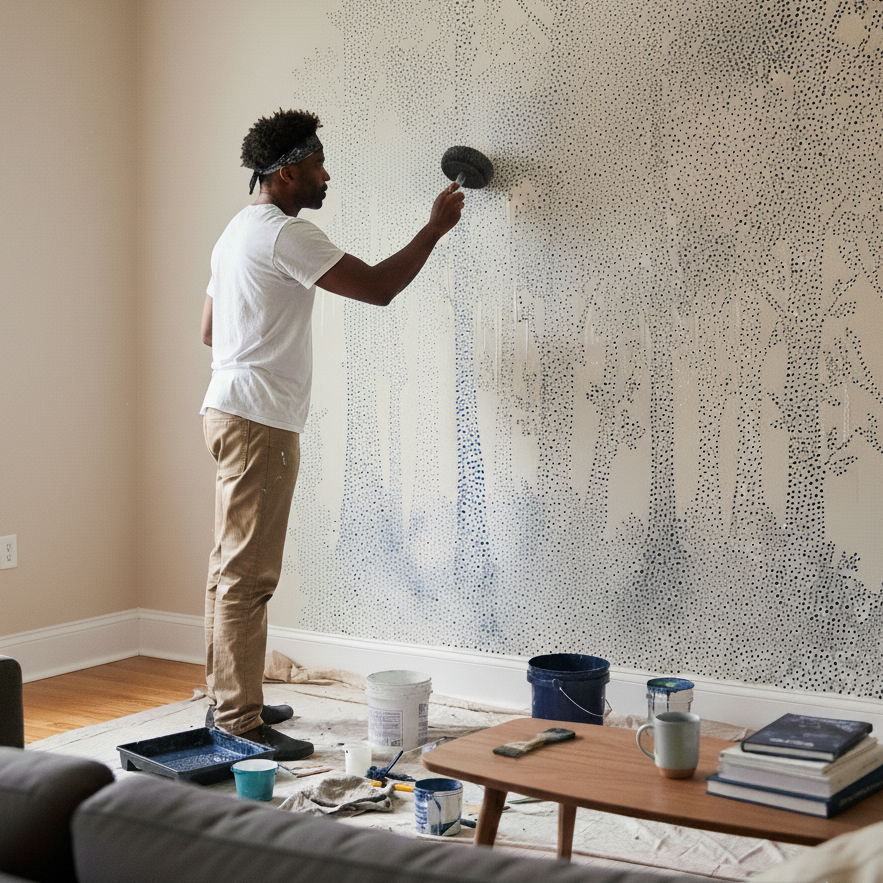
The skill level; time to complete; materials; and tools required to Prepare to paint is as follows:
Skill level: 1
🔘⚪️ ⚪️⚪️ ⚪️
Time to complete:
Experienced: 30 min
Handy: 45 min
Novice: 1 hr
Materials:*
- Semigloss latex paint
- latex glaze
- blue painter’s masking tape
Tools:*
- Edging brush
- roller
- paint bucket and grid
- stippling brush
- edge stippler
- lintfree rags
- stepladder
Stippling is a subtractive finish. You apply glaze and then take some of it off—in this case by pouncing the ends of a finely bristled stippling brush up and down in the wet glaze. It’s in the same family as sponging off and ragging off but creates a more finely textured surface.
It also requires more effort—pouncing the brush over every square inch of the freshly glazed wall.
A stippling brush has long bristles that cover a larger area than the end of a regular brush with each pounce. The specialized
brushes can be expensive, but to get the right effect there is really no substitute.
An edge stippler, another special-purpose tool, has a narrow design that makes it easier to pounce along the edges of the wall.
Spattering is an additive finish that creates an effect similar to stippling.
Dip a paintbrush into the glaze mix and lightly slap the bristles against the palm of your hand, splattering tiny droplets of glaze onto the base coat.
Stippling produces a finely textured wall that looks almost like leather.🔻

1. Roll on the base coat and then the glaze. Roll on a smooth semigloss base coat and let it dry. Mix a glaze solution in a 4:1 ratio (four parts glaze to one part paint). Cut in and roll a section of wall with the glaze mixture, covering only as much area as you can stipple before the surface starts drying.

2. Stipple the glaze, working from top to bottom of the wall. Pounce the brush so that you feel a rebound from the bending bristles. The overall effect on the wall should be even, but turn your wrist between each pounce to avoid creating a pattern. Remove excess glaze from the brush as you go with a lint-free rag because a loaded brush won’t leave a finely textured surface. Move along the wall, rolling and stippling, section by section.

3. Pounce the ends of the stippling-brush bristles against the glazed surface, over and over, while gradually moving the brush. For a lighter finish, use less glaze and apply it in random swirls with a paintbrush before pouncing with the stippling brush.

4. Stipple the corners and edges of the wall with a small, stiff-bristled brush (tape where corners meet, letting the glaze dry before working on the adjacent wall).



Leave a Reply