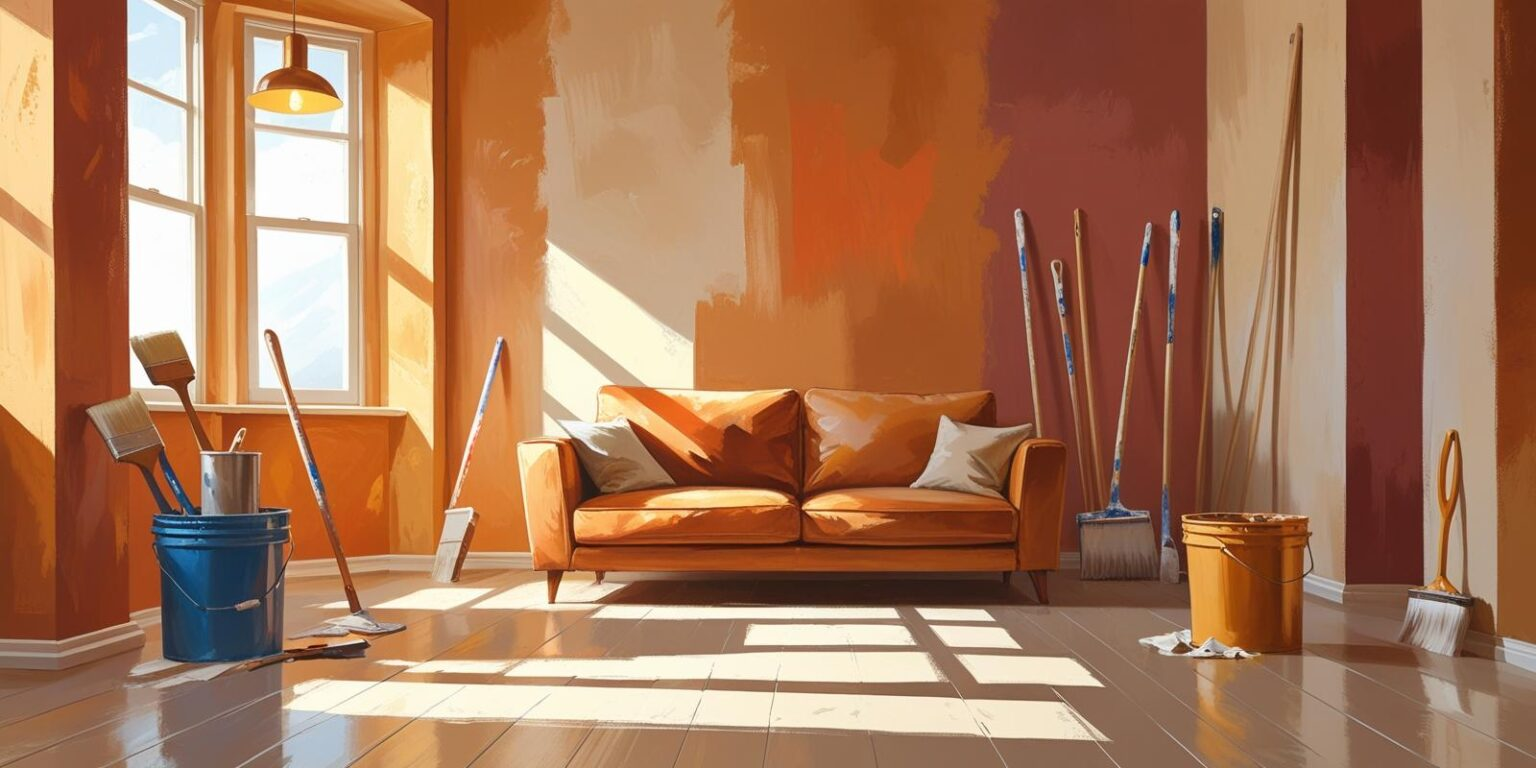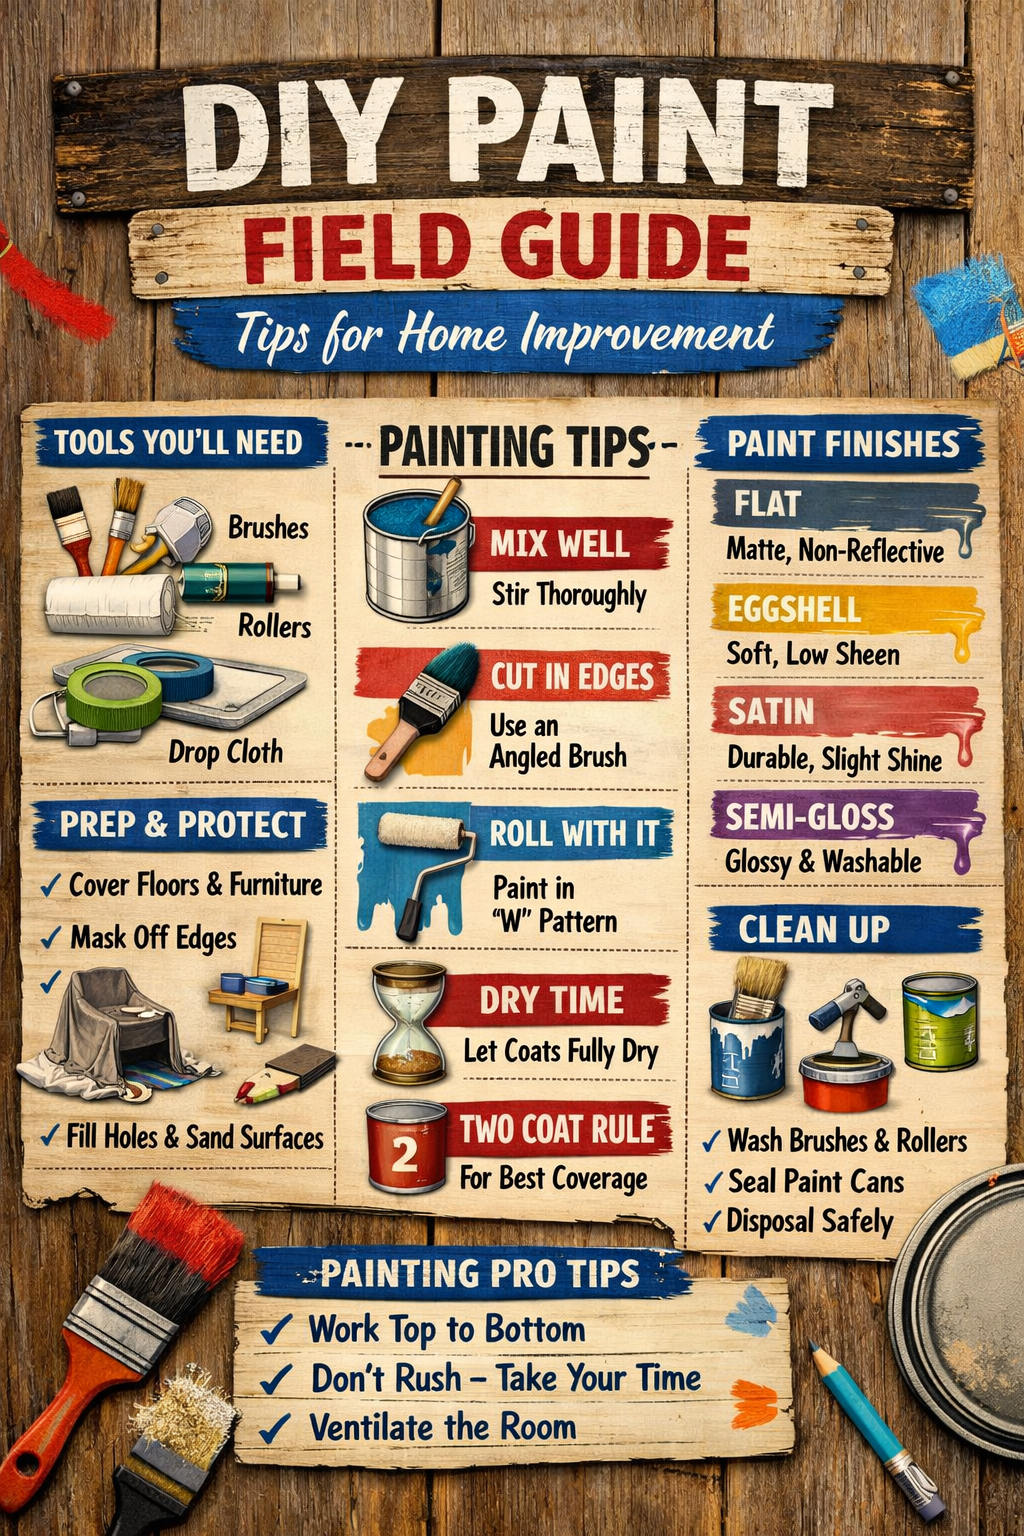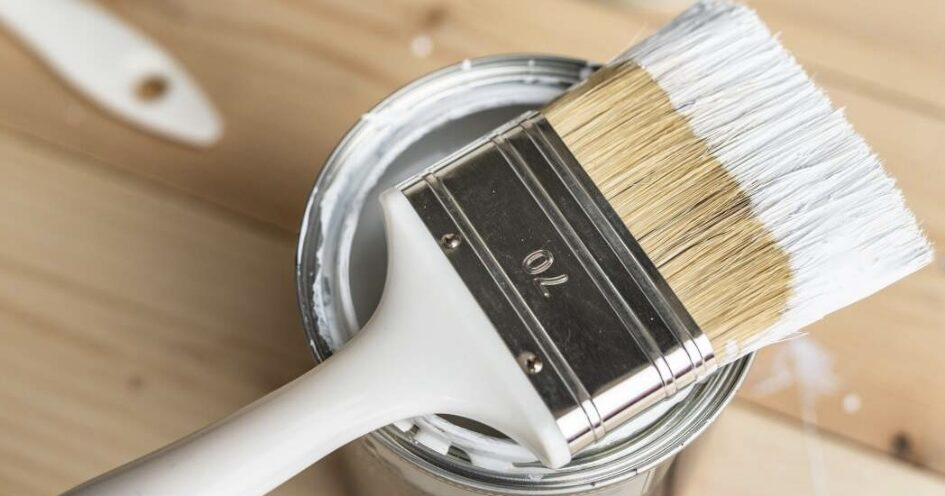
Learning to use a paintbrush properly is easy: just practice these basic techniques and use the right brush for the job. Wet the brush (using water for latex paint and mineral spirits for oil/alkyd) before you dip it into paint. Brush out the excess and load the brush with paint.
One step at a time
The most important thing to remember is this: Start at the wet edge, and paint toward the dry. Painting is a three-step process. Apply the first brush load, spreading it evenly. For the second load, start at the wet edge of that first stroke, moving toward dry areas. Then reverse and paint back toward the wet area, feathering the two edges together with light strokes. A generous coat flows and hides better than paint brushed out too thinly.
1. Tap each side of the loaded brush on the edge of the bucket. Dragging or pressing removes too much paint from the bristles.

2. Brush away from the end. Starting your first brush stroke one brush width from the end, brush toward the other end.

3. Return the brush to the starting point by brushing back toward the end. Smooth the paint with a light touch.
4. Start again at the wet edge. To avoid overlap r marks, start successive strokes at the wet edge of the previous stroke and paint toward the dry.

5. Blend areas together with feathered strokes. When painting back toward the wet area, decrease the pressure on the brush to leave a gradually thinner coat.

WORK SMART
FOR BETTER RESULTS
- Don’t overbrush. Overbrushing results in what the pros call “roping.” This term refers to the lines a brush makes when you pull it over paint that is partially dry. Let each coat of paint dry completely before trying to recoat it.
- Don’t hold the brush too tightly. Too much gripping pressure tires your hand quickly and makes painting a chore.
- Use your wrist and also your arm. You’ll have better control, and it’s less tiring than using either one alone.