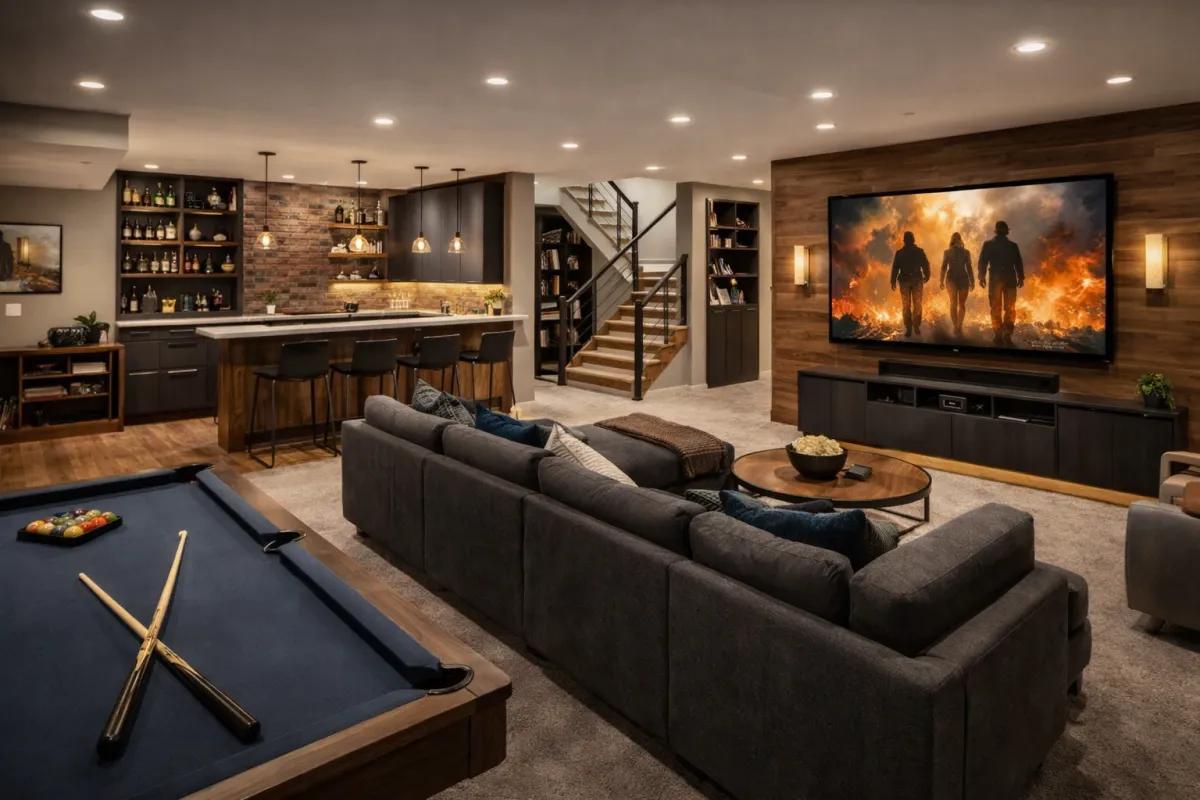
An unfinished basement is one of the biggest opportunities to add usable living space and increase your home’s value. While it may look like nothing more than concrete walls, exposed pipes, and bare floor joists, with careful planning and patience it can become one of the most comfortable areas in your home.
In this project, I’ll walk you through exactly how I transformed my unfinished basement into a beautiful finished living space. From the first measurements and floor plans to framing, electrical work, drywall, painting, flooring, trim, and the final decorating touches, every step was completed with the DIY homeowner in mind.
Whether you’re looking to create a family room, guest bedroom, home office, gym, or entertainment area, this guide will help you understand what’s involved before you begin your own basement remodeling journey.
Why I Decided to Finish My Basement


Our basement had tremendous unused potential.
Instead of paying for expensive home additions, I realized I already had thousands of square feet waiting beneath my feet. The space was dry, structurally sound, and perfect for expanding our living area.
My goals were simple:
- Create additional living space
- Increase home value
- Build everything myself
- Learn new skills
- Save thousands of dollars in labor costs
With over 40 years of DIY experience, I knew this would be one of my biggest and most rewarding projects.
Planning the Basement Layout


Every successful renovation begins with a plan.
Before purchasing a single piece of lumber, I measured every wall, ceiling height, support column, window, mechanical system, and stair location.
Using floor plans and scale drawings allowed me to experiment with different layouts before construction ever began.
Planning helped determine:
- Room sizes
- Door locations
- Hallways
- HVAC routing
- Electrical outlet placement
- Lighting layout
- Plumbing access
- Storage space
A few hours spent planning saved countless hours during construction.
Gathering Tools and Materials


Every project becomes easier when the proper tools are available.
Some of the primary tools included:
- Tape measure
- Circular saw
- Miter saw
- Drill and impact driver
- Framing nailer
- Level
- Laser level
- Drywall lift
- Utility knife
- Drywall sanding tools
- Paint sprayer and rollers
Materials included:
- Pressure-treated lumber
- 2×4 wall studs
- Insulation
- Electrical wiring
- Drywall
- Joint compound
- Interior paint
- Trim
- Interior doors
- Vinyl plank flooring
Framing the Basement Walls


Framing was where the basement truly began taking shape.
Each wall was carefully laid out on the floor before being assembled and raised into position.
I constantly checked for:
- Straight walls
- Square corners
- Plumb framing
- Door rough openings
- Ceiling clearances
As each room was framed, the basement began transforming from an open concrete shell into recognizable living spaces.
Installing Electrical, Plumbing, and HVAC


With the framing complete, it was time to install all of the hidden systems that make a finished basement comfortable and functional.
This included:
- Running electrical wiring
- Installing outlets
- Light switches
- Recessed lighting
- Smoke detectors
- HVAC duct modifications
- Plumbing connections
- Internet and TV wiring
Every system was carefully planned before the walls were closed.
Adding Insulation


Insulation plays a huge role in comfort and energy efficiency.
Proper insulation helps:
- Keep rooms warmer
- Reduce utility costs
- Improve sound control
- Prevent drafts
- Increase comfort year-round
Taking time to properly install insulation pays dividends for years.
Hanging Drywall


Drywall is one of the biggest visual turning points of the entire project.
Once installed, the basement finally started feeling like part of the home instead of a construction project.
Careful installation reduced finishing work later by minimizing gaps and uneven joints.
Taping, Mudding, and Sanding


Drywall finishing requires patience.
Several coats of joint compound were applied before sanding everything perfectly smooth.
Although messy, this step makes the difference between an amateur-looking room and one with a professional-quality finish.
Priming and Painting


Fresh paint completely transformed the space.
Light neutral colors helped:
- Make rooms feel larger
- Reflect more light
- Create an inviting atmosphere
- Match almost any décor
The difference after painting was incredible.
Installing Flooring


The flooring tied everything together.
I selected luxury vinyl plank flooring because it offers:
- Moisture resistance
- Durability
- Easy maintenance
- Beautiful appearance
- DIY-friendly installation
It instantly made the basement feel warm and welcoming.
Installing Trim, Doors, and Finish Carpentry


Finish carpentry is where craftsmanship really shines.
Installing:
- Baseboards
- Door casings
- Window trim
- Interior doors
- Crown molding (where desired)
gave each room a polished, professional appearance.
Creating Individual Rooms


The completed basement included multiple functional spaces designed around our family’s needs.
Depending on your own project, a finished basement can include:
- Family room
- Home theater
- Home office
- Guest bedroom
- Exercise room
- Bathroom
- Storage room
- Workshop
- Children’s playroom
Design your basement around how you’ll actually use the space every day.
The Final Transformation


Walking through the completed basement for the first time was incredibly rewarding.
What began as an unfinished concrete shell had become a beautiful extension of our home.
Every hour spent planning, framing, wiring, drywalling, painting, and finishing resulted in a space our family can enjoy for many years.
Nothing compares to standing back and knowing you built it yourself.
Lessons I Learned
Every large DIY project teaches valuable lessons.
The biggest takeaways from this basement renovation include:
- Spend extra time planning.
- Never rush framing.
- Label every electrical wire.
- Check measurements twice.
- Buy quality materials.
- Invest in good tools.
- Keep the job site organized.
- Expect every project to take longer than planned.
- Be patient during drywall finishing.
- Celebrate every milestone along the way.
Safety Alert
Always check local building codes before beginning a basement renovation. Electrical, plumbing, insulation, and egress window requirements vary by location. Turn off power before working on electrical systems, wear proper safety equipment, and obtain permits when required.
Tool Tip
A laser level quickly became one of the most valuable tools during this project. It made framing, ceiling layout, electrical box alignment, and installing trim much faster while improving overall accuracy.
Buyer’s Guide
When choosing basement materials, prioritize products designed for below-grade environments. Moisture-resistant drywall, treated lumber where required, mold-resistant insulation, and waterproof flooring can help your finished basement stay durable and attractive for years.
Work Smart Tip
Break the project into manageable phases—planning, framing, rough-ins, insulation, drywall, painting, flooring, and finish work. Completing one stage at a time makes a large renovation feel much more achievable and helps you stay organized.
Common Mistakes to Avoid
Avoid these frequent DIY basement finishing mistakes:
- Skipping moisture checks before starting.
- Failing to plan enough electrical outlets.
- Not leaving access to important plumbing or HVAC components.
- Ignoring local building code requirements.
- Rushing drywall finishing.
- Forgetting soundproofing between rooms.
- Using flooring not rated for basements.
Design Tips
Choose a cohesive color palette, maximize lighting with recessed fixtures, and incorporate plenty of storage to keep the space uncluttered. If natural light is limited, use lighter paint colors and strategically placed mirrors to make rooms feel larger and brighter.
Frequently Asked Questions
How long did the project take?
Large basement finishing projects often take several months when completed as a DIY project, depending on the size of the space and how much time you can dedicate each week.
How much money can DIY save?
Completing much of the work yourself can save thousands of dollars in labor costs, though actual savings depend on the project scope and local contractor rates.
Do I need permits?
Many basement finishing projects require permits for framing, electrical, plumbing, and HVAC work. Always check with your local building department before starting.
Watch the Complete Basement Transformation
If you’d like to see every step of this basement finishing project—from the first measurements to the finished living space—watch the complete project video on my YouTube channel.
You’ll see the real construction process, practical DIY tips, lessons learned, and the dramatic before-and-after transformation.
Final Thoughts
Finishing a basement is one of the most rewarding DIY home improvement projects you can tackle. It requires careful planning, patience, and attention to detail, but the payoff is substantial: more living space, increased home value, and the satisfaction of creating something with your own hands.
Whether you’re adding a family room, home office, guest suite, or entertainment area, every step brings you closer to transforming an unfinished basement into a space your family will enjoy for years to come.
At Conley’s Home Improvement, my goal is to share practical, real-world DIY projects that help homeowners build skills, save money, and complete home improvements with confidence.
Enjoyed This Project?
If this guide helped you, be sure to:
- 👍 Watch the complete YouTube video
- 💬 Leave a comment with your questions
- 📤 Share this article with someone planning a basement renovation
- 🔔 Subscribe to Conley’s Home Improvement for more DIY tutorials
- 🌐 Visit https://conleyshomeimprovement.com for additional project guides, downloadable resources, and step-by-step home improvement articles.
Happy building—and remember, every great DIY project starts with a solid plan and the confidence to take that first step.