
By Conley’s Home Improvement
From Problem Area to Purpose-Built Feature


Every great DIY project starts with a problem.
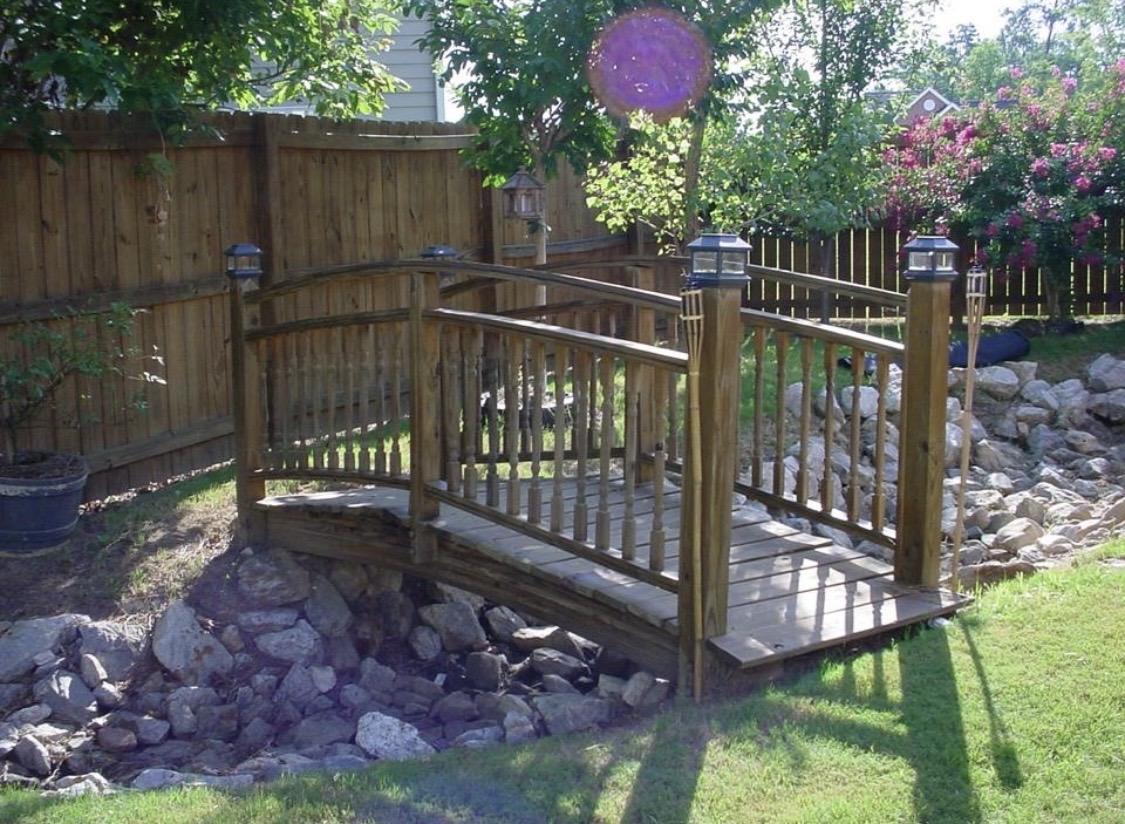
For me, this one was a drainage area cutting across the backyard—a spot that was inconvenient, unattractive, and honestly… easy to ignore.
But if there’s one thing I’ve learned over 40+ years of DIY—from my early shop class days to building decks, patios, and even finishing a full basement—it’s this:
👉 Problems are opportunities in disguise.
Instead of working around it, I decided to build something that would solve the issue and elevate the entire space.
That’s where this DIY wooden bridge project began.
Watch the video below to see the complete transformation and learn how you can build a beautiful wooden bridge for your own backyard.
Step-by-Step: Building a Wooden Bridge That Solved a Backyard Problem
Every successful DIY project starts with a problem that needs solving, and this wooden bridge project was no exception. What began as a drainage ditch cutting through my backyard eventually became an opportunity to create a functional and attractive landscape feature that would enhance the entire outdoor space. The process involved careful planning, precise measurements, woodworking techniques, and plenty of patience to ensure the finished bridge was both structurally sound and visually appealing. In the following steps, I’ll walk you through the complete build process—from designing the bridge and constructing the curved supports to installing the decking, adding the railings, and putting on the final touches that transformed an ordinary drainage area into one of the most unique features in my backyard. Whether you’re an experienced woodworker or simply looking for inspiration for your next outdoor project, these steps will show you how a challenging backyard obstacle can become a lasting feature you’ll enjoy for years to come.
Step 1: Planning the Build (Measure Twice… Always)


Before cutting a single board, I mapped out the project:
- Width of the bridge
- Length across the drainage area
- Height and curve of the supports
The curve was key.
Not only does it give the bridge that classic look—it also adds strength and load distribution.
This is one of those moments where the old lesson still applies:
👉 Measure twice, cut once.
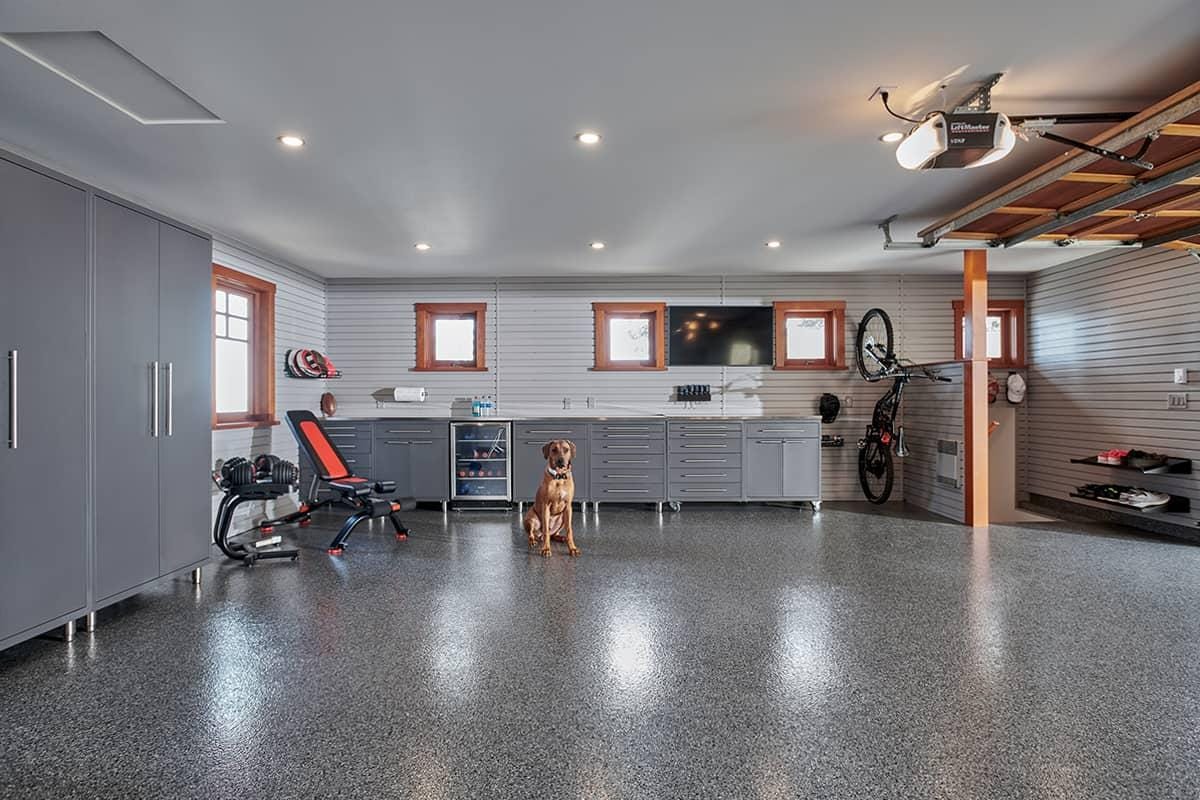
That principle has guided everything I’ve built—from my garage painting project with my sons back in 2005… to larger builds like my backyard deck around the pool.
Step 2: Cutting the Curved Supports


This is where the project really starts to take shape.
Using a circular saw, I carefully cut out the curved supports that would form the backbone of the bridge.
This step requires patience.
- Rushing leads to uneven cuts
- Uneven cuts lead to structural issues later
👉 Take your time here—this is the foundation of your entire project.
Step 3: Building a Strong Foundation


Once the supports were ready, I began assembling the base.
Before securing anything permanently, I used clamps to:
- Hold everything in place
- Check alignment
- Ensure the structure was level
This step might not be exciting—but it’s critical.
👉 A strong base determines how long your project lasts.
Step 4: Installing the Decking Boards


Now the bridge starts to come alive.
Each board was:
- Placed carefully
- Spaced evenly
- Secured tightly
Spacing matters more than most people think.
It helps with:
- Drainage
- Wood expansion
- Long-term durability
👉 Consistency is what separates a clean build from a sloppy one.
Step 5: Adding Railings and Finishing Details


The final step was adding railings and refining the details.
This is where craftsmanship really shows.
- Smooth edges
- Clean cuts
- Solid joints
These small touches don’t just improve the look—they improve safety and longevity.
👉 This is the difference between a project that works… and one you’re proud of.
The Final Result: More Than Just a Bridge


What started as a problem area…
Is now one of the best features in the yard.
But this project isn’t just about building a bridge.
It’s about:
- Solving real problems
- Creating something with your hands
- Adding lasting value to your home
And for me—just like working on projects with my sons years ago—it’s about continuing a legacy of building, learning, and improving.
🔑 Key Takeaways
- ✔ Start with a clear plan
- ✔ Take your time on structural cuts
- ✔ Always check alignment before securing
- ✔ Focus on details—they matter more than you think
- ✔ Turn problems into opportunities
Want My Exact DIY Planning System?
Before you start your next project…
👉 Download my DIY Project Planner Checklist
(It’s the same system I use for every build)
It’ll help you:
- Avoid costly mistakes
- Stay on budget
- Build with confidence
Final Thoughts
DIY isn’t about perfection.
It’s about progress… patience… and pride in what you build.
Because in the end…
👉 You’re not just building projects.
👉 You’re building skills, confidence… and a legacy that lasts.


Leave a Reply