How We Built Safe, Sturdy Wooden Steps with Family Teamwork
Project Type: Exterior Carpentry • DIY Stairs • Manufactured Home Improvements
Difficulty: Intermediate
Estimated Build Time: 2–3 Days
Skill Level: Weekend DIYer to Intermediate Carpenter
Introduction

Every home deserves a safe entrance.
When my older sister needed better access to both the front and back doors of her manufactured home, the small factory-installed steps simply weren’t enough. They were narrow, uncomfortable to use, and didn’t provide the stability or landing space she deserved.
Instead of purchasing expensive prefabricated steps, I decided to build custom wooden stair-step platforms designed specifically for her home.
Even better, this became more than just another DIY project.
It became a family project.
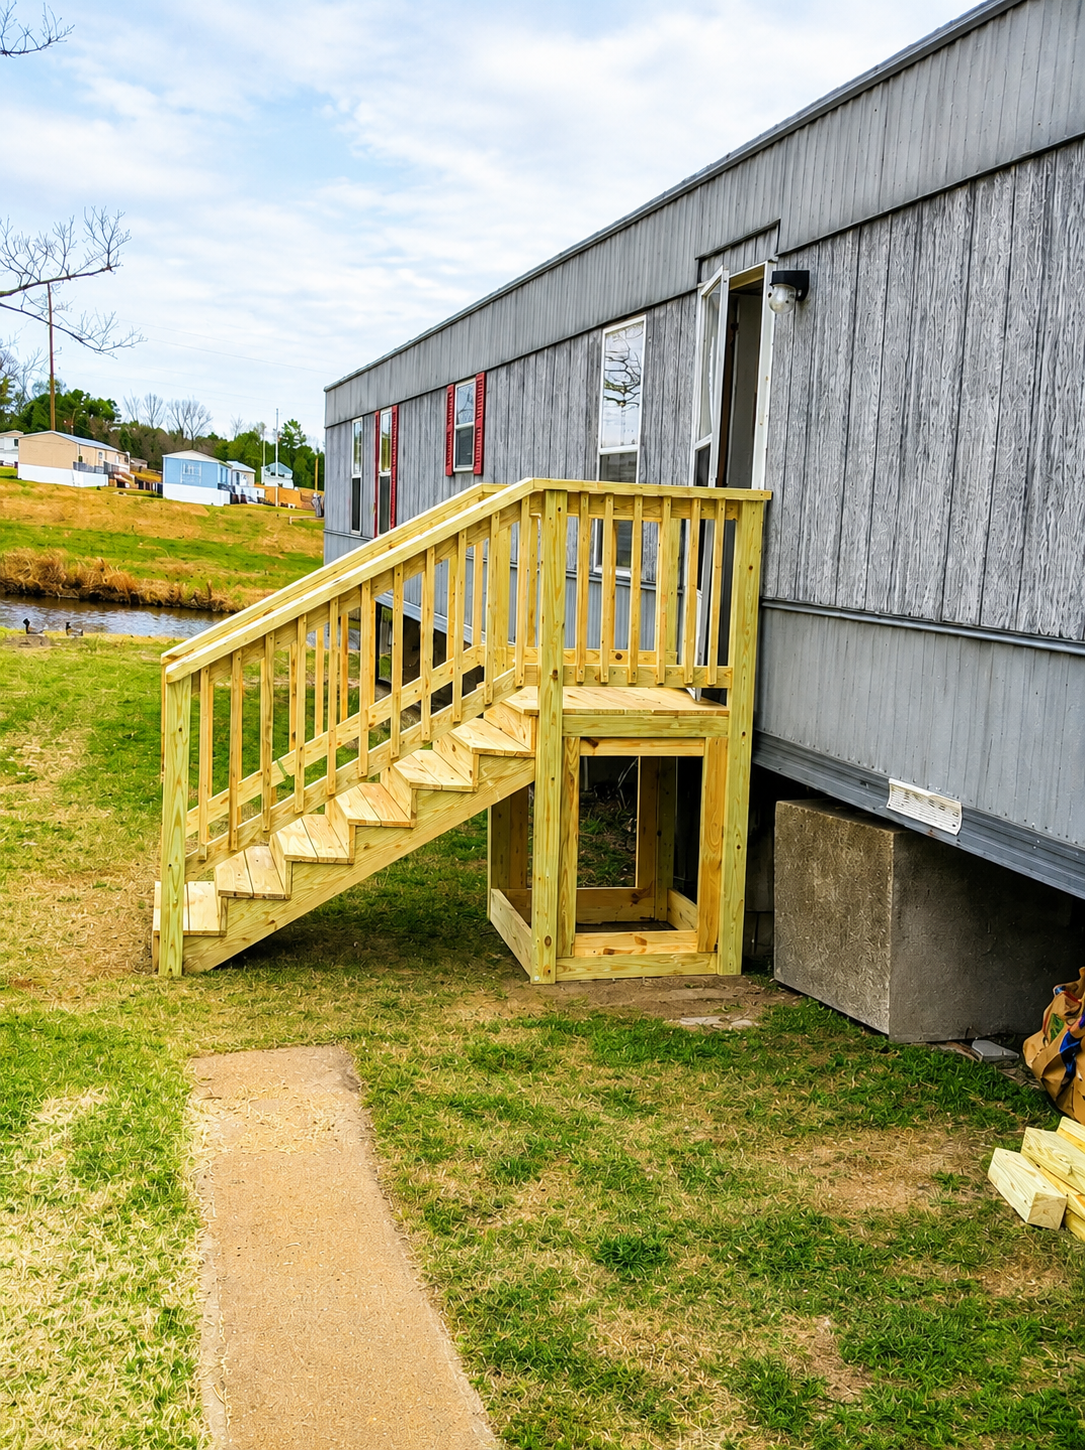
My younger sister jumped in to help throughout the build, and my older sister worked right alongside us to finish the project. Together we built two strong, attractive stair platforms that greatly improved both the safety and appearance of her home.
There’s something special about building something that will be used every single day by someone you love.
Why I Built These Stairs

Manufactured homes often come with temporary or undersized entry steps.
Common problems include:
- Small landing areas
- Narrow stair treads
- Unsafe footing
- Difficult access when carrying groceries
- Limited durability
Our goal was simple:
- Build wider platforms
- Increase safety
- Improve appearance
- Create comfortable access
- Build something that would last for years
Project Overview
This project included building:
- Front entrance stair platform
- Rear entrance stair platform
- Framed landing
- Multiple wooden steps
- Strong structural framing
- Pressure-treated lumber construction
- Durable outdoor fasteners
Everything was carefully measured so both stair systems matched the height of each doorway.
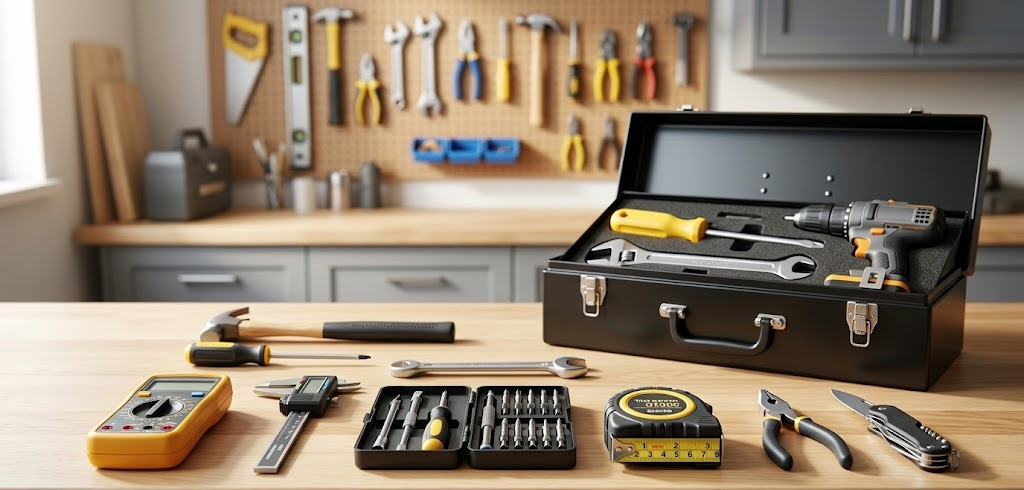
Tools Used
- Circular saw
- Miter saw
- Cordless drill
- Impact driver
- Tape measure
- Carpenter’s square
- Speed square
- Level
- Clamps
- Pencil
- Safety glasses
- Hearing protection
Materials
- Pressure-treated 2×6 lumber
- Pressure-treated 2×4 lumber
- Pressure-treated 4×4 posts (if required)
- Deck screws
- Structural screws
- Joist hangers
- Exterior wood screws
- Gravel for leveling (if needed)
Step 1 – Planning the Build
Every successful project starts with careful planning.
Before cutting any lumber, we measured both door openings, determined the finished platform height, and calculated the proper rise and run for each staircase.
Taking extra time during planning eliminated guesswork later and ensured both stair platforms would be safe and comfortable to use.
Step 2 – Cutting the Lumber

Once all of the measurements were confirmed, it was time to start cutting.
Each framing member was cut to length using a miter saw. Accuracy here makes the entire project easier because square cuts create square platforms.
As every board came together, the pile of lumber slowly transformed into the framework for two strong stair platforms.
Step 3 – Building the Platform Frames

The platform frames became the foundation of the project.
We assembled rectangular frames using structural screws, constantly checking each corner for square.
Strong framing is what gives stairs their strength, so this stage deserves extra attention.
Each connection was tightened securely before moving on.
Step 4 – Installing the Stair Structure

With the platforms completed, we began assembling the stair sections.
Every tread was carefully aligned, spaced evenly, and secured using exterior-grade screws.
As the steps came together, we continually checked for:
- Level platforms
- Consistent stair spacing
- Square corners
- Solid structural connections
Small adjustments during construction produced a much better finished product.
Step 5 – Family Teamwork

One of my favorite parts of this project wasn’t the woodworking.
It was the people.
My younger sister helped throughout the construction process, while my older sister worked beside us to complete her new stairs.
Projects like these become memories that last much longer than the lumber itself.
Everyone contributed.
Everyone learned.
Everyone celebrated together.
Step 6 – Final Installation
After assembling the platforms and stairs, we carefully positioned them at each entrance.
We checked:
- Platform height
- Door clearance
- Stability
- Level
- Step alignment
Once everything fit perfectly, the finished stairs immediately transformed the entrances to the manufactured home.
Instead of small temporary steps, the home now had solid, attractive wooden stair platforms built to last.
The Finished Results


The difference was remarkable.
The larger platforms provide:
- Safer footing
- Easier entry
- Better support
- More confidence climbing the stairs
- Improved curb appeal
Most importantly, my sister now has entrances that feel permanent rather than temporary.
That’s one of the best rewards any DIY project can offer.
Lessons Learned
Every project teaches something new.
Some of the biggest lessons from this build included:
- Measure every doorway independently.
- Build on a level surface whenever possible.
- Check for square after every major assembly.
- Use pressure-treated lumber for exterior projects.
- Don’t rush the planning phase.
- Family teamwork makes every project more enjoyable.
🔔 Safety Alerts
- Always wear eye and hearing protection.
- Use pressure-treated lumber rated for ground contact where appropriate.
- Double-check stair height consistency.
- Use structural fasteners instead of drywall screws.
- Test every step before regular use.
🛠️ Tool Tips
An impact driver makes installing long structural screws much faster than using a standard drill, especially when working with pressure-treated lumber.
💰 Buyer’s Guides
When purchasing lumber:
- Choose the straightest boards available.
- Avoid excessive knots.
- Let pressure-treated lumber dry before staining or sealing.
- Buy extra screws—you’ll almost always use more than expected.
✅ Work Smart Tips
- Measure twice and cut once to avoid wasted lumber.
- Label each board so every piece is easy to identify during assembly.
- Organize tools, fasteners, and materials before starting each phase.
- Dry-fit the frame and steps before permanently fastening them.
- Check for level and square throughout the build to prevent costly rework.
😬 Common Mistakes
- Skipping accurate measurements: Even small measurement errors can lead to uneven steps and a platform that doesn’t fit the doorway properly.
- Building on an unlevel foundation: Failing to level the ground or footings can cause the entire stair platform to shift or become unstable over time.
- Using the wrong fasteners: Avoid drywall screws or interior hardware—use exterior-rated structural screws and galvanized or coated fasteners designed for pressure-treated lumber.
- Forgetting to check for square and level: Check the frame frequently during assembly to ensure the platform remains square, level, and structurally sound.
- Rushing the final installation: Before securing the completed stairs, verify the platform height, door clearance, and overall stability to ensure safe, long-lasting performance.
🖌️ Design Tips
- Build a larger landing platform: A spacious platform makes entering and exiting the home safer, especially when carrying groceries or packages.
- Match the home’s style: Use pressure-treated lumber, complementary stain or paint colors, and clean trim details to create a finished look that blends with the manufactured home.
- Make the stairs comfortable to use: Design the steps with consistent rise and run dimensions to provide a natural, safe walking rhythm.
- Plan for future safety upgrades: Frame the platform so it’s easy to add handrails, balusters, or decorative railings if they’re not included in the initial build.
- Improve curb appeal with landscaping: Finish the project by adding mulch, flowers, shrubs, or decorative stone around the stair platform to create a welcoming entrance and enhance the overall appearance of the home.
Why This Project Was Worth It
This project wasn’t simply about building stairs.
It was about improving someone’s quality of life.
Every time my sister walks through either doorway, she’ll be using something our family built together.
That’s what DIY is really about.
Building something meaningful.
Saving money.
Learning new skills.
And creating memories along the way.
Frequently Asked Questions
How much does it cost to build wooden stair platforms?
Costs vary depending on lumber prices, but building them yourself is typically much less expensive than hiring a contractor.
Can beginners build stairs?
Yes, with careful planning, accurate measurements, and patience. Always follow local building codes and safety requirements.
What type of wood should be used?
Pressure-treated lumber is recommended for outdoor stair projects because it resists moisture, insects, and decay.
Should the stairs be anchored?
In many situations, anchoring the stairs improves stability. Follow local code requirements for your area.
Final Thoughts
This project reminded me that some of the best DIY builds aren’t measured by how much money you save—they’re measured by how much they improve someone’s daily life.
Seeing my older sister safely using her new front and back stair platforms made every cut, screw, and hour of work worthwhile. Working alongside my younger sister and older sister turned an ordinary home improvement project into a lasting family memory.
If you’re considering building custom wooden stairs for your home or a loved one’s, take your time, measure carefully, and build it right the first time. A well-built set of stairs isn’t just an upgrade—it’s an investment in safety, comfort, and peace of mind.
Have you ever built custom stairs, a deck, or another outdoor woodworking project for your family? I’d love to hear about it in the comments below!
If you enjoyed this project, be sure to explore more DIY home improvement tutorials here on Conley’s Home Improvement, where I share practical projects, woodworking tips, and budget-friendly ideas to help homeowners build, repair, and improve their homes with confidence.
Watch the video below to see the complete transformation and learn how you can build a beautiful DIY Stairs & Step Platform Project: