I find that diy home improvement projects bring fresh energy to my living space. Upgrading the center of the cooking spot provides storage and useful work space. Many people think such tasks are difficult, but I know that anyone can master them with patience.
I love the feeling of finishing the work that changes how I use the rooms. Adding this feature makes daily tasks faster and easier for me. It creates the perfect spot for guests to gather while I prepare food.
Starting this process allows me to customize my layout perfectly. I will show you the full method using clear steps. This job is very rewarding for every dedicated owner.
With the correct tools, I can finish this work in one weekend. Follow my instructions to ensure the new addition stays level and secure. I will show you how to handle the base and the top safely to avoid mistakes.
Key Takeaways
- Measure the floor space carefully before starting.
- Gather all necessary tools to save time.
- Secure the base to the floor firmly.
- Check for level surfaces multiple times.
- Plan for electrical outlets if needed.
- Attach the countertop using strong glue.
1. Why I Recommend Installing Your Own Kitchen Island
I strongly recommend installing your own kitchen island, as it offers a fantastic opportunity to personalize your kitchen space while keeping costs in check. By taking on this DIY home improvement project, you can enjoy the satisfaction of creating something with your own hands, much like building a pool deck.
One of the primary advantages of installing your own kitchen island is the potential for cost savings. By avoiding labor costs associated with hiring a professional, you can allocate more resources to high-quality materials and finishes. Additionally, the sense of accomplishment you’ll feel upon completing the project is invaluable.
Another benefit is the ability to tailor your kitchen island to your specific needs and preferences. Whether you’re looking to add extra counter space, storage, or a cooking station, a DIY kitchen island allows you to design it exactly how you want it. This level of customization is often difficult to achieve with pre-made or professionally installed islands.
Here are some key reasons why I recommend installing your own kitchen island:
- Cost savings on labor
- Personalization to fit your kitchen’s unique layout and your personal style
- The satisfaction of completing a challenging DIY project
- Flexibility to make changes or adjustments as you see fit during the installation process
As with any DIY project, it’s essential to plan carefully and execute your plan with precision. This includes measuring your space accurately, choosing the right materials, and ensuring that your island is properly anchored to the floor for stability.
In conclusion, installing your own kitchen island is a rewarding project that can enhance your kitchen’s functionality and aesthetic appeal. With careful planning and execution, you can create a beautiful and functional space that reflects your personal style.
2. Planning Your Kitchen Island Installation
A well-planned kitchen island installation can significantly enhance your kitchen’s functionality and aesthetic appeal. Just like constructing an above-ground pool deck, where careful planning ensures a safe and enjoyable outdoor space, planning your kitchen island is crucial for creating a harmonious and efficient kitchen environment.
2.1. Determining the Right Size and Location
When determining the size and location of your kitchen island, consider the kitchen’s dimensions and workflow. A kitchen island should complement the existing space without obstructing movement. Measure your kitchen carefully, taking into account the “work triangle” concept, which involves the sink, stove, and refrigerator.
To ensure your kitchen island is proportionate to your kitchen, consider the following guidelines:
| Kitchen Size | Ideal Island Size |
|---|---|
| Small (less than 100 sq. ft.) | Compact (2×4 feet) |
| Medium (100-200 sq. ft.) | Medium (4×6 feet) |
| Large (more than 200 sq. ft.) | Large (6×8 feet or more) |
2.2. Understanding Kitchen Triangle and Traffic Flow
The kitchen triangle concept is essential in determining the optimal location for your island. Ensure that the island does not disrupt the workflow between the sink, stove, and refrigerator. Consider the traffic flow in your kitchen and position the island in a way that it does not create a bottleneck.

2.3. Choosing Between Stock, Semi-Custom, and Custom Cabinets
When it comes to cabinets for your kitchen island, you have three main options: stock, semi-custom, and custom. Stock cabinets are pre-made and cost-effective, while semi-custom cabinets offer more flexibility in terms of design and size. Custom cabinets provide the ultimate flexibility but are typically more expensive.
- Stock Cabinets: Pre-made, cost-effective, and available in standard sizes.
- Semi-Custom Cabinets: Offer more design flexibility than stock cabinets, with some customization options.
- Custom Cabinets: Tailor-made to your specifications, offering maximum flexibility in design and functionality.
2.4. Deciding on Island Features and Utilities
Deciding on the features and utilities for your kitchen island depends on your needs and preferences. You may want to include a sink, stove, or additional counter space. Consider the plumbing and electrical requirements for your chosen features and ensure they are properly integrated into your island design.
By carefully planning your kitchen island installation, you can create a functional and beautiful addition to your kitchen that enhances your cooking experience.
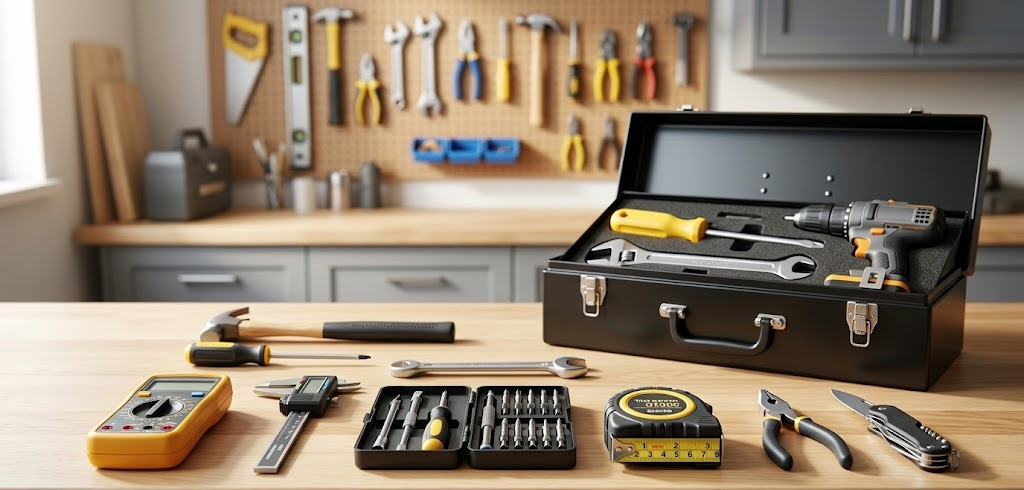
3. Tools and Materials You’ll Need for the Job
Before starting your kitchen island installation, it’s crucial to gather all the necessary tools and materials. Just like designing a pool deck, having the right equipment is essential for a successful outcome.
3.1. Essential Power Tools
Power tools are the backbone of any DIY project, including your kitchen island installation. You’ll need:
- A circular saw for making straight cuts in lumber
- A drill press for precise drilling operations
- A jigsaw for curved cuts and irregular shapes
- A sander for smoothing out wood surfaces
3.2. Hand Tools and Measuring Equipment
In addition to power tools, various hand tools and measuring equipment are necessary. These include:
- A tape measure for accurate measurements
- A level to ensure your island is perfectly level
- A square for checking corners and squareness
- Hammers and mallets for tapping pieces into place
3.3. Fasteners, Shims, and Adhesives
To assemble and secure your kitchen island, you’ll need a variety of fasteners, shims, and adhesives. This includes:
- Screws and nails for assembling cabinet boxes
- Shims for leveling and adjusting the position of cabinets
- Wood glue and other adhesives for bonding materials
3.4. Safety Gear and Equipment
Safety should always be your top priority when working on a DIY project. Make sure you have:
- Safety glasses to protect your eyes from debris
- Ear protection to safeguard your hearing
- A dust mask to prevent inhaling dust and particles
- Steel-toed boots for added protection
Just as a well-planned DIY pool deck guide emphasizes safety, your kitchen island installation should also prioritize it.
4. Preparing Your Kitchen Floor and Workspace
To ensure a smooth kitchen island installation, proper preparation of your kitchen floor and workspace is essential. This step is often overlooked, but it’s crucial for a successful outcome.
Clearing and Protecting the Installation Area
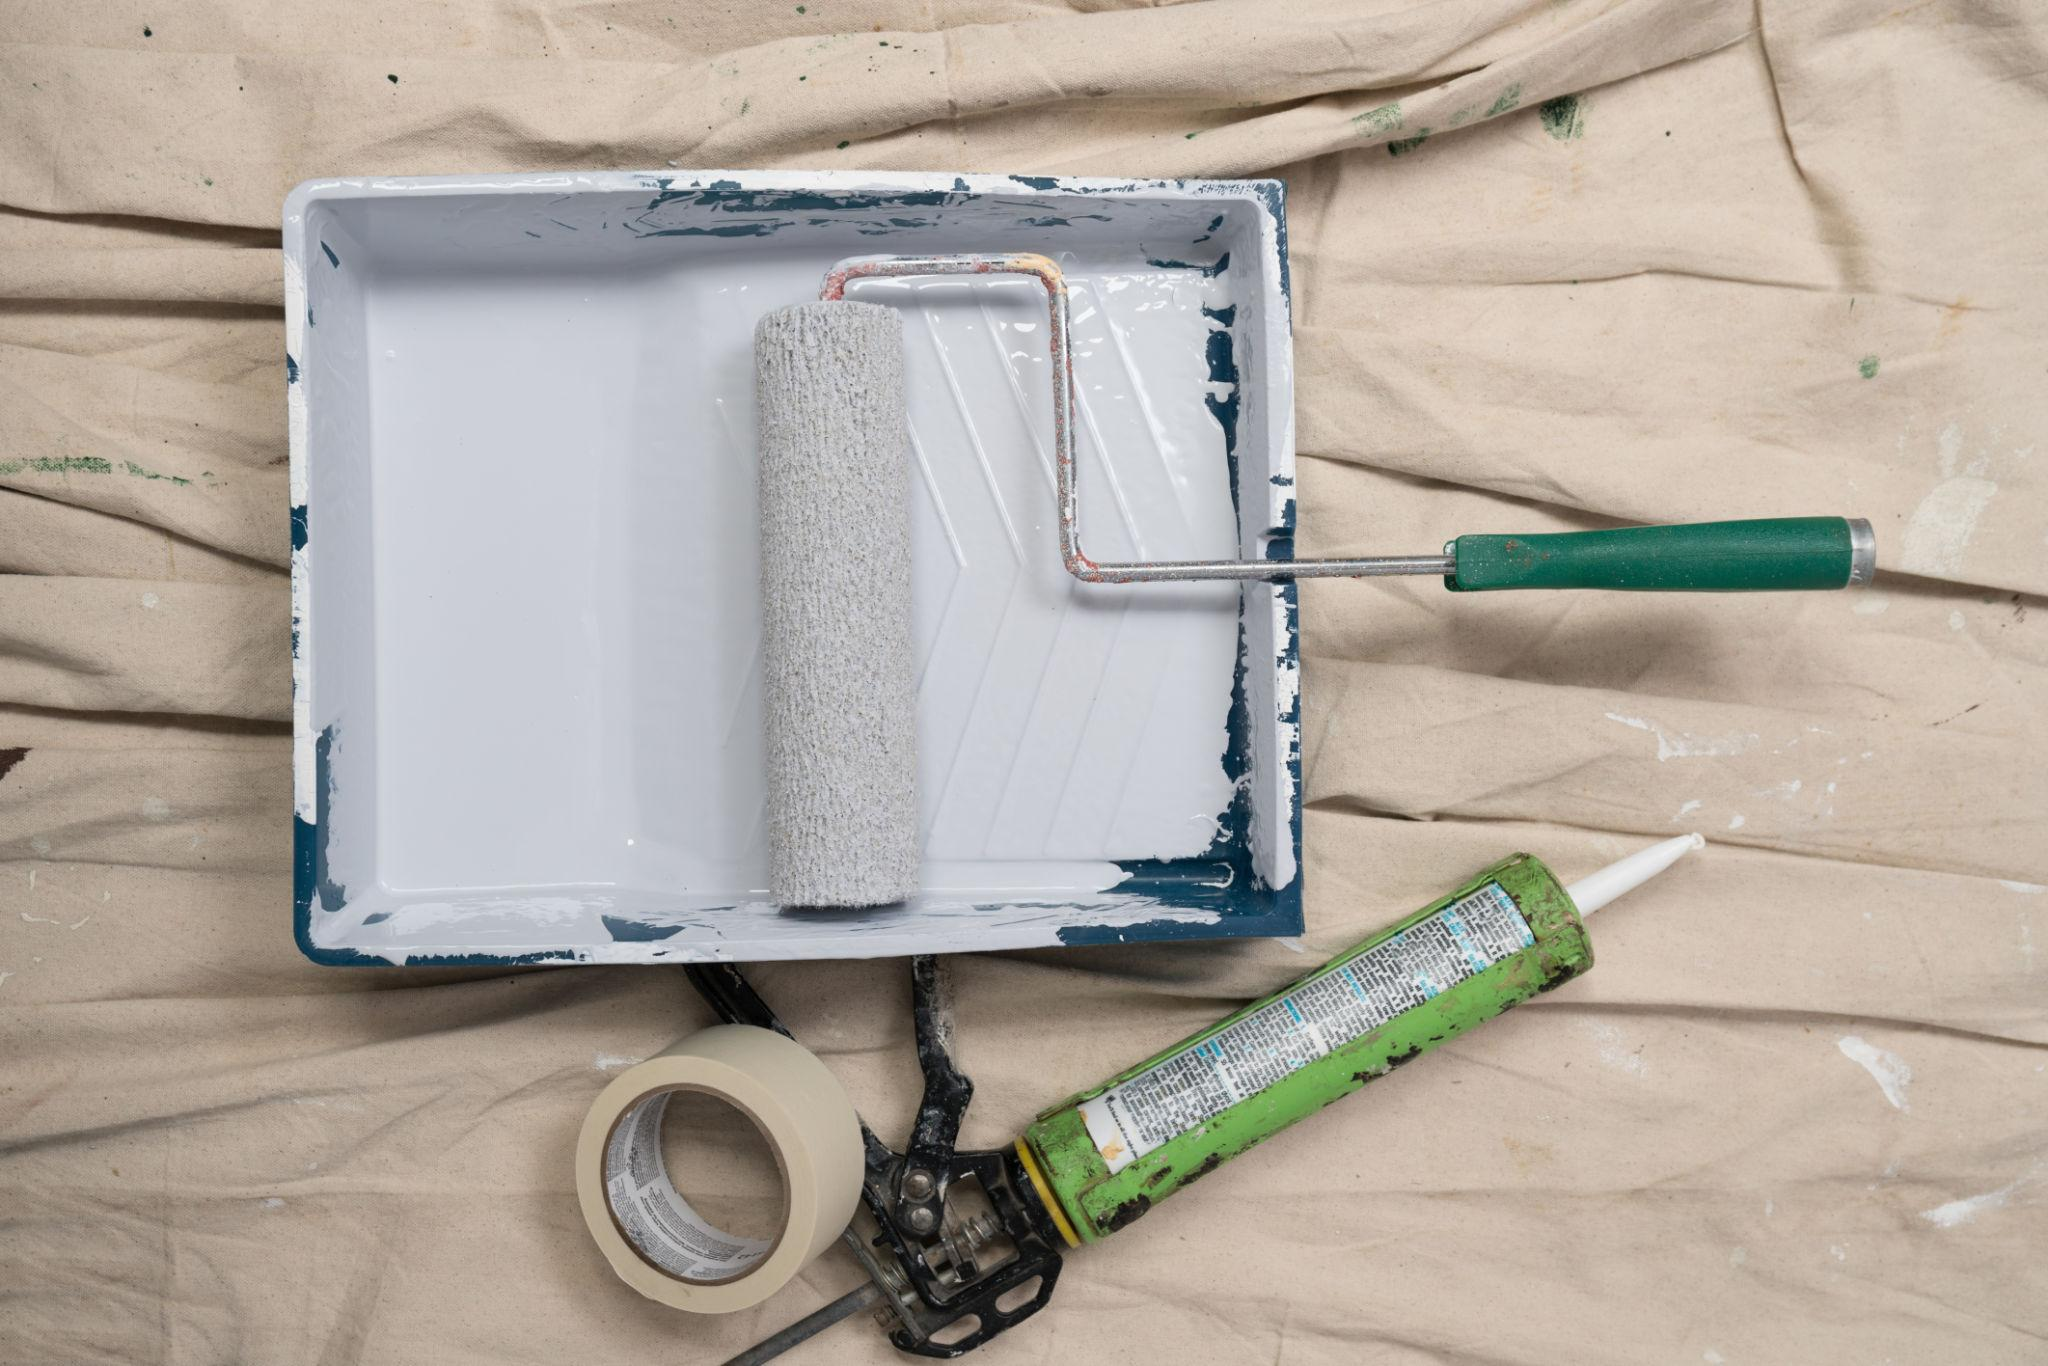
Before you start, clear the area where you’ll be working. Remove any furniture, appliances, or other obstructions to give you a clear workspace. Protect your floors and surrounding surfaces with drop cloths or plastic sheets to prevent damage from dust and debris.

Checking Floor Level and Making Adjustments
Next, check if your kitchen floor is level. An uneven floor can cause issues with the stability and appearance of your kitchen island. Use a level tool to check the floor’s levelness and make any necessary adjustments.
If your floor is not level, you may need to use shims or adjust the subfloor to create a level surface. This step is critical to ensure your kitchen island is stable and secure.
Marking Precise Layout Lines
Once your floor is level, mark the precise layout lines for your kitchen island. Use a pencil to mark the location of the island and its components, such as the cabinets and countertops. Double-check your measurements to ensure accuracy.
Locating Floor Joists for Anchoring
To securely anchor your kitchen island, you need to locate the floor joists. Use a stud finder to identify the joists beneath your floor. Mark the location of the joists with a pencil, so you can reference them when anchoring your island.
By following these steps, you’ll be well-prepared to install your kitchen island. A well-prepared workspace and floor will make the installation process smoother and more efficient.
5. Installing a Kitchen Island Base Cabinets Step by Step
With the right tools and a bit of patience, you can successfully install your kitchen island’s base cabinets. This process involves several key steps that, when followed carefully, will result in a sturdy and functional kitchen island.

5.1. Unpacking and Inspecting Your Cabinets
The first step in installing your kitchen island base cabinets is to unpack and inspect them. Ensure all components are included and check for any damage. This is also a good time to familiarize yourself with the manufacturer’s instructions.
5.2. Assembling Cabinet Boxes and Components
Assembling the cabinet boxes and components requires attention to detail. Follow the manufacturer’s instructions carefully, and make sure all parts are properly aligned and secured. Just like when planning diy pool deck ideas, creativity and precision are key.
As you assemble the cabinets, you’ll notice that the process is similar to other DIY projects that require patience and attention to detail. For instance, ensuring that all shelves are properly aligned and that the cabinet boxes are sturdy is crucial.
5.3. Positioning the First Base Cabinet
Positioning the first base cabinet is a critical step. It sets the foundation for the rest of the island. Ensure it is placed according to your layout plan and is aligned with your marked lines on the floor.
5.4. Leveling from Front to Back and Side to Side
Leveling the cabinets is essential to ensure the stability and functionality of your kitchen island. Use shims if necessary to achieve perfect leveling from front to back and side to side.
“A level kitchen island is not just a matter of aesthetics; it’s also crucial for the proper functioning of drawers and doors,” as noted by many DIY experts.
5.5. Joining Multiple Cabinets Together Securely
If your kitchen island consists of multiple cabinets, joining them together securely is vital. Use the appropriate fasteners and follow the manufacturer’s guidelines to ensure a sturdy and cohesive unit.
By following these steps and paying close attention to detail, you can create a beautiful and functional kitchen island that enhances your cooking space. Much like a well-designed DIY project, such as diy pool deck ideas, a kitchen island can become a central feature of your home.
6. Anchoring the Island Securely to Your Floor
Once you’ve assembled and positioned your kitchen island base cabinets, the next crucial step is to anchor them securely to the floor. This step is vital to prevent the island from tipping or moving during use, ensuring the stability and safety of your kitchen.
Anchoring your kitchen island to the floor is not just a matter of safety; it’s also about maintaining the integrity of your DIY Home Improvement project. A securely anchored island will last longer and perform better over time.
6.1. Choosing the Right Anchoring Method for Your Floor Type
The type of floor you have will dictate the anchoring method you should use. For instance, if you have a concrete floor, you’ll need to use concrete anchors or screws designed for masonry. On the other hand, if your floor is made of wood, you can use screws or nails to secure the island.
For tile floors, it’s essential to be cautious to avoid cracking the tiles. Using a drill bit designed for tile and applying gentle pressure can help. It’s also a good idea to check if there’s a concrete base under the tile, as this can affect your anchoring method.

6.2. Installing Cleats and L-Brackets
Cleats and L-brackets are commonly used to anchor kitchen islands to the floor. Cleats are typically attached to the floor and the cabinet, providing a strong and stable connection. L-brackets are used similarly but offer additional support by creating an L-shaped bracket that attaches both to the floor and the side of the cabinet.
When installing cleats or L-brackets, ensure they are level and securely fastened to both the floor and the island base. This will provide the necessary support and stability.
6.3. Securing to Concrete, Tile, or Wood Floors
Securing your kitchen island to different types of floors requires different techniques. For concrete floors, use concrete anchors or epoxy-based adhesives. For wood floors, screws or nails can be used directly into the floor joists for added strength.
When dealing with tile floors, it’s crucial to locate the subfloor (whether it’s concrete or wood) to anchor properly. Use a stud finder or drill a small pilot hole to determine the subfloor material and location.
6.4. Testing Stability Before Proceeding
After anchoring your kitchen island, it’s essential to test its stability. Apply pressure from different angles and check for any movement. If the island still moves or feels unstable, you may need to adjust your anchoring method or add additional support.
Ensuring your kitchen island is securely anchored is a critical step in your Installing a kitchen island project. By choosing the right anchoring method and executing it correctly, you’ll enjoy a safe and functional kitchen for years to come.
7. Running Electrical and Plumbing Lines
One of the most challenging yet rewarding aspects of DIY home improvement is tackling the electrical and plumbing aspects of a kitchen island installation. This step is crucial for adding functionality such as sinks, cooktops, or additional outlets to your island.
7.1. Planning Your Electrical Layout
When planning the electrical layout, I consider the location of power sources and the type of appliances I intend to install. It’s essential to map out the wiring and outlets to ensure they meet local electrical codes.
- Identify the location of your main electrical panel.
- Determine the power requirements of your appliances.
- Plan the wiring route to avoid interference with plumbing and other components.
7.2. Running Power Lines Through the Floor
Running power lines through the floor involves drilling through joists and ensuring that the wiring is protected and secured. I always check local building codes for specific requirements on wiring methods and materials.
- Using the correct gauge wire for your appliances.
- Protecting wiring with conduit or tubing.
- Securing wiring to prevent damage or sagging.
7.3. Installing GFCI Outlets for Code Compliance
GFCI outlets are a safety requirement in kitchen areas. I ensure that these outlets are installed in accordance with local electrical codes to prevent electrical shock.
- Turn off the power to the circuit.
- Remove the existing outlet or install a new one.
- Connect the wires according to the manufacturer’s instructions.
- Test the GFCI outlet to ensure it’s working correctly.
7.4. Adding Plumbing for Island Sinks
Adding plumbing for an island sink requires careful planning to ensure proper water supply and drainage. I consider the location of water supply lines and the drainpipe when planning the plumbing.
- Determining the best route for water supply lines.
- Installing a drain assembly that meets local plumbing codes.
- Testing the plumbing system for leaks.
7.5. When to Hire Licensed Professionals
While DIY home improvement can be rewarding, there are times when it’s best to hire licensed professionals, especially for complex electrical or plumbing work.
| Task | DIY Feasibility | Recommendation |
|---|---|---|
| Simple Electrical Work | Yes | DIY with caution |
| Complex Electrical Work | No | Hire a licensed electrician |
| Plumbing for Island Sinks | Maybe | Consider hiring a plumber for complex setups |

8. Installing and Securing the Countertop
The countertop installation process requires precision and attention to detail. Just like building a sturdy pool deck, a well-installed countertop is crucial for both functionality and aesthetics.
Selecting the Right Countertop Material
Choosing the right countertop material is essential for durability and style. Popular options include granite, quartz, and butcher block, each with its own set of benefits.
- Granite: Durable and resistant to heat, granite is a popular choice for kitchen countertops.
- Quartz: Engineered quartz offers a wide range of colors and patterns, with low maintenance requirements.
- Butcher Block: Wooden countertops add warmth to the kitchen and are gentle on knives.
Measuring and Cutting Your Countertop
Accurate measurements are critical to ensure a seamless fit. Measure your base cabinets carefully, and consider having your countertop professionally cut if you’re unsure.

Creating Cutouts for Sinks and Cooktops
Precise cutouts are necessary for sinks and cooktops. Use a template or consult a professional to ensure accurate cutouts.
Attaching the Countertop to Base Cabinets
Secure the countertop to the base cabinets using the appropriate fasteners. Ensure the countertop is level and securely attached to prevent any movement.
Sealing Seams and Edges Properly
Seal any seams or edges to protect your countertop from moisture and damage. The sealing method will depend on the countertop material chosen.
9. Adding Decorative Panels and Finishing Touches
With the base and countertop in place, it’s time to focus on the details that elevate a kitchen island from functional to fantastic. Much like the finishing touches on a pool deck construction project, the decorative elements you choose can greatly enhance the overall aesthetic and functionality of your kitchen island.
9.1. Installing End Panels and Side Covers
End panels and side covers are crucial for giving your kitchen island a polished look. They cover the exposed ends of the cabinets and can be made from a variety of materials to match your island’s design.
To install end panels, measure the dimensions of the exposed ends of your cabinets carefully. Cut the panels to size using a suitable tool, such as a circular saw or a jigsaw, depending on the material. Secure the panels using screws or adhesive, ensuring they are level and flush with the cabinet surfaces.
9.2. Attaching Decorative Trim and Molding
Decorative trim and molding can add a touch of elegance to your kitchen island. Choose trim that complements the style of your kitchen and the material of your island.
To attach decorative trim, start by measuring and cutting it to the required lengths. Use a miter saw for precise angled cuts. Apply adhesive to the back of the trim and press it into place. Secure it further with nails or a nail gun, ensuring they are countersunk to avoid interference with other components.

9.3. Installing Cabinet Doors and Drawer Fronts
Cabinet doors and drawer fronts are not only functional but also contribute significantly to the overall appearance of your kitchen island. Ensure they are aligned properly and operate smoothly.
To install cabinet doors, attach the hinges to the doors and then to the cabinet frame. Adjust the hinges as necessary to achieve proper alignment and smooth operation. For drawer fronts, attach them to the drawer boxes using screws from the inside, ensuring they are centered and evenly spaced.
9.4. Adding Hardware, Handles, and Knobs
The final touch is adding hardware, handles, and knobs. These elements should be chosen to match the style and finish of your kitchen island and the overall kitchen decor.
To add hardware, measure the spacing required for the handles or knobs according to the manufacturer’s instructions. Drill pilot holes and screw the hardware into place. Ensure that the hardware is securely attached and functions as intended.
| Task | Tools Required | Tips |
|---|---|---|
| Installing End Panels | Circular saw, jigsaw, screws/adhesive | Measure carefully to avoid gaps |
| Attaching Decorative Trim | Miter saw, adhesive, nails/nail gun | Use precise angled cuts for a professional finish |
| Installing Cabinet Doors | Hinges, screwdriver/drill | Adjust hinges for smooth operation |
| Adding Hardware | Screwdriver/drill, hardware | Measure spacing carefully for even placement |
10. Common Installation Mistakes and How I Avoid Them
As someone who’s tackled numerous kitchen island installations, I’ve learned that avoiding common pitfalls is key to success. Just like a well-planned diy pool deck guide can help you sidestep errors in outdoor construction, being aware of potential mistakes in kitchen island installation can save you time, money, and frustration.
During my experiences, I’ve identified several critical areas where homeowners often go wrong. Let’s dive into these common mistakes and explore how to avoid them.
10.1. Incorrect Measurements and Clearance Issues
One of the most critical steps in kitchen island installation is ensuring accurate measurements. A mistake here can lead to clearance issues, making it difficult to move around the kitchen or even rendering the island unusable.
To avoid this, I always double-check my measurements and consider creating a detailed diagram of the kitchen layout. This helps visualize the space and identify potential clearance issues before they become major problems.

10.2. Skipping the Leveling and Shimming Process
A level kitchen island is not just aesthetically pleasing; it’s also crucial for the proper functioning of drawers and doors. Skipping the leveling and shimming process can lead to uneven surfaces and operational issues.
I make it a point to meticulously level the island and use shims where necessary to ensure a perfectly balanced installation.
10.3. Inadequate Floor Anchoring
Failing to anchor the kitchen island securely to the floor can result in a structure that’s unstable or even unsafe. The anchoring method depends on the type of flooring, so it’s essential to choose the right technique.
I always assess the floor type and select appropriate anchoring methods to ensure the island remains stable and secure over time.
10.4. Improper Electrical and Plumbing Connections
For kitchen islands with electrical or plumbing fixtures, improper connections can lead to safety hazards or code compliance issues. It’s crucial to plan these connections carefully and execute them correctly.
When dealing with electrical or plumbing installations, I either follow the relevant codes and best practices closely or consult with licensed professionals to ensure everything is done safely and correctly.
11. Maintaining Your Kitchen Island After Installation
Maintaining your kitchen island is similar to maintaining a pool deck; regular upkeep is essential to preserve its quality and safety. Just as pool deck building tips emphasize the importance of regular maintenance for durability, your kitchen island requires consistent care to remain functional and visually appealing.
11.1. Daily and Weekly Cleaning Routines
Establishing a daily and weekly cleaning routine is vital for maintaining your kitchen island. Daily, wipe down the countertops with a gentle cleanser to remove spills and splatters. Weekly, deep clean the island by scrubbing the surfaces and cleaning any appliances or fixtures installed on it.
For countertops made of natural stone, use a cleaner specifically designed for stone to avoid damaging the surface. For other materials, follow the manufacturer’s cleaning recommendations.
11.2. Inspecting and Tightening Hardware Periodically
Periodically inspect the hardware on your kitchen island, such as drawer handles and cabinet knobs, to ensure they are securely tightened. Loose hardware can lead to wear and tear over time, so addressing this issue promptly is crucial.
Check the alignment of cabinet doors and drawers as well. If they are not properly aligned, adjust the hinges or drawer glides accordingly to maintain smooth operation.
11.3. Protecting Countertops from Damage
To protect your countertops from damage, use cutting boards and trivets when preparing food or placing hot dishes. Avoid exposing the surface to extreme temperatures or using abrasive cleaners that can scratch or discolor the material.
For countertops with a finish, such as granite or quartz, consider applying a sealant periodically to maintain their appearance and durability.
11.4. Addressing Minor Repairs Quickly
Addressing minor repairs quickly is essential to prevent them from becoming major issues. If you notice any scratches, dents, or other forms of damage, take immediate action to repair them.
For minor scratches on countertops, use a repair kit specifically designed for your countertop material. For more significant damage, consider consulting a professional to ensure the repair is done correctly.
12. Conclusion
Installing a kitchen island can be a rewarding DIY project that enhances the functionality and aesthetic of your kitchen. By following the steps outlined in this article, you can create a beautiful and functional space that meets your needs.
As you reflect on your kitchen island installation journey, you may find inspiration for other home improvement projects, such as diy pool deck ideas or designing an above-ground pool deck. The DIY spirit and creativity that drive these projects are similar, and with the right planning and execution, you can achieve professional-looking results.
Whether you’re looking to improve your kitchen or enhance your outdoor living space, the key to success lies in careful planning, attention to detail, and a willingness to take on new challenges. With these qualities, you can create a space that is both functional and beautiful.