
By Ken Conley – Conley’s Home Improvement
Stop Wasting Valuable Space Under Your Stairs
Have you ever looked underneath your deck or stair landing and thought, “There has to be a better use for this space?”
That’s exactly what I thought.
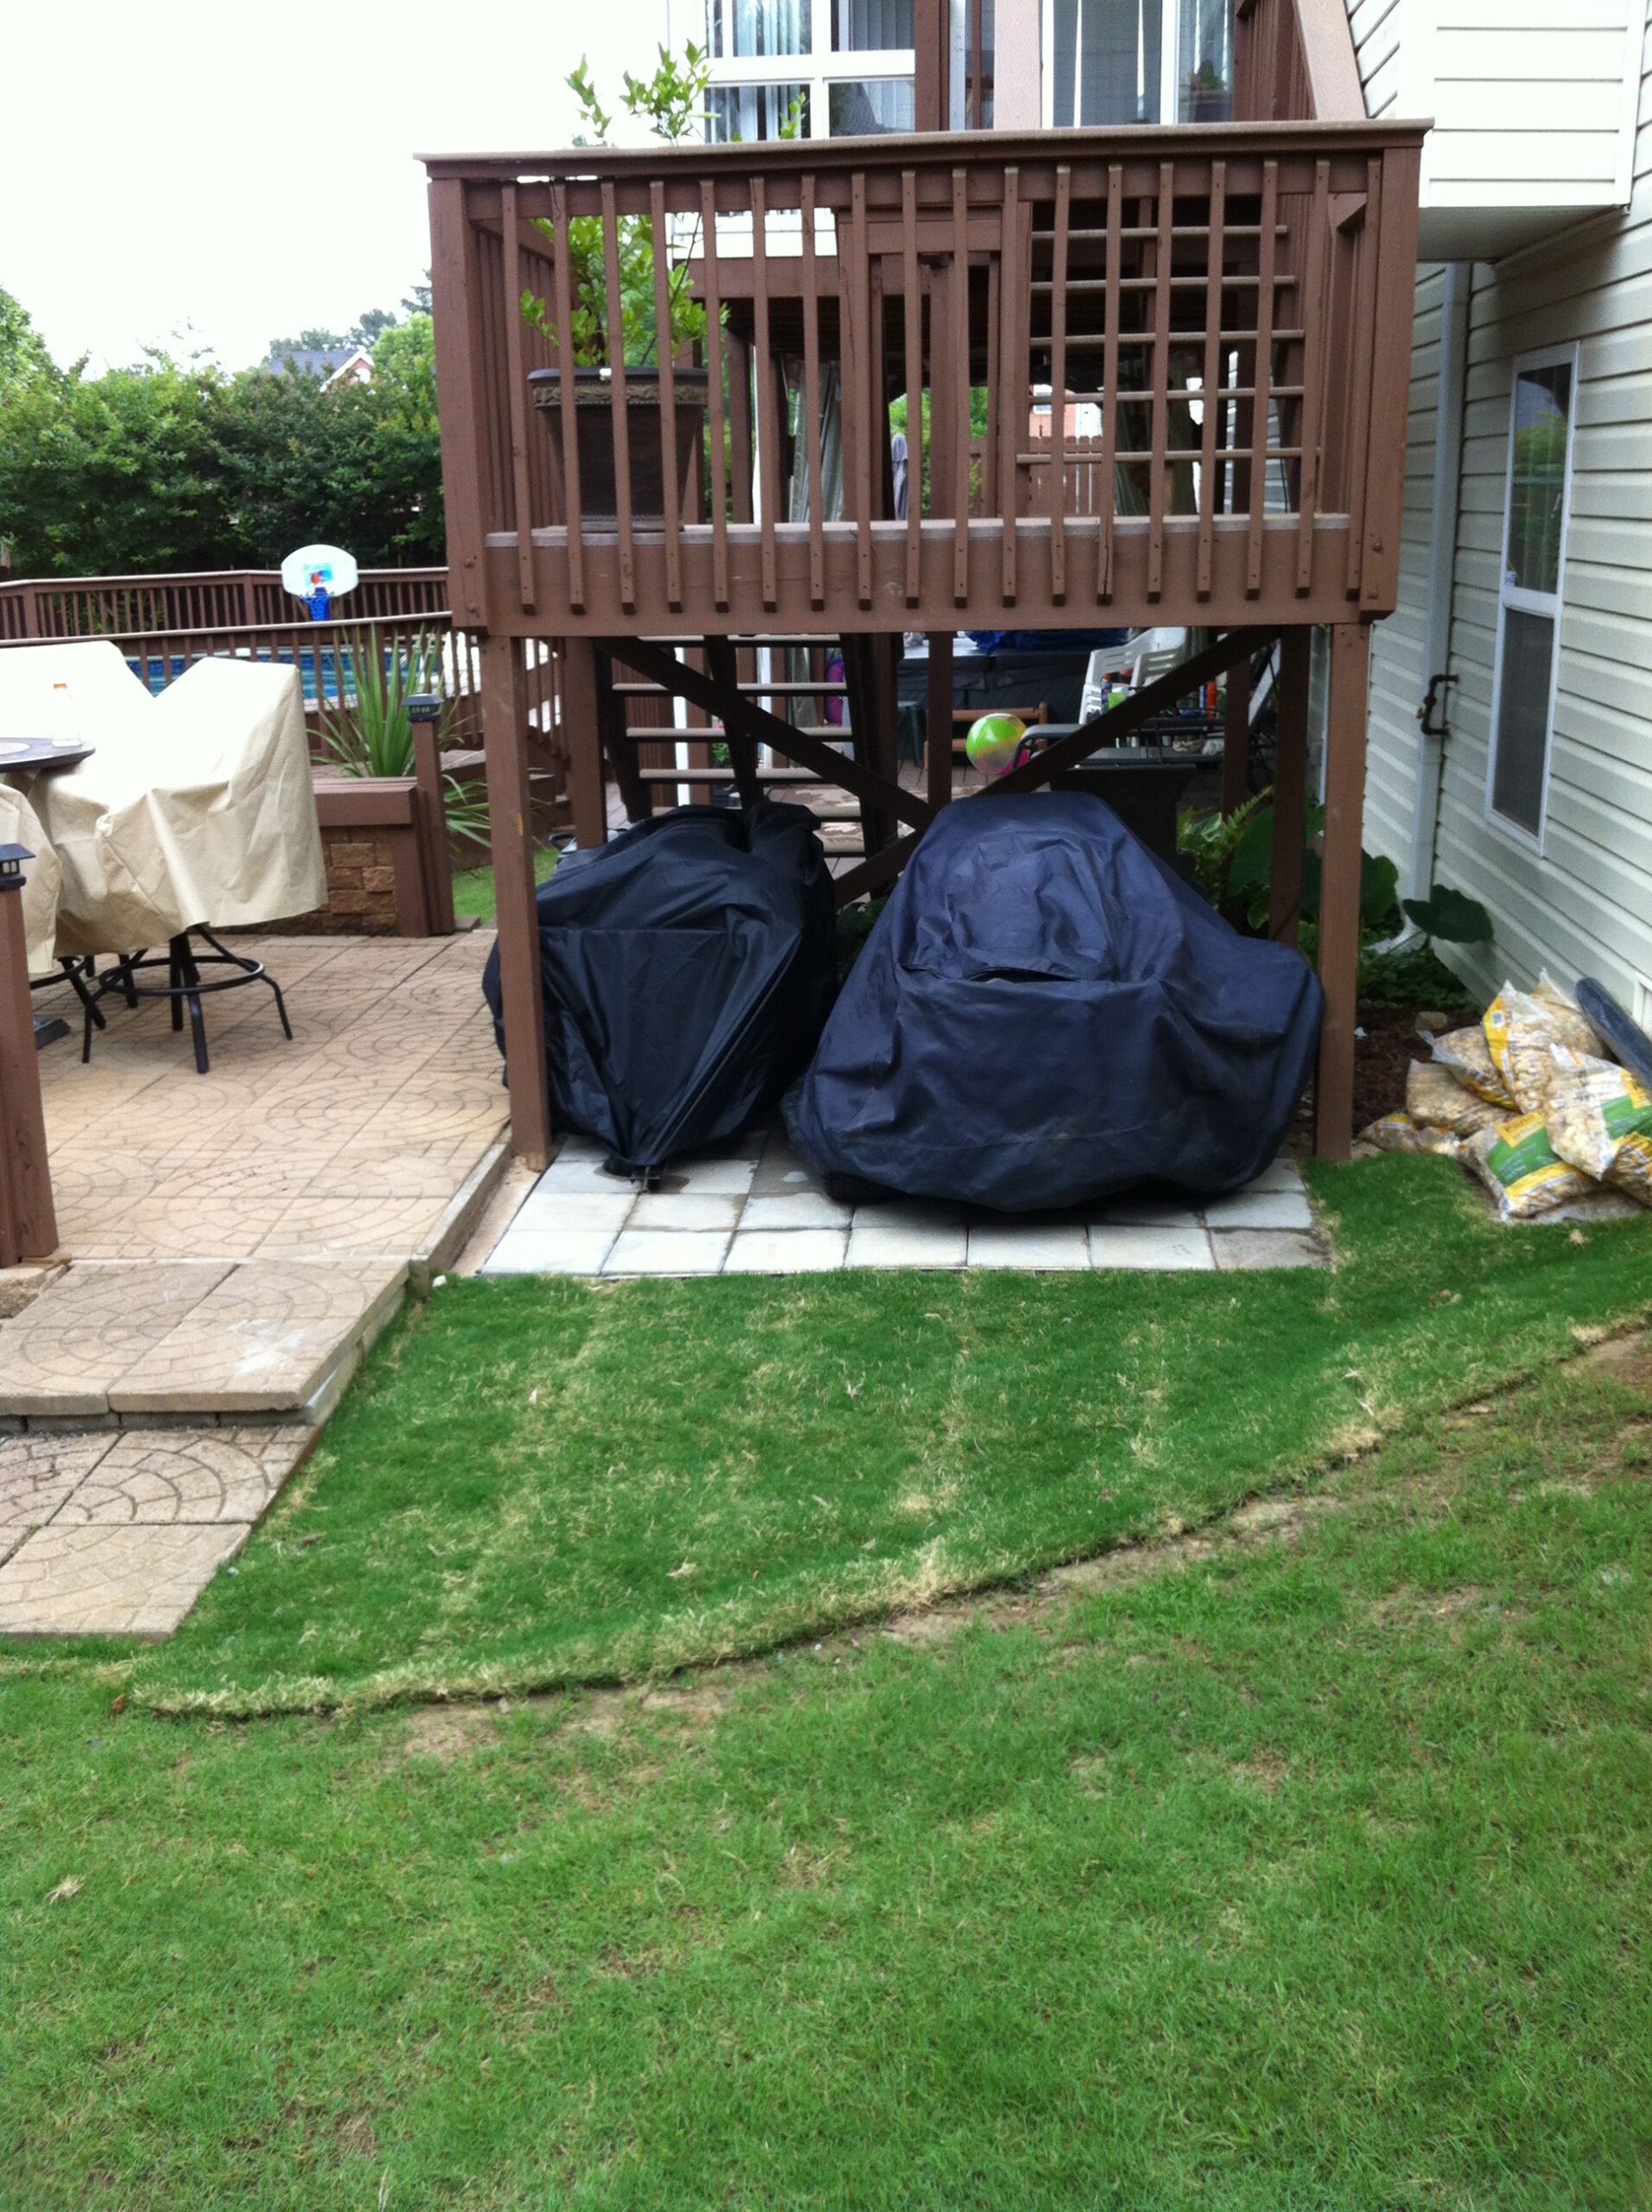
Instead of allowing weeds, mud, and unused ground to collect beneath my stair landing, I decided to transform the area into a durable concrete paver parking pad for my riding lawn mower and utility trailer.
What seemed like a simple paver project quickly became much more than laying concrete blocks. I had to solve drainage problems, reroute an underground downspout, properly prepare the foundation, and restore the surrounding landscaping.
If you’re considering building a paver pad beneath your deck or stairs, here’s exactly how the project came together.
Why Build Under the Stairs?
Many homeowners ignore the area beneath exterior stairs because it seems unusable.
In reality, it can become:
- Lawn mower parking
- Trash can storage
- Small equipment storage
- Garden tool parking
- Firewood storage
- Bicycle parking
- Outdoor utility space
Making use of existing space adds functionality without building another shed.
Step 1: Evaluate the Area
Before digging, I examined the entire space.
I measured:
- Width
- Length
- Height clearance
- Access for equipment
- Drainage direction
- Existing landscaping
One thing immediately became obvious…
The underground gutter drain crossed directly through the area where the parking pad needed to go.
That meant solving the drainage problem first.
Step 2: Discover the Hidden Drainage Problem

One of the biggest mistakes homeowners make is installing pavers directly over existing drainage pipes.
Doing that can eventually cause:
- Settling
- Broken pipes
- Standing water
- Sunken pavers
Instead, I uncovered the drainage system and rerouted it before installing the foundation.
Taking care of drainage first prevents future headaches.
Step 3: Reroute the Underground Downspout

The downspout extension had to be repositioned to fit the new parking pad.
This required:
- Digging a trench
- Installing proper fittings
- Maintaining the correct slope
- Testing drainage before covering it
Water always wins.
If drainage isn’t done correctly now, you’ll rebuild the project later.
Step 4: Plan the Foundation

Every successful paver project starts below the surface.
I carefully planned:
- Finished height
- Base depth
- Drainage slope
- Material quantities
- Paver layout
The foundation determines whether the pavers stay level for years or begin sinking after one season.
Step 5: Prepare the Base

After excavation, the area was prepared for the paver installation.
The base included:
- Proper grading
- Compacted foundation material
- Leveling
- Correct slope away from the house
A strong foundation keeps the surface from shifting over time.
Step 6: Install the Concrete Pavers

With the foundation complete, the pavers could finally be installed.
The installation focused on:
- Straight layout
- Tight joints
- Consistent spacing
- Level surface
- Clean edges
Although placing pavers is the visible part of the project, it’s actually the easiest step after proper preparation.
Step 7: Restore the Landscaping

Once construction was complete, the surrounding yard needed attention.
I:
- Filled low spots
- Added topsoil
- Installed new sod
- Cleaned the work area
- Blended the project into the existing landscape
Good landscaping makes the project look like it was always part of the original home.
Step 8: The Finished Parking Pad

The completed project transformed an overlooked area into useful storage space.
Now there’s room to park:
- Riding lawn mower
- Lawn trailer
- Yard equipment
Instead of collecting weeds and mud, the space now serves a practical purpose every day.
What I Learned
Every project teaches something new.
Here are my biggest takeaways:
Always solve drainage first.
Water problems only become more expensive after construction.
Spend extra time on the foundation.
Most paver failures begin underneath the surface—not on top.
Measure more than once.
Good planning saves material, time, and frustration.
Don’t ignore unused space.
Many homeowners already have valuable storage areas hidden around their property.
Tools Used
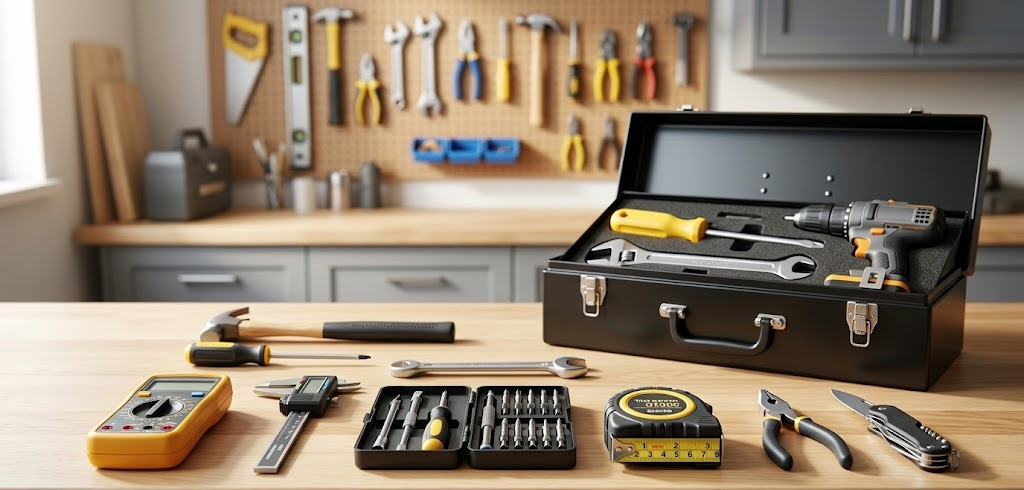
- Tape Measure
- Shovel
- Wheelbarrow
- Level
- Landscape Rake
- Plate Compactor (recommended)
- Concrete Pavers
- Base Material
- Sand
- Drain Pipe & Fittings
- Utility Knife
- Work Gloves
- Safety Glasses
Frequently Asked Questions
Can concrete pavers support a riding lawn mower?
Yes. When installed on a properly compacted base with adequate thickness, concrete pavers easily support riding mowers and most lawn equipment.
Why reroute the drain before laying pavers?
Underground drainage must remain accessible and maintain proper slope. Installing pavers over improperly placed pipes often causes settling and water issues.
How much slope should a paver pad have?
A slight slope away from the home helps move water off the surface while keeping the pad level enough for equipment.
Can this project be completed by a homeowner?
Yes. With careful planning, proper excavation, and patience, many homeowners can complete a project like this over a weekend or several days.
Final Thoughts
One of the best improvements isn’t always the one everyone notices.
Sometimes it’s the project that makes your home more useful.
By transforming an overlooked area beneath the stairs into a durable concrete paver parking pad, I gained organized storage, solved a drainage issue, improved the landscape, and made better use of space that had been wasted for years.
If you’re looking around your home wondering where you can add value without building an addition, don’t overlook the space you already have.
You may be standing over your next great DIY project.



Leave a Reply