Turning an Overlooked Space into a Functional Powerhouse
If you’ve followed my journey over the years, you already know—I don’t believe in wasted space. Back in spring 2005, I tackled one of my most memorable projects: a full garage makeover with my two sons. It wasn’t just about paint and tools—it was about building something together, learning responsibility, and creating a space we were proud of.
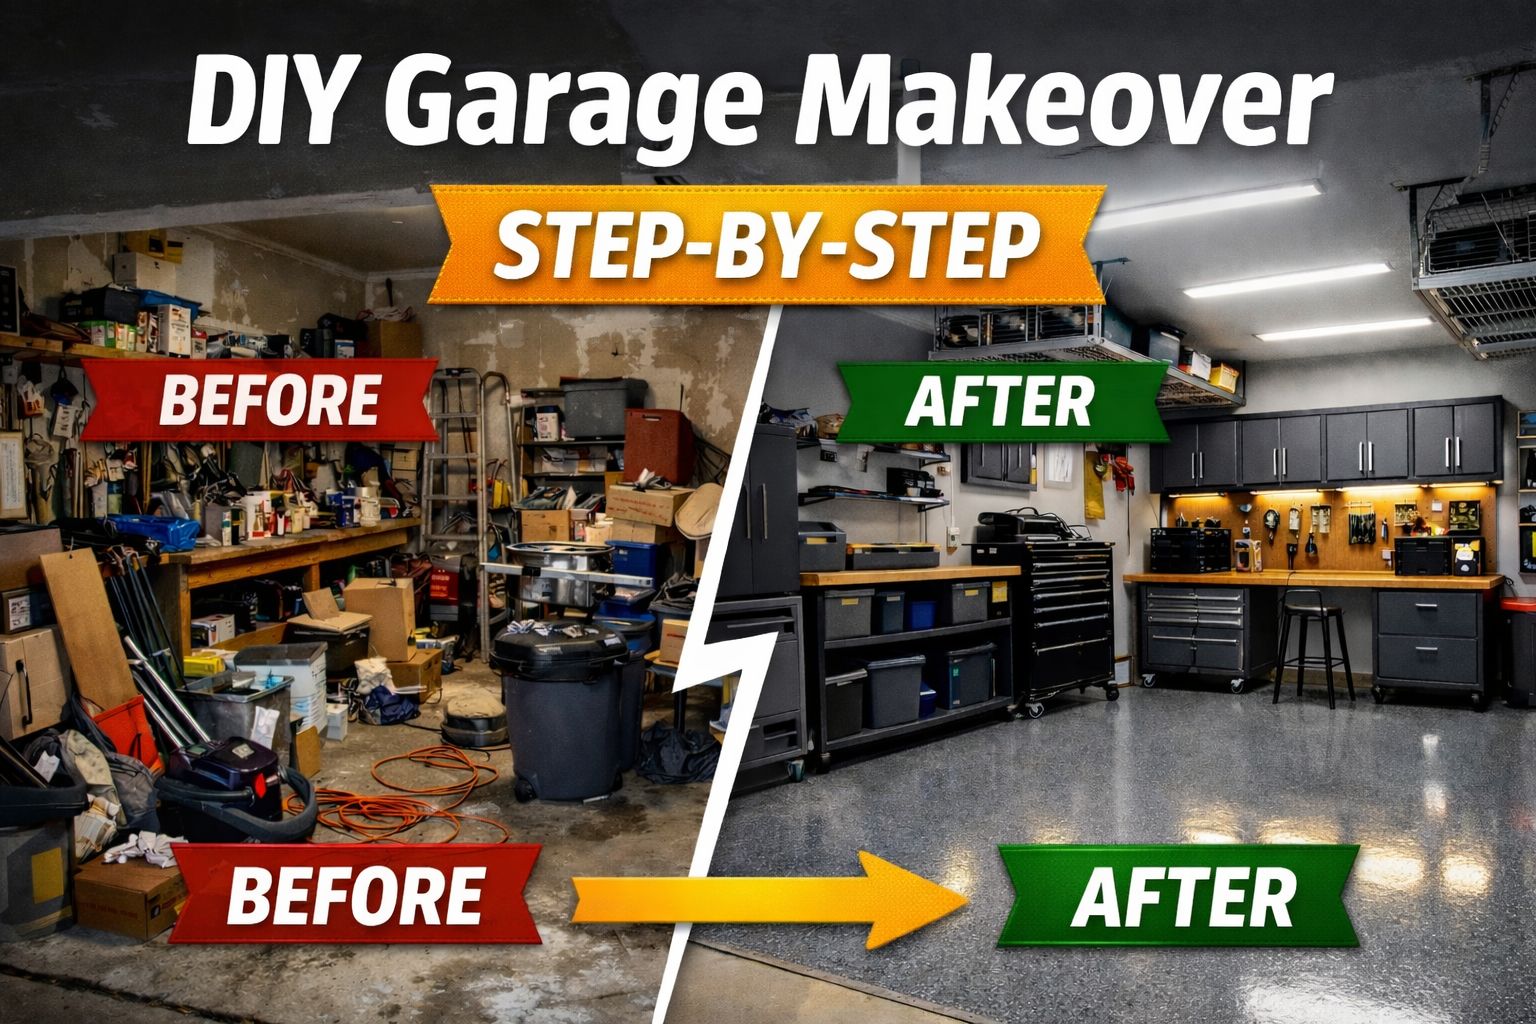
This guide walks you through the exact step-by-step process I’ve used (and refined over 40+ years) to transform a garage from cluttered chaos into a clean, functional workspace.
Step 1: Clear It Out Completely


Before you pick up a paintbrush or tool—clear everything out.
What to do:
- Remove all items (yes, everything)
- Sort into: keep, donate, trash
- Sweep and vacuum thoroughly
Pro Tip: This is where most people cut corners. Don’t. A clean slate gives you clarity and better results.
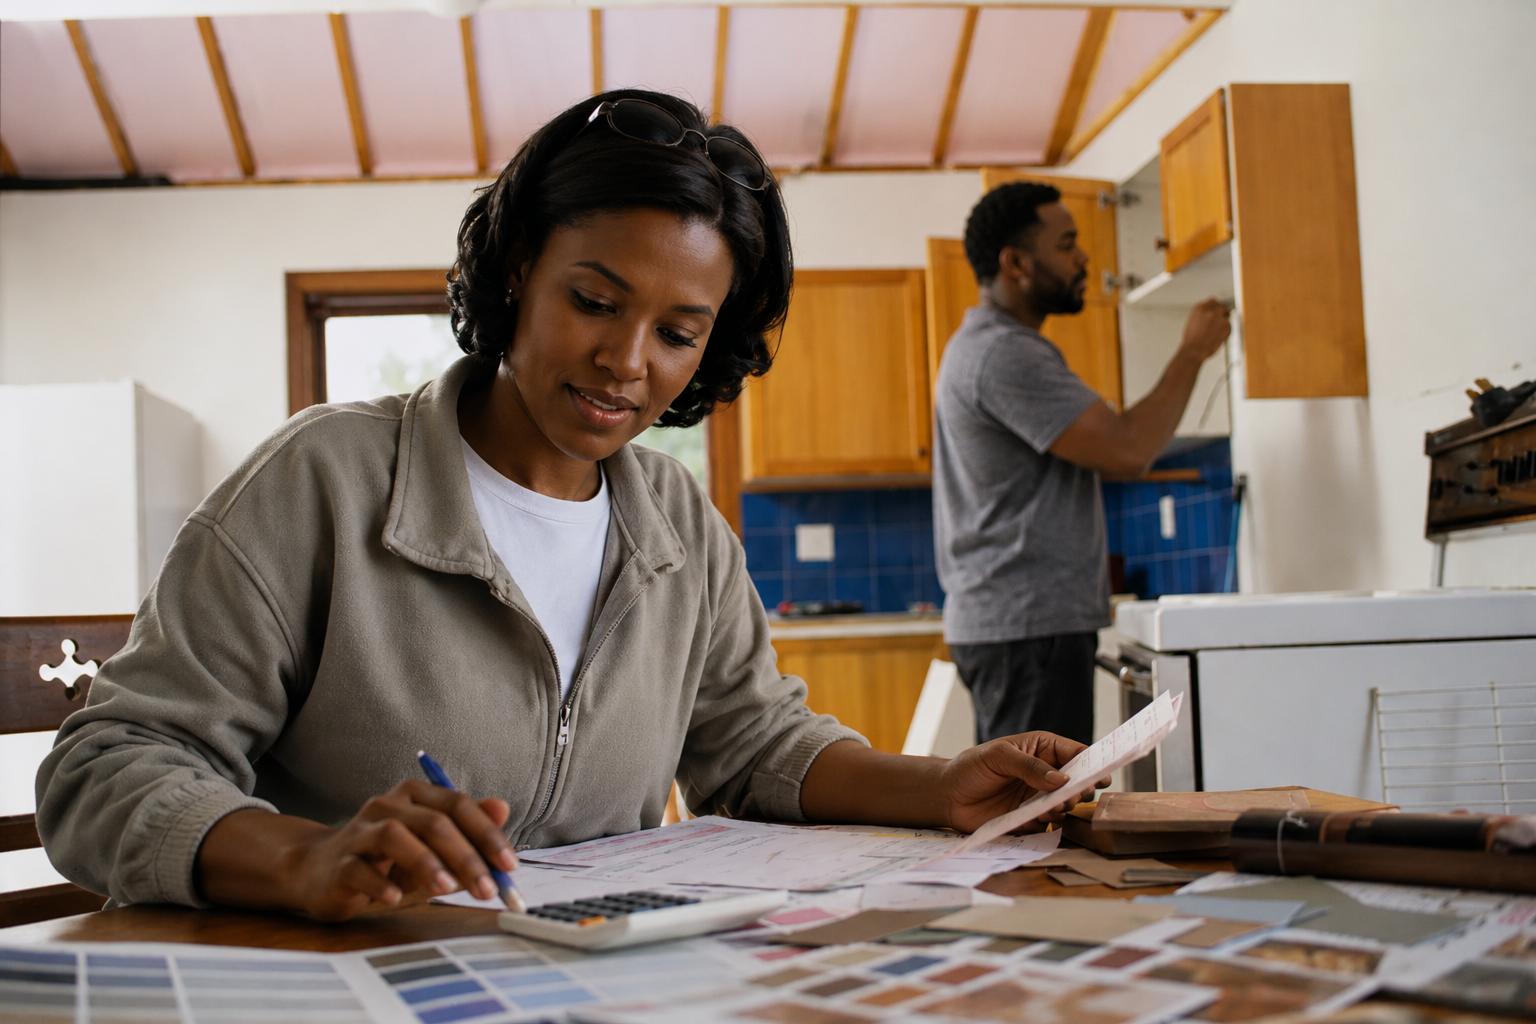
Step 2: Assess the Condition


Take a hard look at your garage.
Check for:
- Cracks in walls or floors
- Water damage or stains
- Peeling paint
- Mold or mildew
From experience: Fixing problems early saves you time, money, and frustration later.
Step 3: Make Necessary Repairs


Now it’s time to fix what you found.
Common repairs:
- Patch holes with spackle or joint compound
- Fill concrete cracks
- Sand rough surfaces
- Replace damaged trim if needed
Step 4: Paint for a Fresh Start


This is where the transformation really begins.
Steps:
- Use painter’s tape for clean lines
- Prime if needed
- Apply 2 coats of quality paint
Color Tips:
- Light gray or white = brighter space
- Neutral tones = clean, professional look
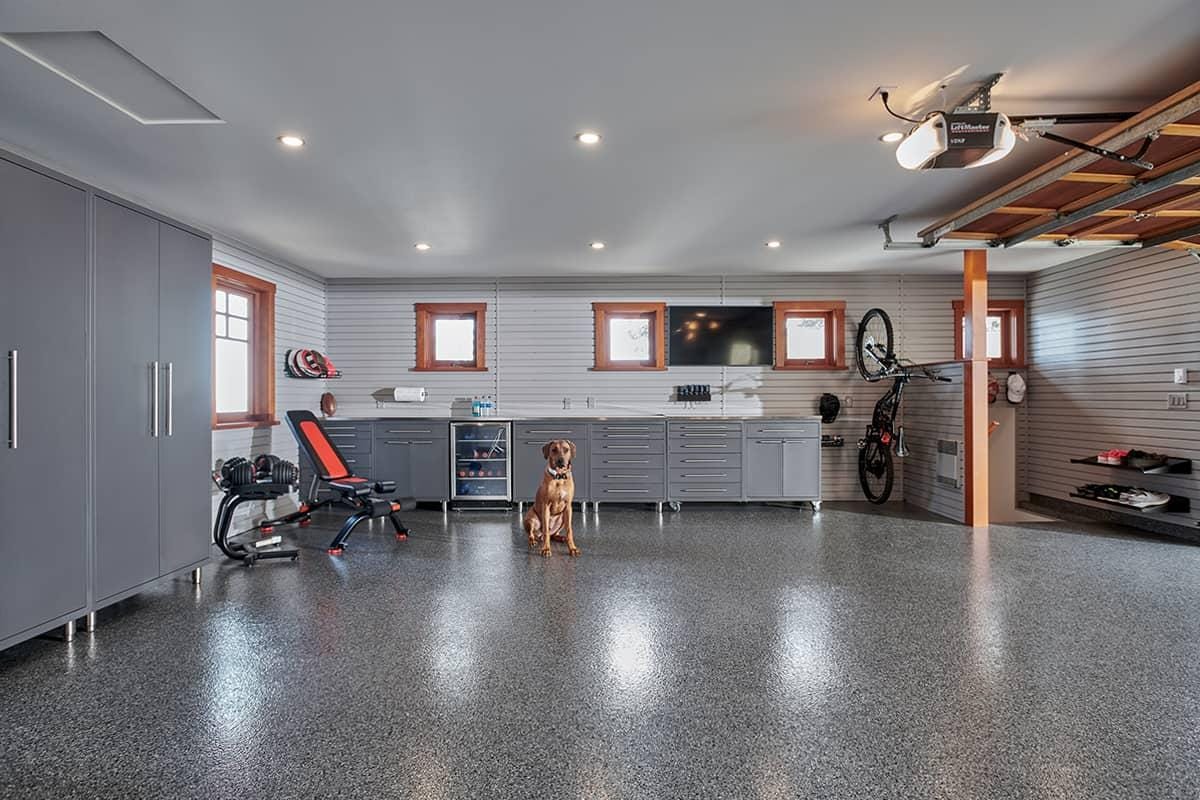
Step 5: Upgrade the Flooring


Don’t ignore the floor—it’s half the look.
Options:
- Epoxy coating (durable and professional)
- Concrete paint (budget-friendly)
- Interlocking tiles (quick install)
My go-to: Epoxy for long-term durability.
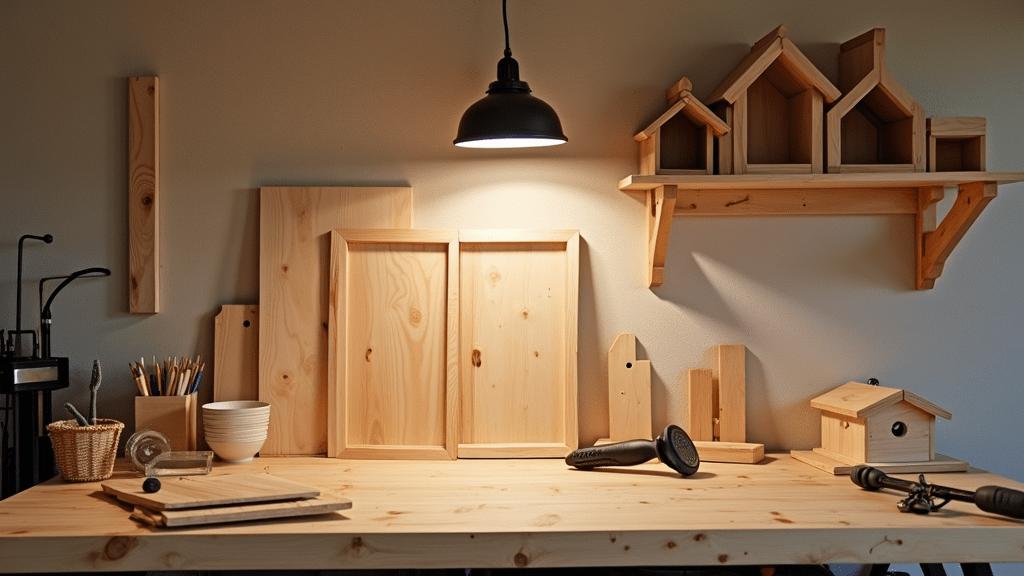
Step 6: Install Smart Storage Solutions


A clean garage won’t stay clean without organization.
Must-haves:
- Wall-mounted shelves
- Pegboards for tools
- Overhead storage racks
Rule I live by: “Everything has a place—and it goes back there.”
Step 7: Improve Lighting & Functionality


Good lighting turns your garage into a true workspace.
Upgrades:
- LED shop lights
- Task lighting over workbench
- Motion sensor lights
Game changer: Brighter lighting = safer and more productive projects.
Step 8: Add Your Personal Touch


Now make it yours.
Ideas:
- Workbench setup
- Tool layout system
- Personal decor or branding
- Project display area
This is where your garage becomes more than storage—it becomes a reflection of your craftsmanship.
Final Thoughts: More Than Just a Makeover
A DIY garage makeover isn’t just about paint and shelves—it’s about discipline, pride, and legacy.
For me, it was about teaching my sons how to work with their hands…
how to finish what they start…
and how to take pride in building something real.
At Conley’s Home Improvement, that’s what it’s always been about.
Ready to Start Your Garage Makeover?
If this guide helped you, here’s your next step:
✔️ Start with Step 1 this weekend
✔️ Take before and after photos
✔️ Turn your project into your own story
👍 Like, Share & Subscribe for More DIY Content
Follow Conley’s Home Improvement for real projects, real lessons, and real results.