

Creating Shade, Style, and a Backyard Destination
One of the most rewarding aspects of DIY home improvement is taking an ordinary space and transforming it into something special. That’s exactly what happened when I decided to build a pergola in my backyard.
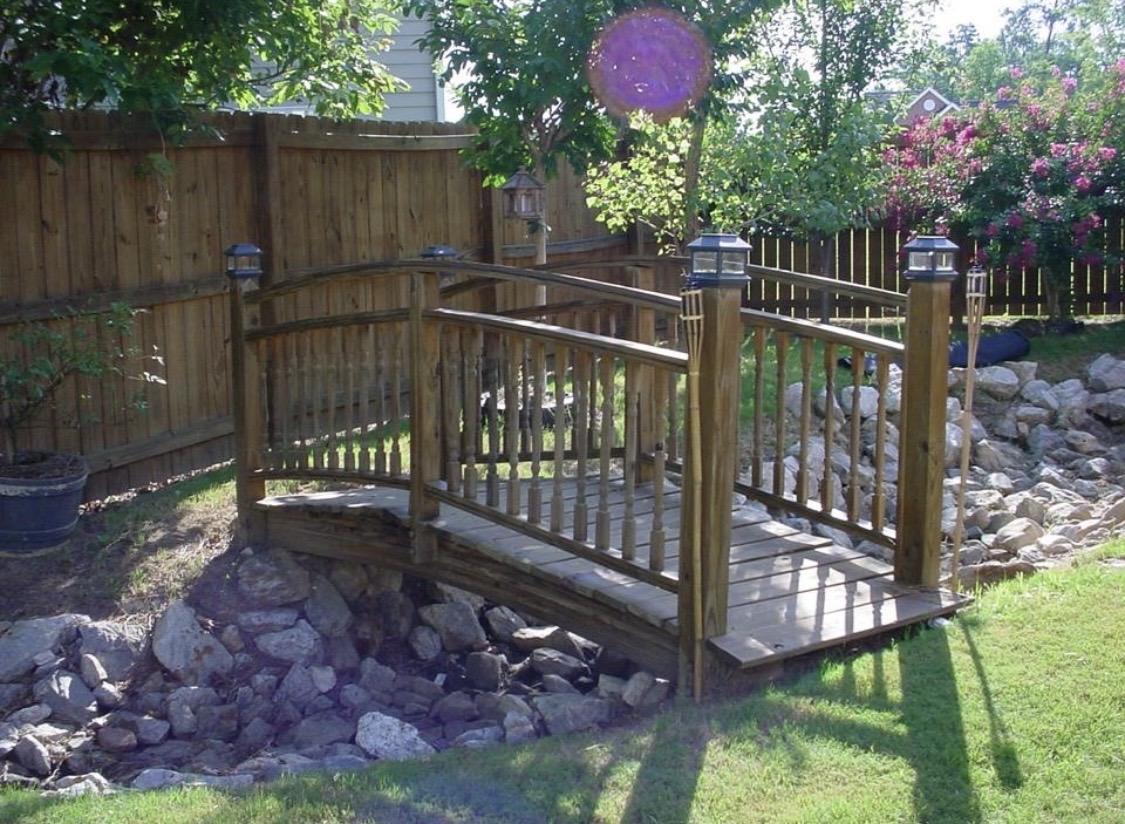
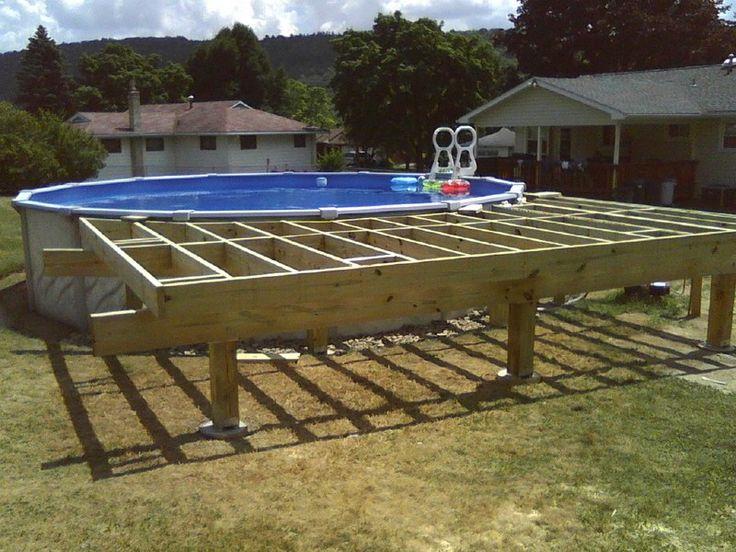
After completing several outdoor projects over the years—including a swimming pool deck, stone patio, wooden bridge, and landscaping upgrades—I felt there was still something missing. The backyard needed a focal point. It needed structure. It needed a space that would tie everything together while creating a comfortable area for family gatherings and relaxation.
That’s when I decided to build a pergola.
This project added character, visual appeal, and functionality to my outdoor living space while increasing the overall value of the property. In this guide, I’ll walk you through the planning, construction process, lessons learned, and practical tips that can help you build your own pergola successfully.
Watch the video below to see the complete transformation and learn how you can build a beautiful DIY Pergola Project for your own backyard:
Why I Decided to Build a Pergola


Before the pergola, the patio area felt unfinished. While the space was functional, it lacked definition and visual interest.
A pergola solves several problems at once:
- Creates a defined outdoor room
- Adds architectural interest
- Provides partial shade
- Enhances landscaping
- Increases property appeal
- Creates a gathering space for family and friends
The goal wasn’t simply to build another structure. The goal was to create a destination within the backyard.
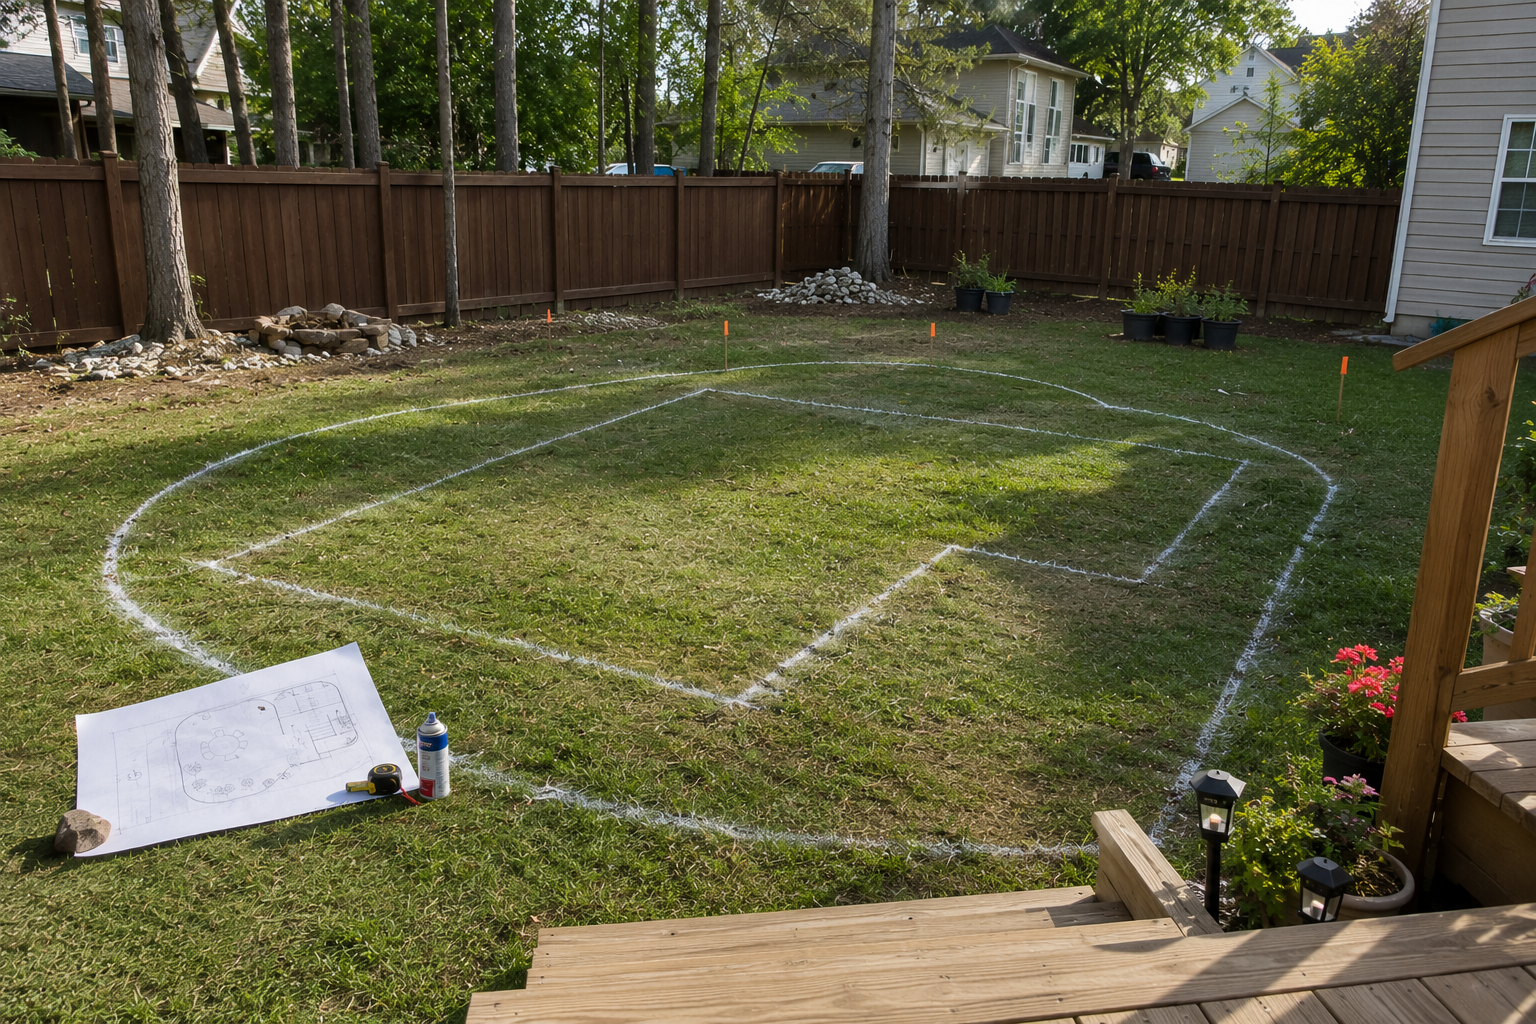
Step 1: Planning the Pergola Design


Every successful DIY project starts with careful planning.
I spent time measuring the area, determining the desired height, selecting materials, and considering how the pergola would complement existing features.
Questions I considered included:
- How much shade do I want?
- How large should the structure be?
- Will it interfere with existing landscaping?
- What building materials best fit my budget?
- How will the pergola look from different angles?
Proper planning prevents costly mistakes later.
Step 2: Selecting Materials


Choosing quality materials is one of the most important decisions you’ll make.
For this project, I selected pressure-treated lumber because it offers:
- Durability
- Weather resistance
- Structural strength
- Cost effectiveness
Depending on your budget, you may also consider:
- Cedar
- Redwood
- Composite materials
- Vinyl pergola systems
Buyer’s Guide: Choosing Pergola Lumber


Pressure-Treated Lumber
Pros:
- Affordable
- Strong
- Long lifespan
Cons:
- Requires drying before staining
Cedar
Pros:
- Beautiful appearance
- Naturally insect resistant
Cons:
- More expensive
Composite
Pros:
- Low maintenance
Cons:
- Higher initial cost
My recommendation for most DIY homeowners is pressure-treated lumber due to its balance of durability and affordability.
Step 3: Building the Support Structure


The posts and beams form the foundation of the pergola.
This phase requires patience and accuracy.
Each post must be:
- Properly positioned
- Plumb
- Securely anchored
A small error here can create alignment issues throughout the project.
Safety Alert


Never attempt to lift large beams alone.
Pergola beams are often heavier than they appear and can cause serious injury if dropped.
Always use:
- Work gloves
- Safety glasses
- Proper lifting techniques
- A helper when necessary
Tool Tip


Use a 4-foot level rather than a small torpedo level when checking pergola posts.
Longer levels provide much greater accuracy.
Step 4: Installing Decorative Rafters


Once the support structure was complete, the project really started taking shape.
The rafters provide both structure and visual appeal.
I used a template to create consistent decorative cuts on every rafter.
Using a template dramatically improves appearance and speeds construction.
Work Smart Tip
Create one perfect rafter template first.
Then trace the template onto every board before cutting.
This saves hours of measuring and improves consistency.
Common Mistake
Cutting rafters individually without a template often results in mismatched decorative ends.
Even small variations become obvious after installation.
Step 5: Final Assembly


This is the exciting stage where everything comes together.
With the posts secure and rafters prepared, the pergola quickly transformed from a pile of lumber into a backyard centerpiece.
Each beam and rafter was carefully aligned and secured using exterior-grade fasteners.
At this point, the vision became reality.
Tool Tip
Impact drivers make pergola assembly significantly easier than standard drills.
They reduce user fatigue and drive large structural screws more efficiently.
Design Tips That Improve the Finished Look


A pergola should look intentional and integrated into your outdoor space.
Here are a few design improvements that make a big difference:
Match Existing Architecture
Use colors and materials that complement your home.
Add Landscaping
Flower beds, shrubs, and decorative stone help anchor the structure visually.
Consider Lighting
String lights, solar lights, or low-voltage lighting can dramatically improve nighttime appearance.
Define the Space
Outdoor furniture helps establish the pergola as an outdoor room.
Lessons Learned From This Project


Every DIY project teaches valuable lessons.
For this pergola build, I learned:
- Planning saves time.
- Templates improve quality.
- Good tools reduce frustration.
- Patience produces better results.
- Small details create professional finishes.
Most importantly, I learned once again that ordinary homeowners can accomplish extraordinary projects when they break the work into manageable steps.
The Finished Transformation


When the project was complete, the backyard felt entirely different.
The pergola created a defined outdoor living area, improved visual appeal, and gave the space a sense of purpose.
Today, it’s one of my favorite features in the yard.
It’s a place to relax, entertain guests, and enjoy the results of hard work.
And that’s what DIY home improvement is all about.
Turning ideas into reality.
Final Thoughts


Building a pergola is one of the most rewarding outdoor projects a homeowner can undertake.
With careful planning, quality materials, and patience, you can create a beautiful structure that enhances your property and provides years of enjoyment.
If you’re considering a pergola project, start planning today. Measure twice, cut once, and remember that every successful DIY project begins with the decision to get started.
More DIY Projects From Conley’s Home Improvement
- Swimming Pool Deck Project
- Stone Paver Patio Project
- Wooden Bridge Project
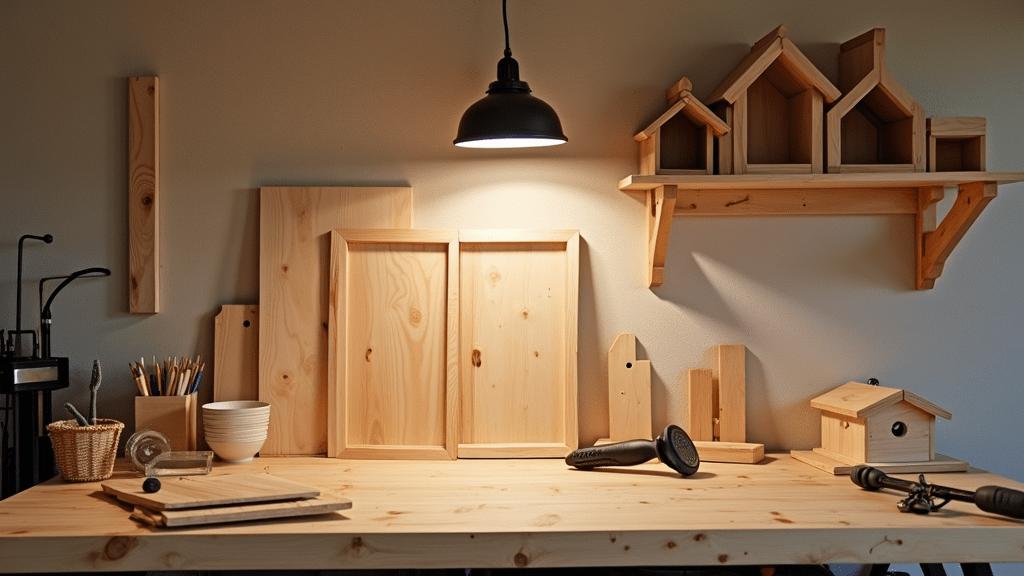
- Beginner Woodworking Projects
Follow along for more step-by-step DIY home improvement projects built from over 40 years of hands-on experience.


Leave a Reply