
Every homeowner eventually discovers that water can become one of the most destructive forces around a house. What starts as a small puddle after a rainstorm can gradually turn into standing water, soil erosion, foundation concerns, dying grass, and an unusable section of the yard.
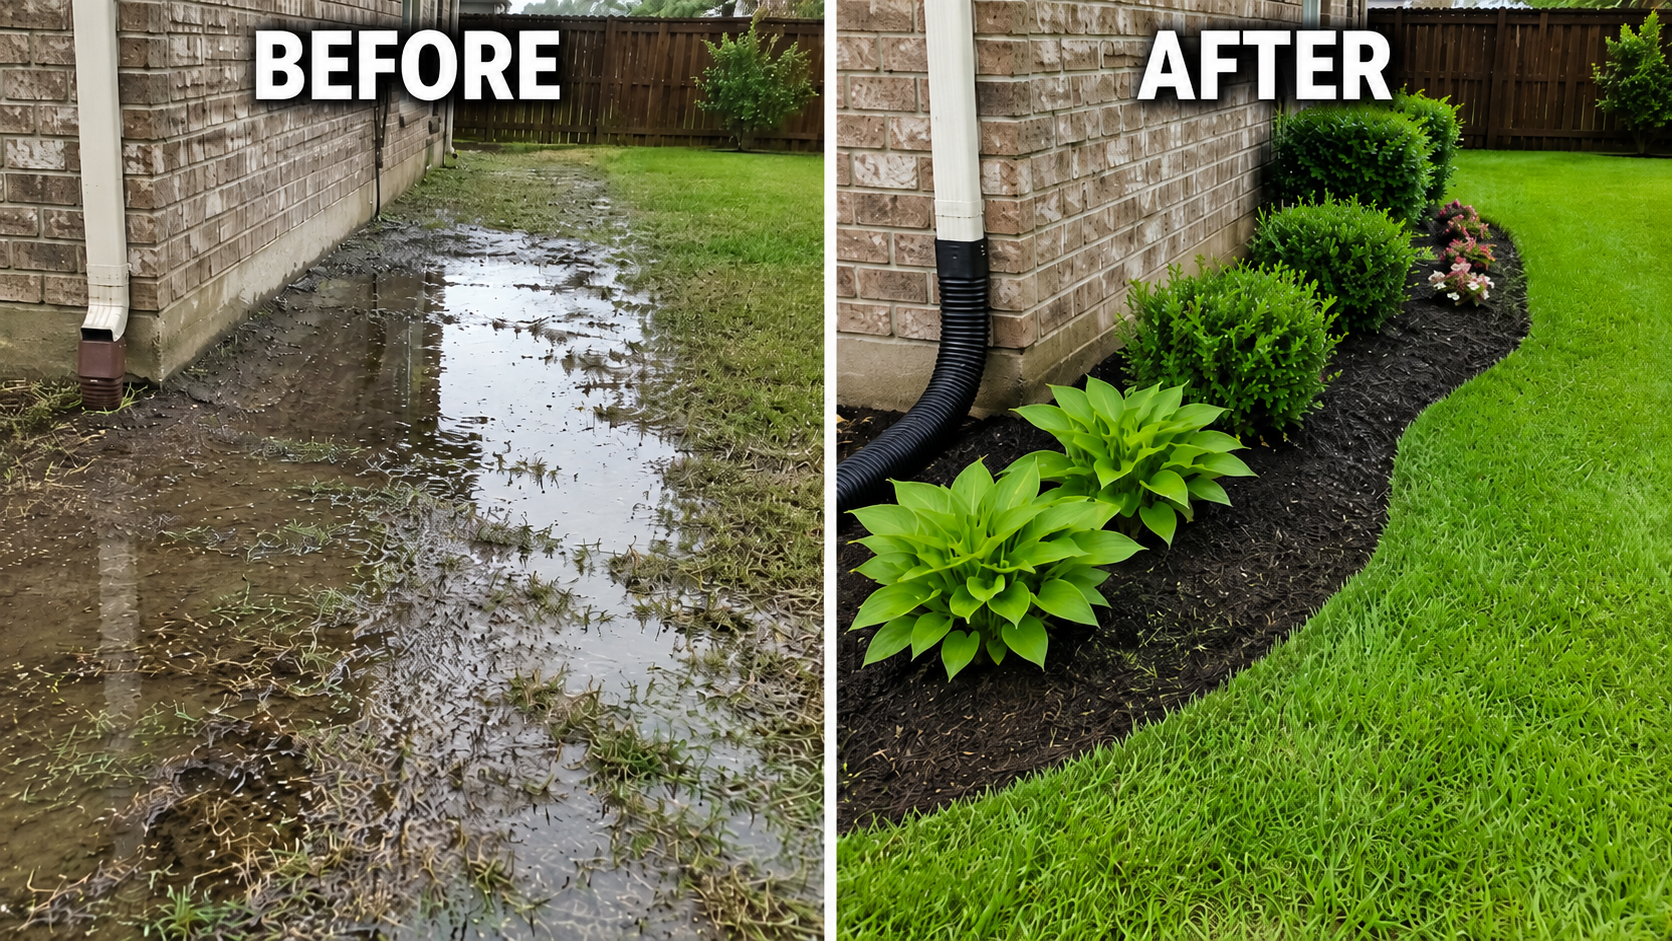
That was exactly the situation I faced in the back corner of my home. Every heavy rain dumped hundreds of gallons of roof runoff directly beside the foundation. The ground stayed saturated for days, the grass struggled to grow, and erosion continued getting worse year after year.
Rather than simply covering the symptoms with more dirt or mulch, I decided to fix the real problem by installing an underground downspout drainage system that would safely carry the water away from my home’s foundation.
With more than 40 years of DIY home improvement experience, I’ve learned that solving the source of a problem always produces better long-term results than treating the symptoms. In this project, I’ll show you exactly how I completed the repair and transformed a constantly wet corner of my yard into a dry, healthy landscape.
Why Backyard Drainage Problems Should Never Be Ignored

Water may seem harmless, but when it’s constantly concentrated in one location, it can create expensive problems.
Common drainage issues include:
- Foundation settling
- Basement moisture
- Landscape erosion
- Dead grass
- Standing water
- Mosquito breeding
- Muddy walkways
- Rot around siding
- Mold growth
Ignoring these problems only allows them to become larger—and much more expensive—to repair.
Identifying the Real Problem

Before digging anything, I wanted to understand exactly where the water was coming from.
During every rainstorm, one roof section concentrated thousands of gallons of runoff into a single downspout. Instead of carrying the water away, the existing splash block dumped everything into one low area beside the house.
The result was predictable:
- Soil washing away
- Constant mud
- Poor grass growth
- Water pooling near the house
- Landscape damage
The solution wasn’t adding more dirt.
The solution was moving the water.
Planning the Underground Drainage System

Before touching a shovel, I carefully planned the entire drainage route.
Planning included:
- Finding the lowest drainage point
- Measuring the trench length
- Selecting pipe size
- Determining pipe slope
- Choosing where the water would safely exit
Good planning prevents future drainage problems.
One of the biggest mistakes DIY homeowners make is installing perfectly level pipe. Water must continue flowing downhill.
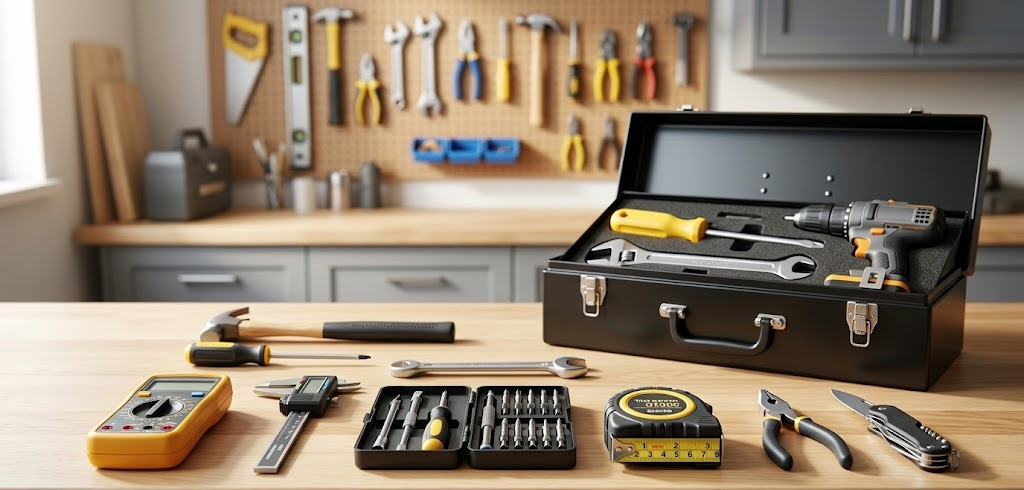
Tools and Materials

This project required only basic landscaping tools.
Tools
- Shovel
- Trenching shovel
- Pickaxe (hard soil)
- Tape measure
- Level
- Utility knife
- Wheelbarrow
- Work gloves
Materials
- Corrugated drain pipe
- Solid drain pipe
- Downspout adapter
- Pipe connectors
- Drain outlet
- Landscape fabric
- Gravel
- Topsoil
- Grass seed
- Mulch
Step 1: Digging the Trench

The first major step was excavating the trench from the downspout toward the drainage outlet.
I dug deep enough to maintain a consistent downward slope while leaving room for gravel beneath the pipe.
Although digging was the most labor-intensive portion of the project, taking my time ensured the pipe would function correctly for many years.
Step 2: Installing the Underground Pipe

Once the trench was complete, I connected the downspout to the underground drainage pipe.
Every connection was securely fitted to prevent leaks and future movement.
I also verified the pipe maintained continuous slope from beginning to end.
Gravity does all the work.
Step 3: Testing Before Backfilling
Before covering anything, I tested the system.
Using a garden hose, I simulated heavy rainfall by running water through the downspout.
Watching the water quickly exit the drainage outlet confirmed everything was working exactly as planned.
Never skip this step.
Fixing a problem after the trench is covered takes far more effort.
Step 4: Backfilling the Trench

After confirming the drainage system worked correctly, I carefully backfilled the trench.
I compacted soil in layers to reduce future settling.
The final grading directed any surface water away from the house as an added layer of protection.
Step 5: Restoring the Landscape

Once the drainage system disappeared underground, it was time to restore the yard.
I added:
- Topsoil
- Grass seed
- Mulch
- Decorative landscaping
Within a short time, the repair blended naturally into the surrounding yard.
Most visitors would never know an underground drainage system was protecting the home beneath the landscaping.
Lessons I Learned
Every project teaches something new.
This drainage repair reinforced several important lessons:
- Water always follows the easiest path.
- Small drainage problems become expensive over time.
- Proper planning saves countless hours.
- Underground drainage dramatically improves landscaping.
- Protecting the home’s foundation should always be a priority.
The best DIY projects don’t just improve appearance—they solve problems permanently.
The Finished Transformation

One of the most satisfying moments came after the next heavy rain.
Instead of watching water pool beside the house, I watched it disappear into the underground drainage system and safely exit far away from the foundation.
No standing water.
No muddy corner.
No erosion.
Just a dry yard that looked better and functioned exactly as intended.
Projects like this may not be the most glamorous, but they often provide some of the greatest long-term value for your home.
Final Thoughts
This DIY downspout drainage project completely transformed one of the worst areas of my yard while helping protect my home’s foundation for years to come.
If you’ve been dealing with standing water, muddy landscaping, or erosion around your home, don’t ignore the warning signs. Fixing the drainage problem now can save you thousands of dollars in future repairs.
I’ve learned over four decades of DIY home improvement that the best projects aren’t always the ones people notice first—they’re the ones that quietly protect your home every time it rains.
If this project inspires you to tackle your own backyard drainage issues, I hope it gives you the confidence to plan carefully, work safely, and remember one of my favorite DIY principles:
Measure twice, dig once, and always move the water away from your home.
Watch the complete DIY Downspout Drainage Project from start to finish on my YouTube channel to see every step of the installation, including trench digging, pipe installation, testing, backfilling, and the finished landscape transformation. Seeing the process in action can make your own project much easier to plan and complete.
🚧 Safety Alerts — Avoid Dangerous Mistakes
No DIY project is worth risking an injury. Before digging your first trench or connecting your downspout, take a few minutes to think about safety. Always contact your local utility locating service before digging to avoid hitting buried gas, electrical, water, or communication lines. Wear safety glasses, sturdy work gloves, steel-toe boots if possible, and hearing protection when operating power equipment. If you’re using a trencher, read the operator’s manual and keep children and pets away from the work area. Wet soil can also become slippery, so work carefully after rain. A successful drainage project isn’t just about moving water—it’s about completing the job safely so you can enjoy the results for years to come.
🔨 Tool Tips — Use Your Tools the Right Way
Using the right tool for each step makes the entire project easier, faster, and produces better results. A trenching shovel creates a much narrower trench than a standard shovel, saving both digging time and backfilling effort. A four-foot level or line level helps maintain the proper downhill slope so water flows freely through the pipe. A rubber mallet is useful for securing fittings without damaging plastic connectors, while a tape measure ensures the correct pipe lengths before making cuts. Clean your tools as you work, especially if you’re digging in clay soil, because built-up dirt can make digging much harder. Quality tools don’t have to be expensive, but using the correct ones will make your project look far more professional.
🛒 Buyer’s Guide — Choose Better Materials
Not all drainage materials are created equal. Investing in quality products now can prevent future repairs and unnecessary frustration. For roof runoff, always choose solid corrugated or smooth-wall drain pipe instead of perforated pipe, which is designed for French drains rather than carrying concentrated roof water. Use durable PVC or high-quality corrugated adapters that securely connect to your existing downspout. Consider installing a pop-up emitter or grate at the discharge point to keep debris out while allowing water to exit efficiently. If your soil drains poorly, adding landscape fabric and gravel around portions of the system can improve longevity and reduce clogging. Buying slightly better materials often costs only a little more but dramatically extends the life of the installation.
⚡ Work Smart Tips — Save Time and Reduce Frustration
One of the biggest lessons I’ve learned over more than 40 years of DIY projects is that preparation saves far more time than rushing into the work. Before digging, spray-paint your entire trench path so you have a clear guide to follow. Lay all of your pipe sections on the ground first to verify measurements and connector locations before making permanent connections. Test-fit every component before gluing or snapping everything together. Most importantly, test the drainage system with a garden hose before backfilling the trench. Finding a problem while the pipe is still exposed takes minutes to fix, while correcting it after replacing the soil can take hours. Working smarter means making each step easier instead of making the same job twice.
❌ Common Mistakes — Learn What to Avoid
Many DIY drainage projects fail because homeowners overlook a few simple details. The most common mistake is installing pipe without enough downhill slope, causing water to collect instead of draining away. Another frequent error is allowing the drain to discharge too close to the home’s foundation, defeating the entire purpose of the project. Some homeowners also choose perforated pipe instead of solid pipe, allowing water to leak into the trench rather than carrying it away. Skipping a system test before backfilling, failing to compact the soil properly, or ignoring local utility lines can also create expensive problems. Taking your time and checking each step carefully will produce a drainage system that works reliably for decades.
🌿 Design Tips — Improve the Finished Look
A great drainage project should disappear into your landscape once it’s complete. After backfilling the trench, restore the area with quality topsoil, fresh grass seed or sod, and a layer of mulch around nearby landscape beds. Consider extending the mulch bed around the downspout to create a more intentional, finished appearance while helping control erosion. Decorative river rock around the discharge area can hide the outlet and provide additional protection during heavy rain. You can even incorporate shrubs, ornamental grasses, or flowering plants to blend the drainage system naturally into your landscaping. The goal isn’t simply to solve a water problem—it’s to leave your yard looking cleaner, healthier, and more attractive than before you started.


Leave a Reply