By Ken Conley – Conley’s Home Improvement
Introduction: Turning an Empty Backyard Into a Family Retreat
When I purchased my home, the backyard was nothing more than a blank canvas. There was plenty of open space, but it lacked personality, function, and a place where family could gather and create memories. After more than 40 years of DIY home improvement experience, I knew this was an opportunity to build something special.
One project quickly rose to the top of my list—a swimming pool deck.
I wanted more than just a pool sitting in the yard. I envisioned a complete outdoor living space where family and friends could relax, entertain, and enjoy the summer months. What started as a simple idea eventually became one of my favorite DIY projects, transforming an ordinary backyard into a personal staycation destination.


Why I Decided to Build a Pool Deck
A swimming pool by itself can be enjoyable, but without proper access and surrounding space, it can also be inconvenient and unsafe.
I wanted a deck that would:
- Provide safe access to the pool
- Create a comfortable seating area
- Improve the appearance of the backyard
- Increase usable outdoor living space
- Add value to the property
- Create lasting memories for my family
As someone who believes in doing projects correctly the first time, I spent considerable time planning before cutting a single board.


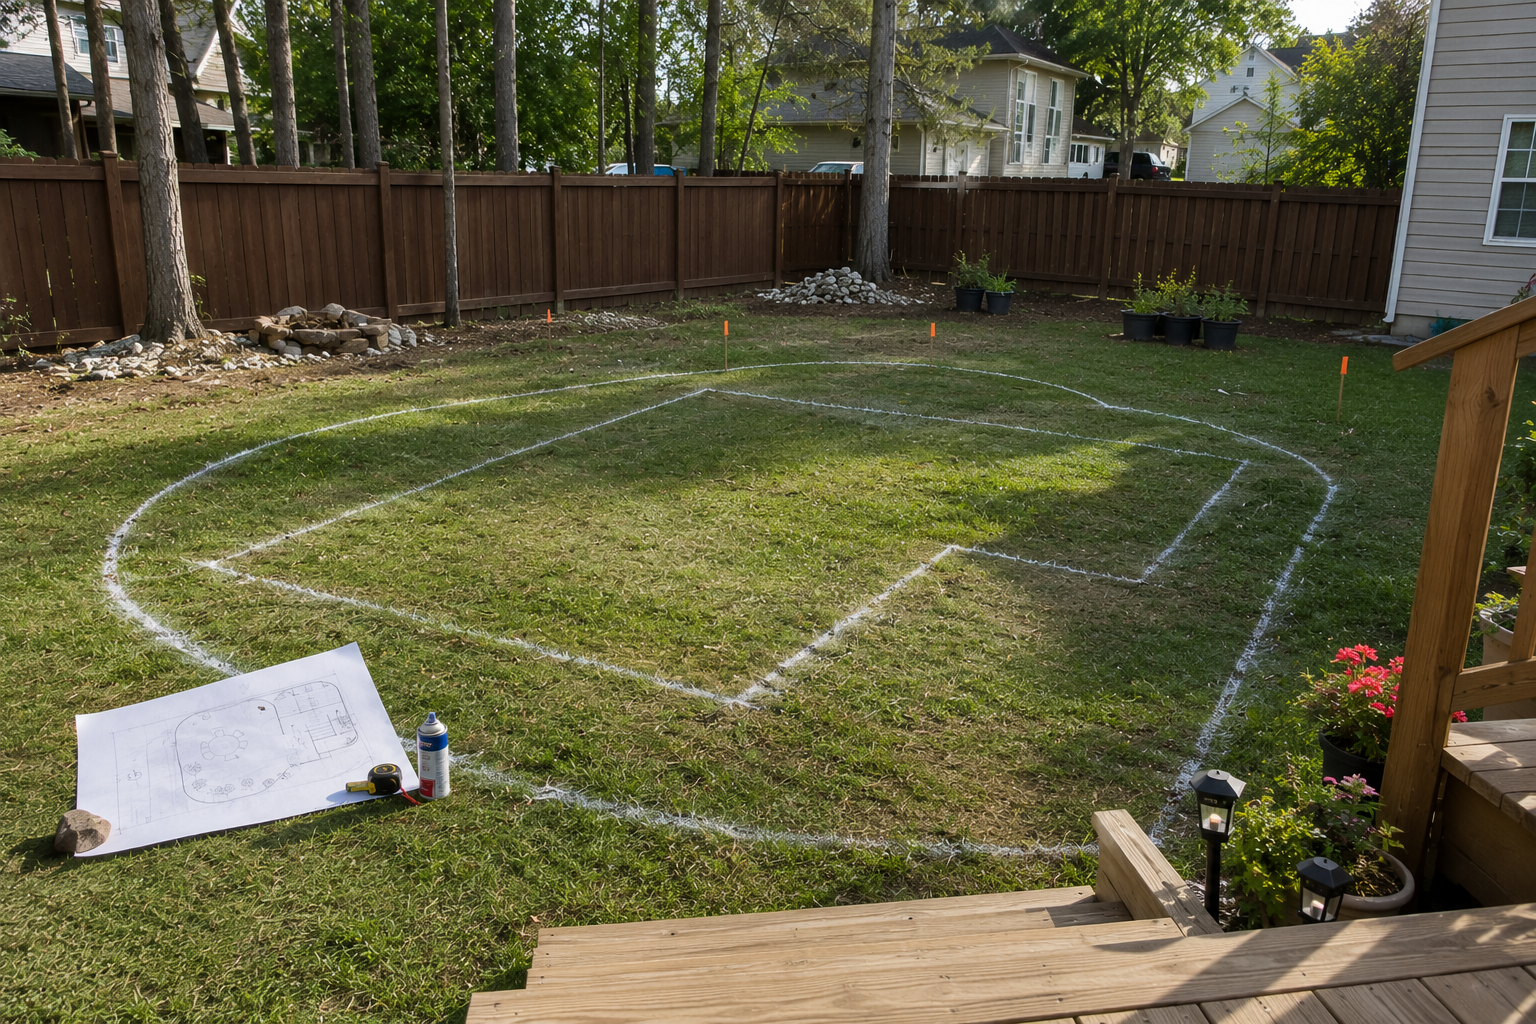
Step 1: Planning the Project
One lesson I’ve learned through decades of DIY work is that successful projects begin with proper planning.
Before purchasing materials, I measured the pool dimensions, calculated deck size requirements, and created a detailed layout. My background in Mechanical Engineering Technology taught me the importance of drawings and measurements, and those skills proved invaluable during this project.
I considered:
- Pool location
- Entry and exit points
- Stair placement
- Seating areas
- Future landscaping
- Local building requirements
- Material costs
The more planning you do beforehand, the fewer surprises you’ll encounter during construction.
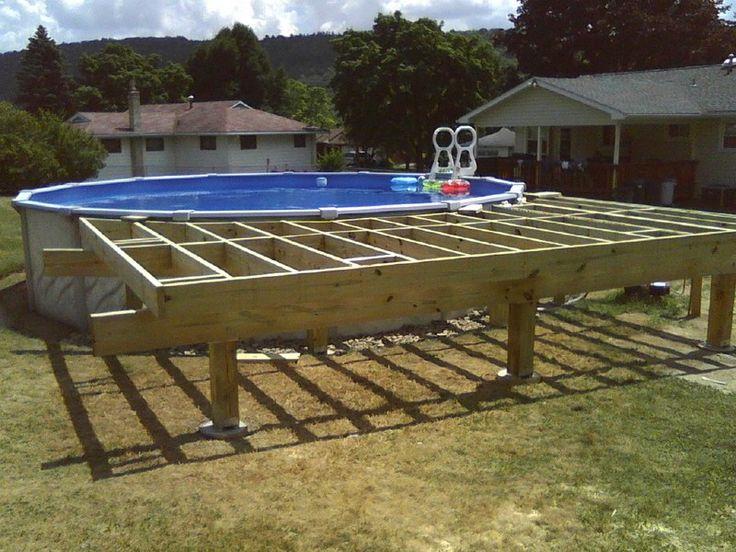
Step 2: Building the Foundation
The foundation determines the strength and longevity of any deck.
After marking the layout, I installed support posts and began constructing the frame. This phase requires patience because every measurement affects the rest of the build.
I followed the same principle I learned in my first woodworking class decades ago:
Measure twice. Cut once.
Taking extra time to ensure everything was square and level saved countless hours later in the project.


Suggested Image
Step 3: Framing the Deck Structure
Once the posts were secured, it was time to install beams and floor joists.
This stage is where the project really started taking shape.
With every joist installed, I could begin visualizing the finished deck. The structure slowly transformed from lines on paper into a real backyard feature.
Framing requires attention to detail because proper spacing and support determine how solid the deck feels underfoot.
When family and guests walk across your deck, they shouldn’t notice movement or bounce. A well-built frame creates confidence and safety.
Suggested Image
- Joists installed around pool
- Close-up of deck framing
- Carpenter’s level checking deck structure
- Pool deck construction progress
Step 4: Installing Deck Boards
This was one of the most rewarding phases of the project.
After weeks of planning and framing, installing deck boards finally revealed the deck’s finished appearance.
Each board brought the vision closer to reality.
Careful spacing allowed for proper drainage while creating a professional appearance. As the surface expanded, family members could begin walking around the pool comfortably and safely.
Seeing the transformation was incredibly satisfying.


Step 5: Building Railings and Stairs
Safety is critical around any swimming pool.
The railings and stairs were designed to provide secure access while complementing the overall appearance of the deck.
I focused on:
- Strong handrails
- Proper baluster spacing
- Comfortable stair dimensions
- Durable fasteners
- Smooth finishes
Good craftsmanship isn’t just about appearance. It’s about creating something that remains safe and functional for years.
Suggested Image
- Pool deck staircase
- Deck railing installation
- Completed safety railing
- Family using pool stairs
The Transformation: From Backyard to Staycation Destination
One of the most rewarding aspects of this project was seeing how dramatically the backyard changed.
What once was an ordinary yard became a gathering place for family.
The pool deck became the centerpiece of many summer afternoons and weekends. It also served as the foundation for future projects that eventually included landscaping improvements, patios, and additional outdoor features.
This is why I enjoy DIY home improvement so much.
Every project builds upon the previous one.


Lessons Learned From This Project
Looking back, several lessons stand out:
Planning Saves Money
Careful planning reduces mistakes and material waste.
Quality Materials Matter
Pressure-treated lumber and quality hardware help ensure long-term durability.
Patience Produces Better Results
Rushing leads to errors.
DIY Builds Confidence
Every completed project expands your skills and prepares you for bigger challenges.
Family Memories Matter Most
The greatest return on investment wasn’t financial.
It was watching family and friends enjoy the finished space.
Would I Do It Again?
Absolutely.
Building this swimming pool deck was one of the most enjoyable DIY projects I’ve completed.
It combined woodworking, construction, design, and problem-solving while creating something my family could enjoy for years.
Projects like this remind me why I started building things back in my junior high school shop class more than four decades ago.
The tools may have changed, but the satisfaction remains exactly the same.
Final Thoughts
A swimming pool deck is more than lumber, screws, and railings.
It’s an investment in your home, your lifestyle, and your family’s experiences.
Whether you’re considering your first deck project or planning a major backyard transformation, remember that every successful build starts with careful planning, patience, and a willingness to learn.
If I can go from building simple shop-class projects in the 1970s to creating backyard spaces like this, so can you.
Start where you are.
Learn as you go.
And never underestimate what you can accomplish with determination and the right plan.
Free Download
DIY Pool Deck Planning Checklist
✔ Measuring Worksheet
✔ Materials Calculator
✔ Safety Inspection List
✔ Construction Timeline Template
✔ Budget Planning Sheet
Visit Conley’s Home Improvement for more DIY tutorials, project guides, and step-by-step home improvement inspiration.